BBQ culture transformed brisket into a highly appreciated cut of beef. Slow cooking methods such as smoking, roasting, and sous vide make brisket incredibly tender. Once you find out what part of the cow is brisket, how to choose the perfect cut, and prepare it, you’ll be a fan too!
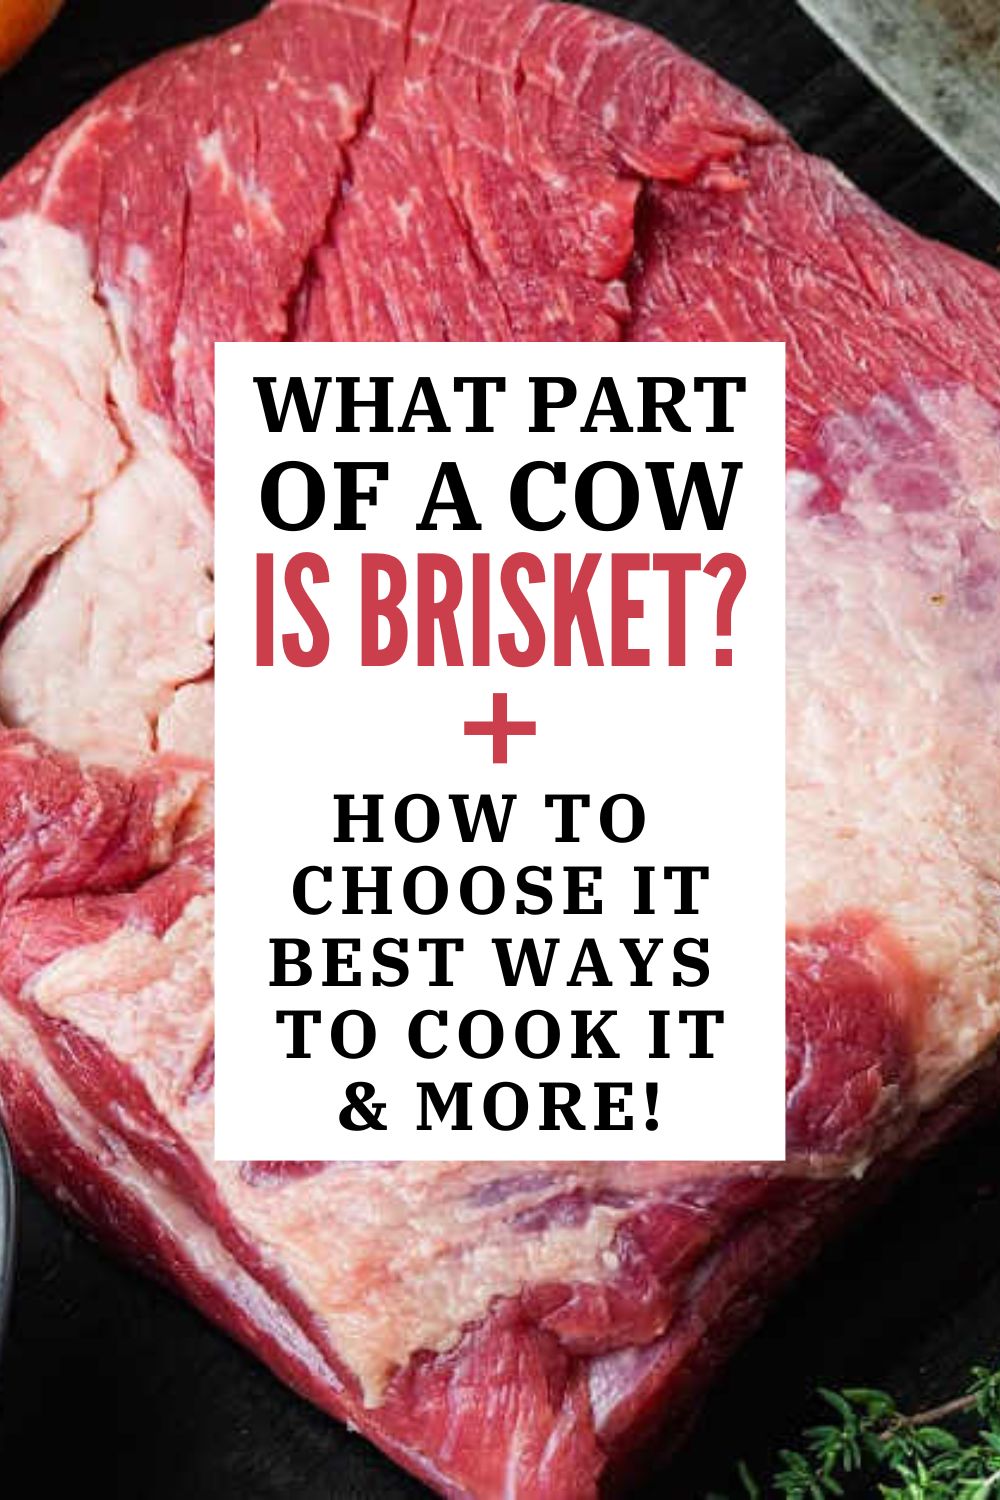
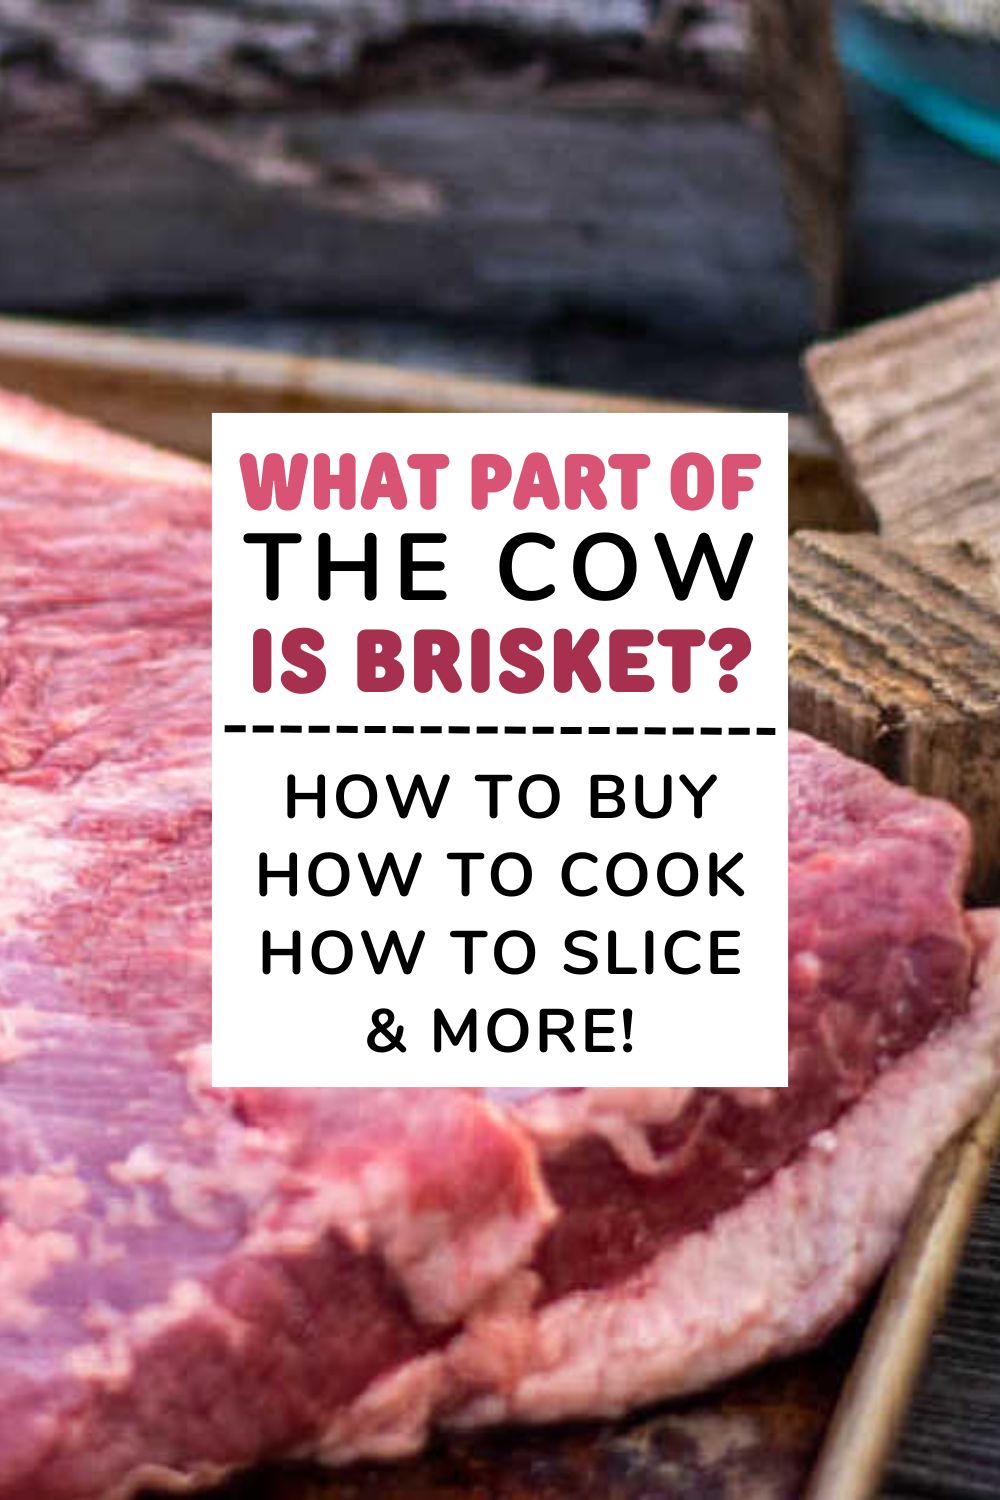
🥩 What Part Of The Cow Is Brisket?
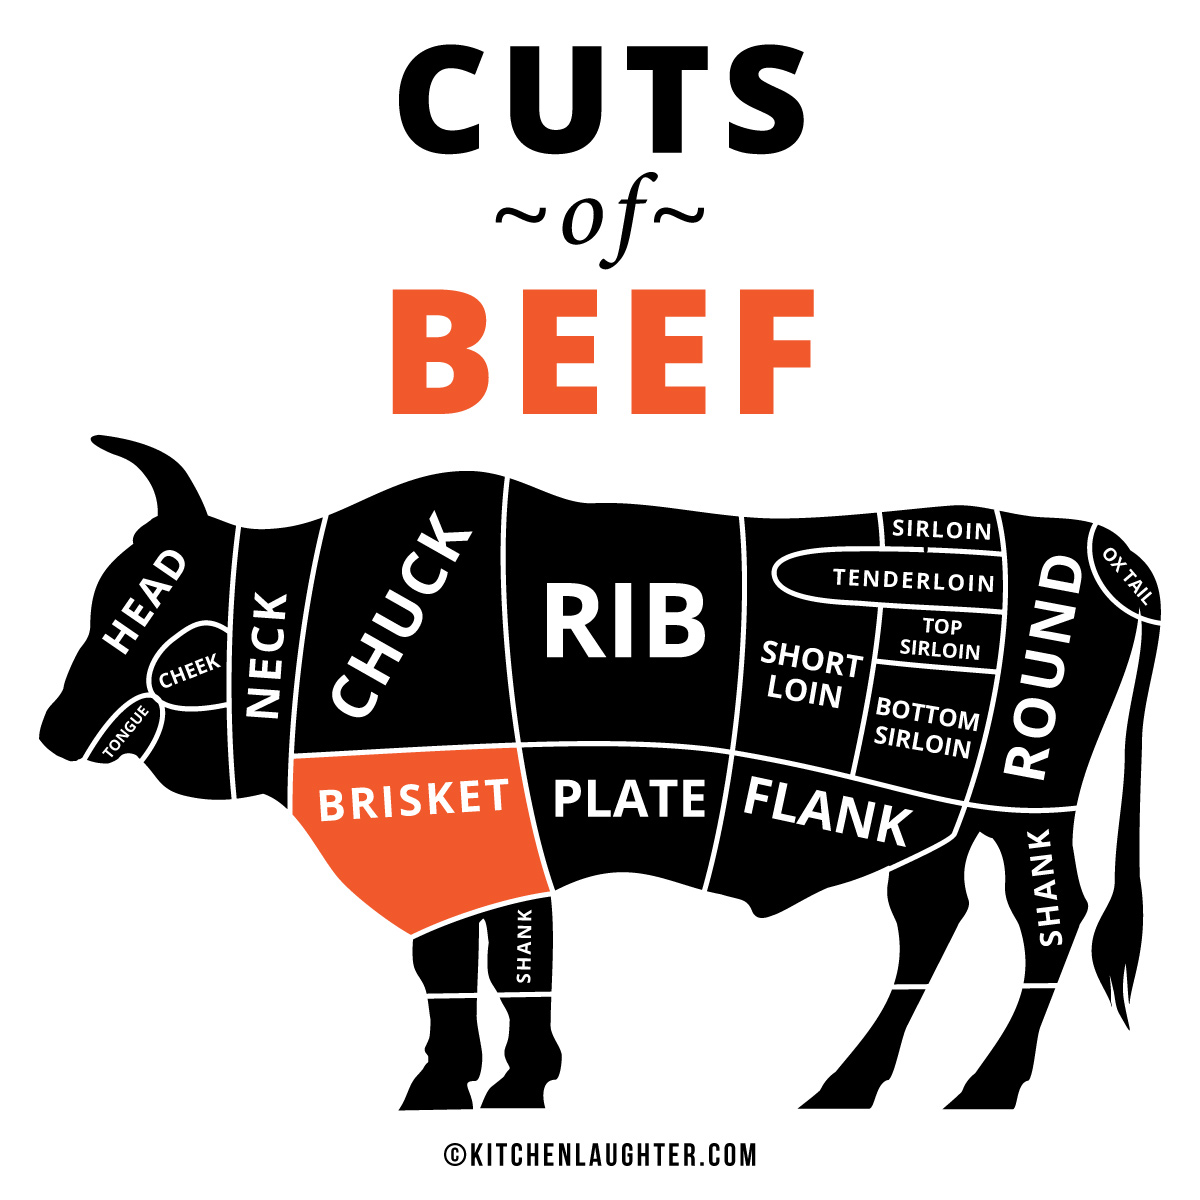
Brisket is a primal cut of beef found in the lower chest area of the cow.
This area of the animal is worked pretty hard, so the muscles here are quite tough.
Brisket has a significant amount of connective tissue and fat, which may seem less than ideal. It’s not a bad thing, though!
It just means brisket needs to be cooked low and slow to become tender. The fat and the connective tissues ensure your cooked brisket will be very flavorful.
The Three Cuts Of A Beef Brisket
Three main cuts make a whole brisket: the flat, the point, and the deckle. Each of them can be a treat if cooked properly.
- The flat – This lean cut is the main cut, found against the ribs. It’s also called the first, or the deep pectoral. It’s often used to make thinly sliced steaks, fajitas, pastrami, and corned beef.
- The point – A fattier but also tougher part of the brisket, the point is also known as the fat end or triangular cut. It’s cheaper than the flat and often used for smoking and roasting.
- The deckle – Even cheaper than the aforementioned cuts, the deckle is found below the point. It’s the toughest part of a brisket, although there’s no trade-off when it comes to flavor. It’s an excellent choice for soups, stews, and the popular burnt ends.
The whole brisket is called a full packer. It has a fat cap and typically weighs between 8 and 20 pounds.
✔️ How To Choose Brisket
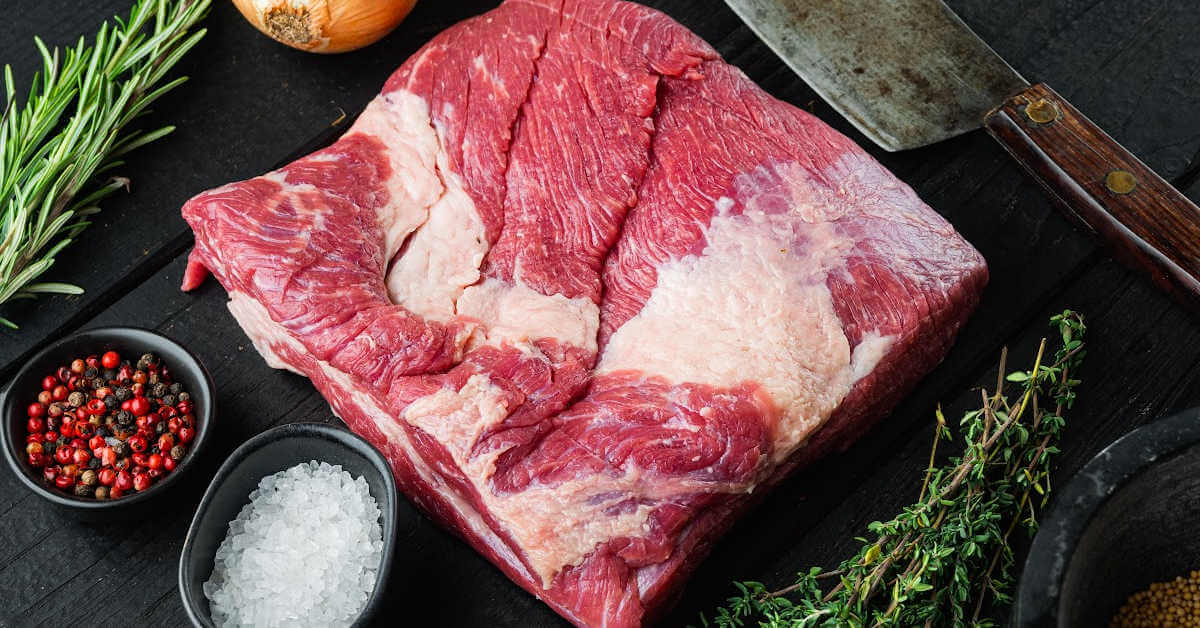
Any good cook knows the quality of the ingredients is important to make tasty dishes. Since brisket makes no exception, here’s what to look for when buying one.
The Cut
We already discussed the cuts that come from a brisket and their traits, so now you can make an informed decision when you decide which one to buy.
The flat is the leanest part, the point is fattier, tougher, and a bit cheaper, and the deckle is the most affordable but also the toughest so it needs longer cooking times to tenderize.
There’s always the option of buying a full packer and cook it whole, or separate it yourself.
The Size
How many servings you need matters when cooking your brisket. The general rule is to have half a pound of raw meat per person. It leaves some room for error, so you might end up with some leftovers.
Planning for extra leftovers is a good idea, especially when smoking brisket. With so many leftover brisket recipes, you can use them for quick meals throughout the week.
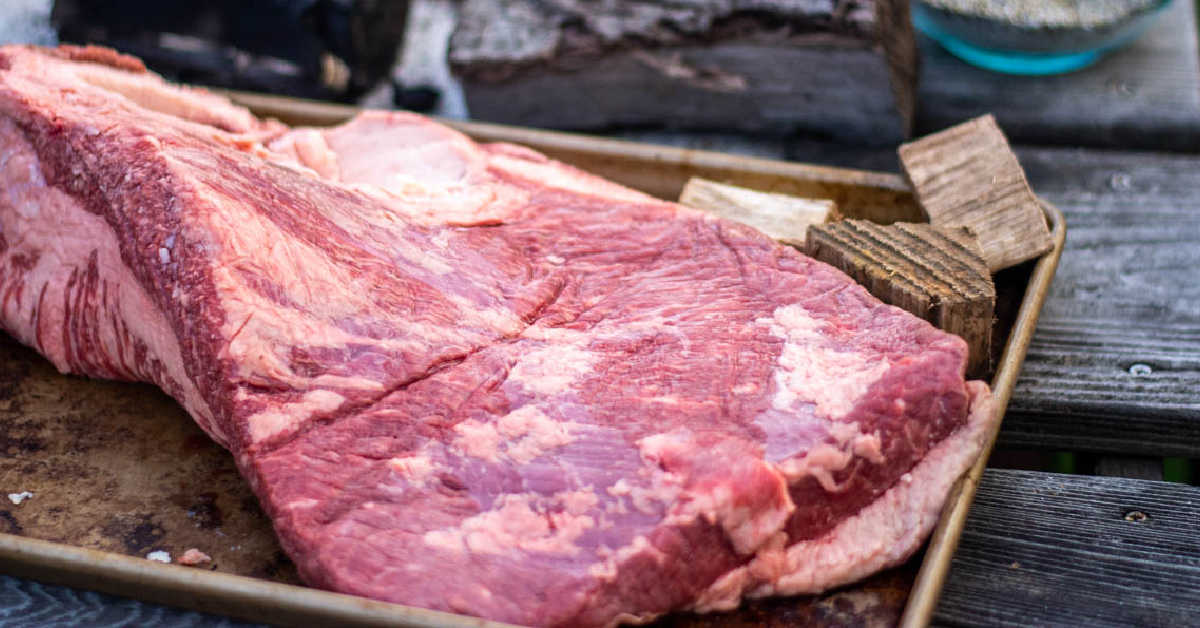
The Color
Ideally, you want to buy the freshest brisket and the color says a lot. It should be a deep red, while the fat should be a bright white.
🔪 How To Trim A Brisket
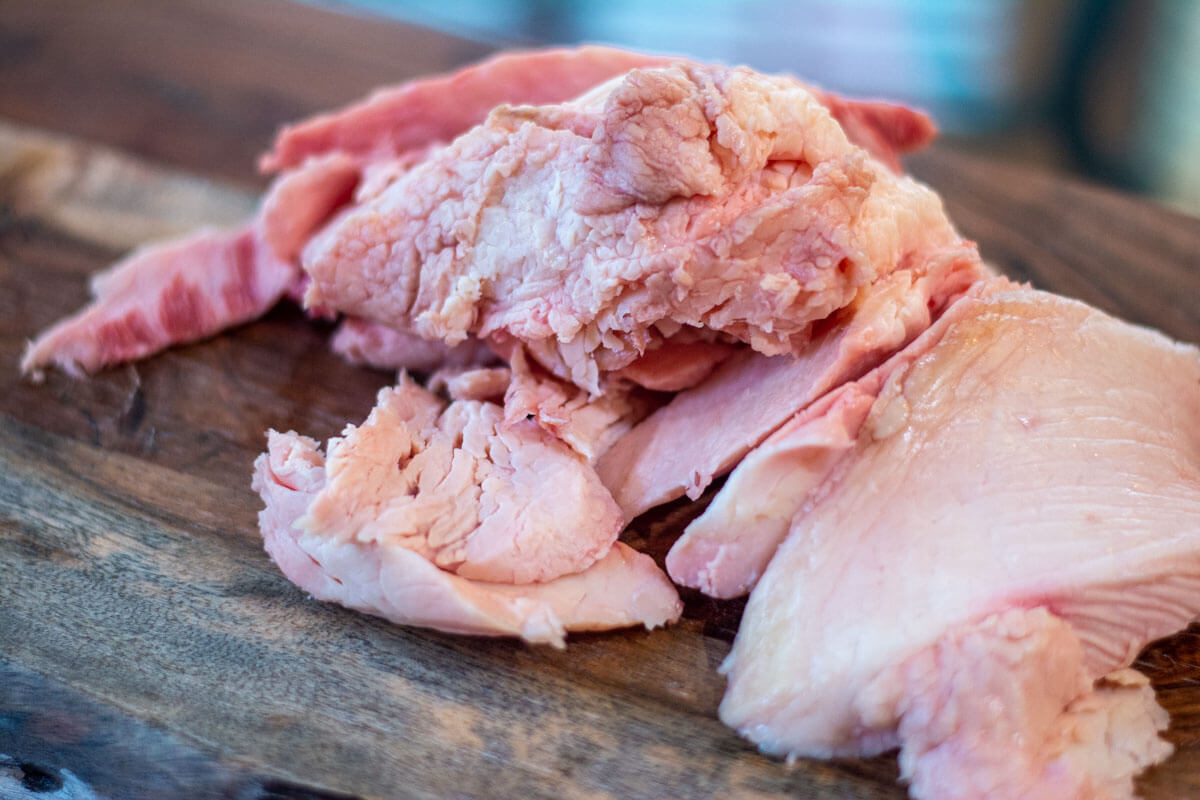
Before you start to trim the brisket’s fat cap, make sure you are working with a sharp knife and a cold brisket. The soft fat is difficult to work with when it warms up.
Avoid cutting into the meat and focus on the line dividing the muscle and the fat.
How much fat you trim is also a matter of personal preference. Some enjoy leaving between 1/4″- 1″ of fat.
When I trim brisket for smoking, I like to remove as much of the fat as possible. It takes me 15-20 minutes to get the job done but it’s worth it. The little fat that remains adds a lovely flavor to the meat.
Save that extra fat for your next beef broth. You won’t regret it!
⏲️ Best Ways To Cook Brisket
Now that you know what part of the cow is brisket, it’s time to see the best ways to prepare it.
In general, a tougher cut rich in fat and connective tissue such as brisket needs to be cooked low and slow.
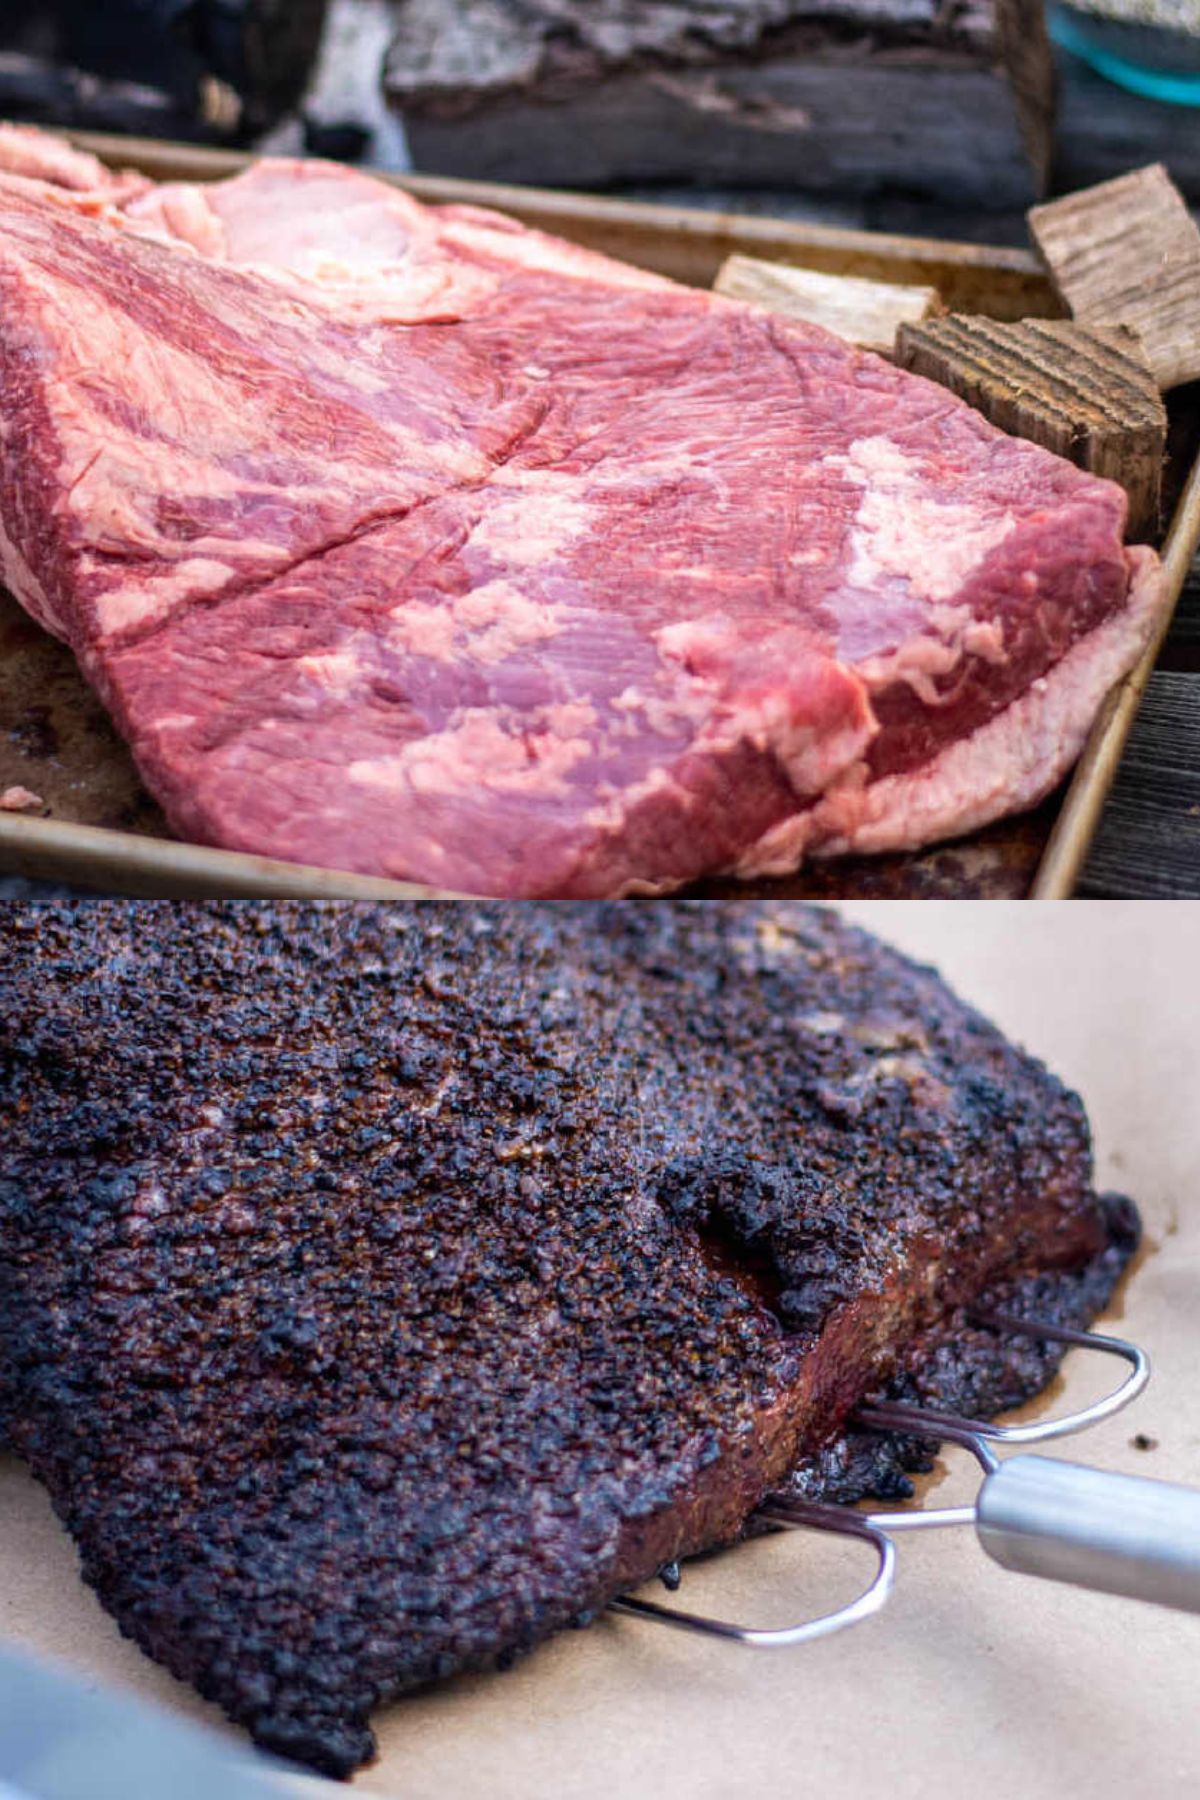
🔥 Smoked Brisket
I have to admit, smoked brisket is definitely our favorite way of cooking this cut of meat. If you have a smoker, and some patience, great results can be achieved!
- Step 1 – Prepare the meat by trimming the brisket.
- Step 2 – Coat the brisket with your favorite dry rub. This meat has its own great flavor so I recommend you keep your rub simple. We used only salt, pepper, and celery seeds.
- Step 3 – Preheat the grill to 400°F. Add your favorite smoking wood. We normally use hickory, but the debate on the best wood for smoking brisket is a matter of personal taste.
- Step 4 – Place the brisket in an indirect heat zone. Check the meat once an hour and spray it with a bit of water for the crust to form.
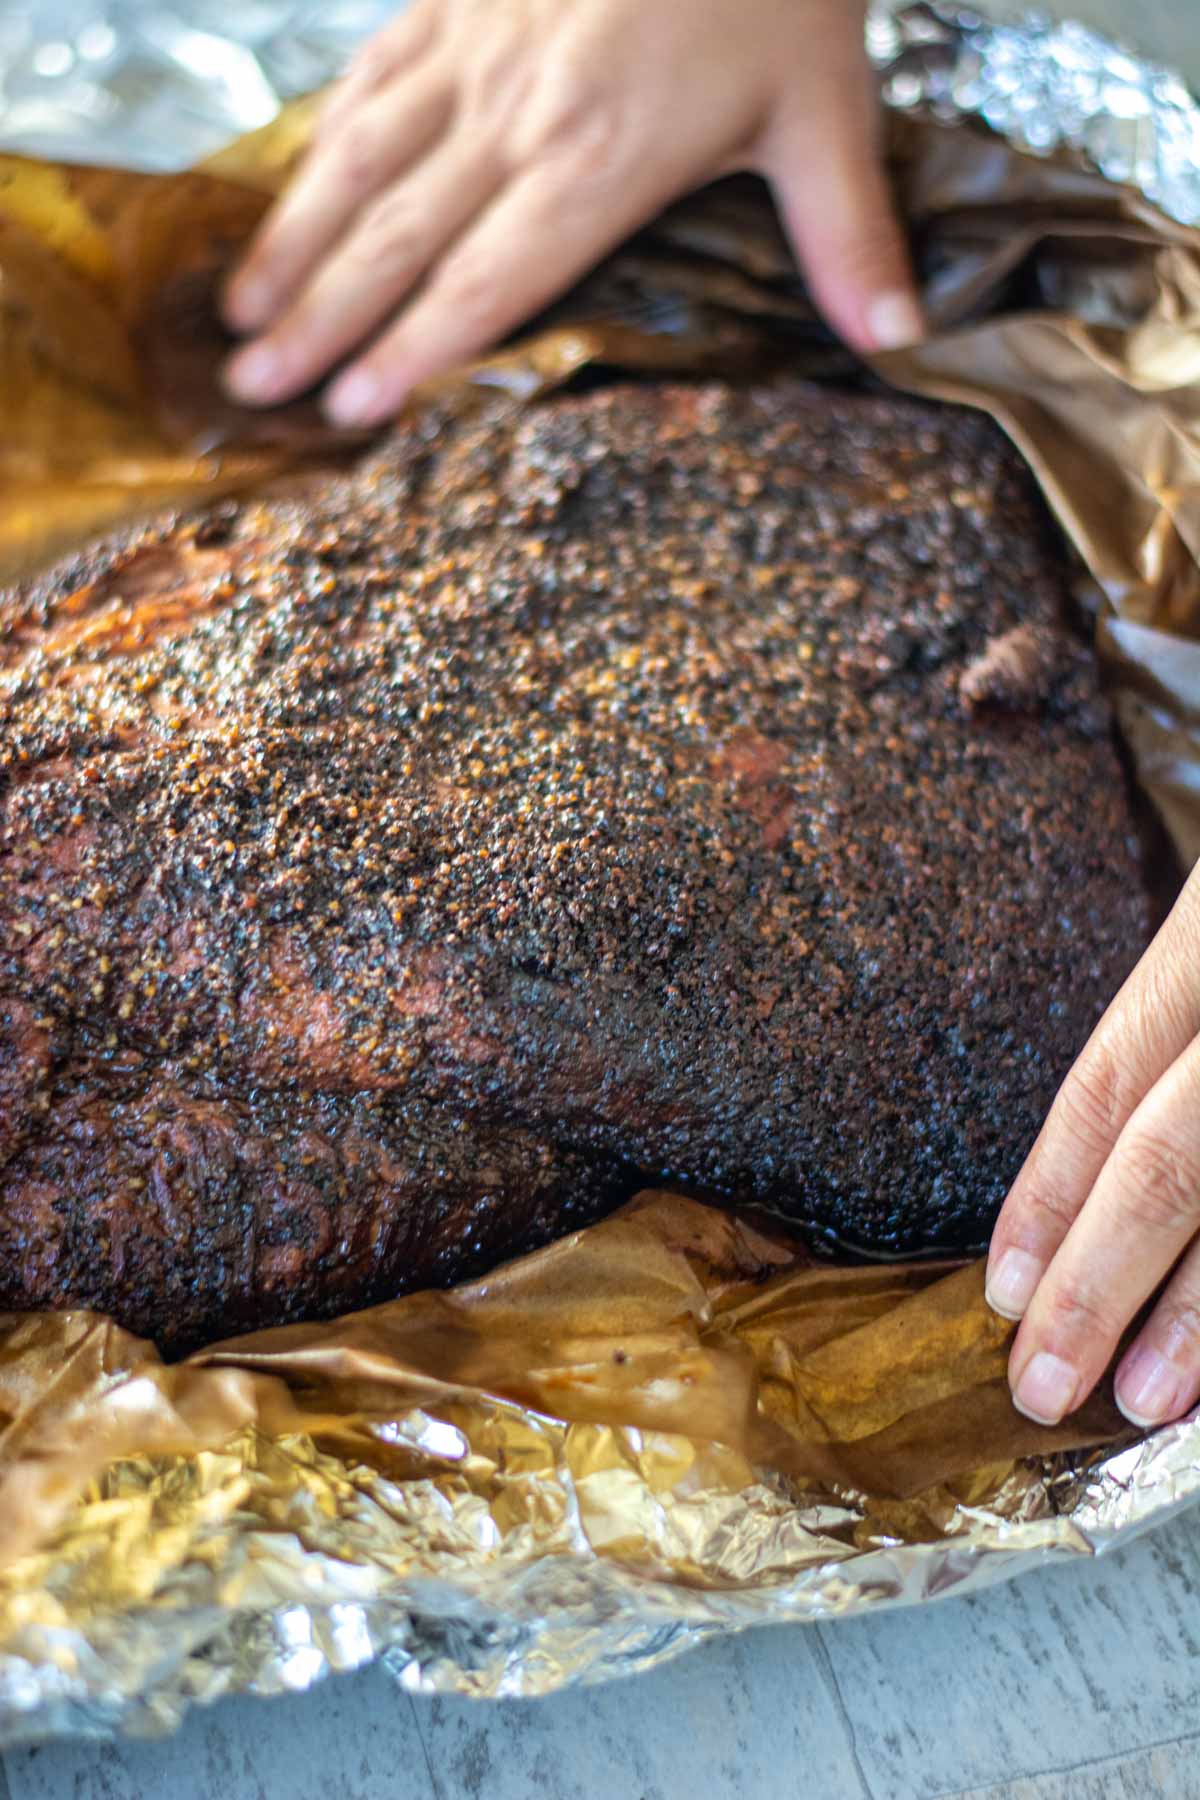
- Step 5 – Once the outer bark is formed and the internal temperature of the brisket is in the 150°-170°F range, you have two options. You’ll notice the brisket’s internal temperature will remain constant for a long time. This is known as the stall. You can allow the meat to get past the stall naturally, or wrap it in pink butcher paper or aluminum foil to speed up the cooking process. This method is called the Texas Crutch, and we used it with excellent results, but it’s totally optional!
- Step 6 – Once the brisket gets past the stall and the internal temperature starts to rise again, you can unwrap the meat. When the brisket internal temperature is in the 200-205°F range, it’s time to take it out from the smoker.
- Step 7 – Let the meat rest for one hour before slicing. Enjoy!
Roasted Brisket
If you don’t have a smoker, there are other ways you can enjoy brisket, and roasting sure is a popular one!
- Step 1 – Start by trimming the excess fat from your brisket.
- Step 2 – Preheat the oven to 325°F.
- Step 3 – Apply your favorite rub on the meat.
- Step 4 – Place the meat in a roasting pan and cook until the internal temperature is 190°F -210°F.
- Step 5 – Take the brisket out of the oven and let it rest for at least 15 minutes before slicing.
Braised Brisket
Tough cuts of meat such as brisket are great for braising. This technique requires slowly cooking the meat in a liquid until it softens. Here’s how to braise a brisket:
- Step 1 – Trim the fat on the brisket using a sharp knife.
- Step 2 – Preheat the oven to 375°F.
- Step 3 – Apply your favorite seasonings on the brisket. You can use just salt and pepper if you’d like.
- Step 4 – Heat a large Dutch oven or another oven-proof pot over medium heat.
- Step 5 – Place the brisket in the pot and give it a quick sear on all sides.
- Step 6 – Take out the brisket from the pot and set it aside.
- Step 7 – Add your favorite vegetables to the pot and sautee them until softened.
- Step 8 – Place the brisket back in the pot and add your liquid of choice (water, beef broth, beer…etc.). The meat should be completely covered.
- Step 9 – Bring it to a boil and place a lid on the pot.
- Step 10 – Cook for 2 1/2 – 3 hours on low heat until the meat becomes tender.
- Step 11 – Let the brisket rest for 10-15 minutes before slicing and serving.
Slow Cooked Brisket
The slow cooker is wonderful for tenderizing brisket and it will do all the hard work.
- Step 1 – Trim the brisket of extra fat.
- Step 2 – Coat the brisket with a rub. Try our all-purpose dry rub or use whatever ingredients you like!
- Step 3 – Add your homemade BBQ sauce to the slow cooker and place the brisket in the pot as well.
- Step 4 – Cook for 8-10 hours, depending on the size of your brisket.
- Step 5 – Remove from the slow cooker.
- Step 6 – Optionally, reduce the liquid left in the slow cooker to make a serving sauce.
- Step 7 – After 10-15 minutes of resting, you can slice and serve the brisket.
Instant Pot (Pressure Cooked) Brisket
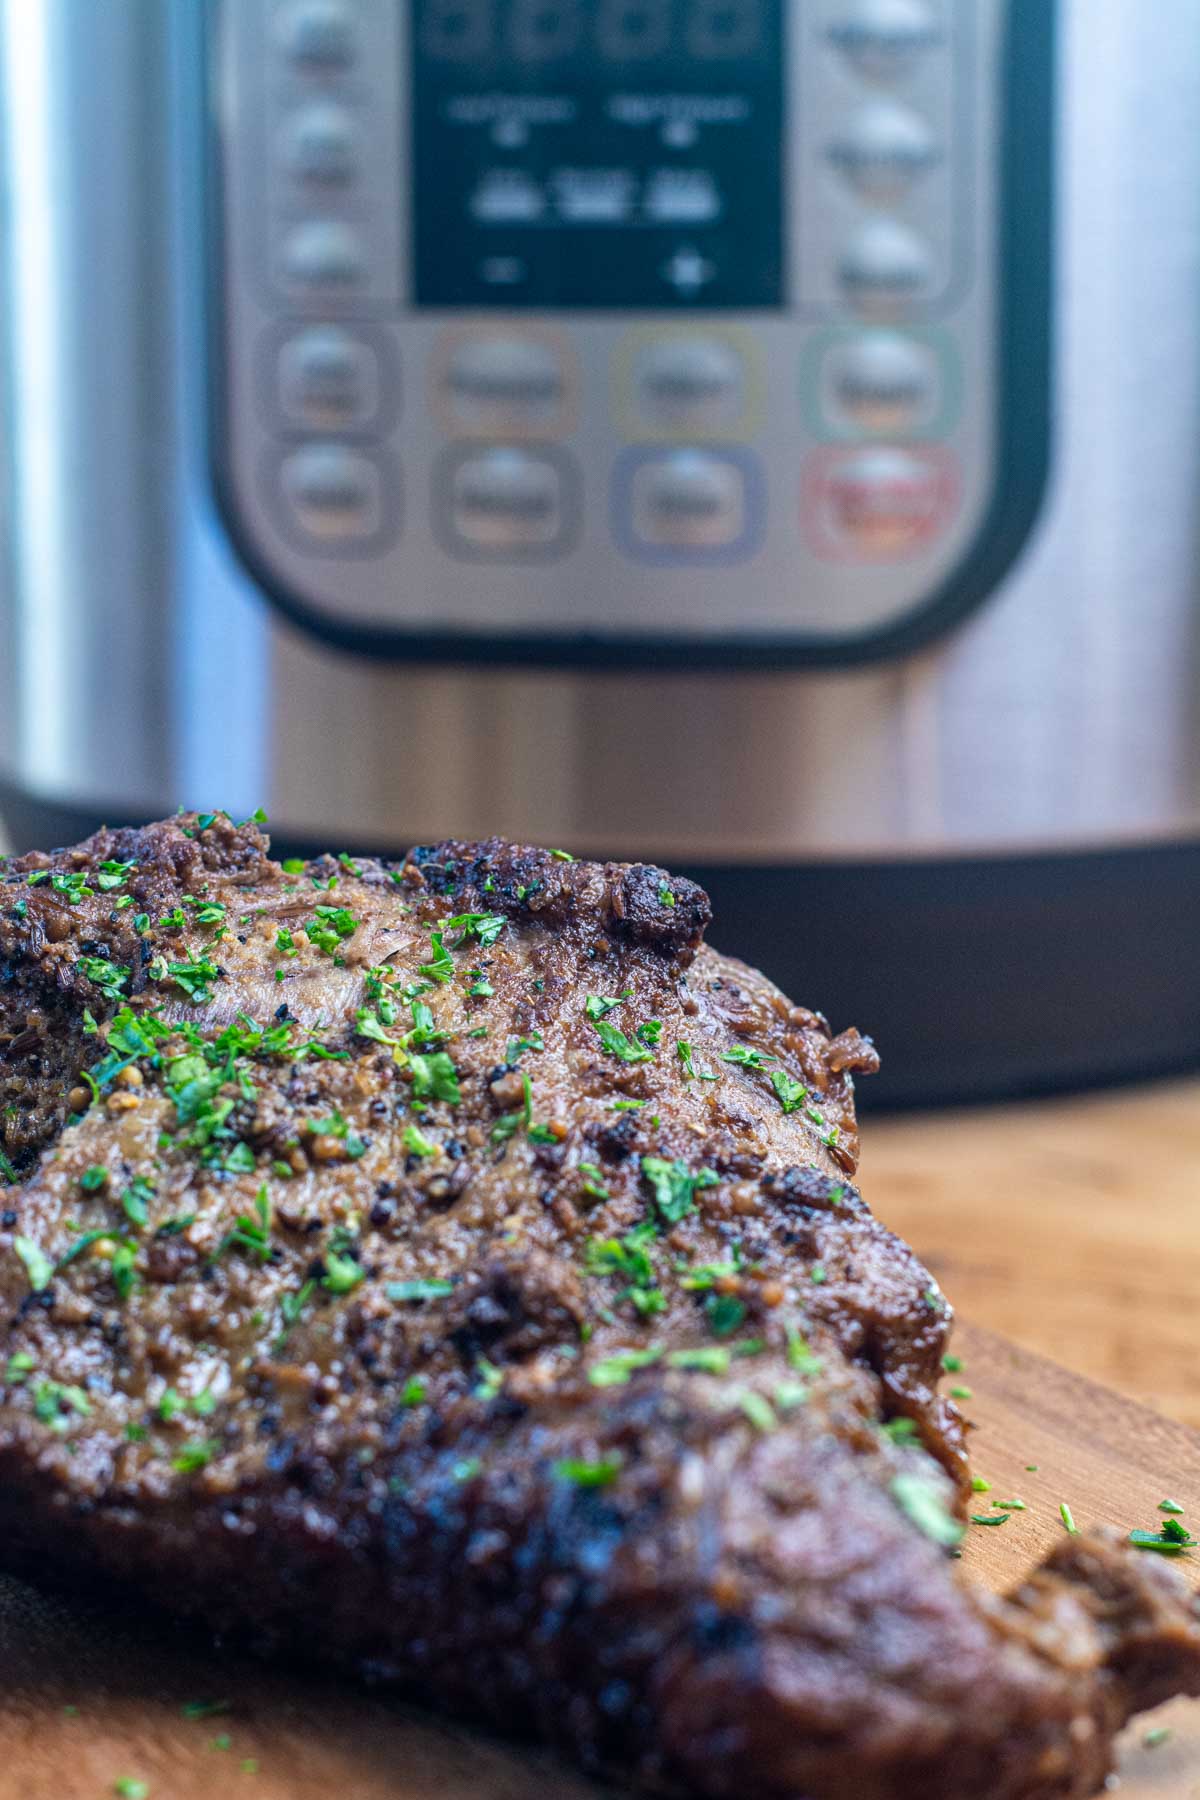
Looking for the fastest way to enjoy moist and tender brisket? Pressure cooking is the way to go!
Whether you have a pressure cooker or an Instant Pot, you’ll have dinner on the table in about one hour.
- Step 1 – Trim the brisket of extra fat. Working with a cold brisket will make it easier to remove the fat.
- Step 2 – Preheat the Instant Pot on the SAUTÉ setting for 3-4 minutes.
- Step 3 – Season the brisket on all sides.
- Step 4 – Pour a bit of olive oil in the Instant Pot and brown the brisket on each side for 3-4 minutes.
- Step 5 – Remove the brisket from the pot and pour in one cup of beef broth. Deglaze the bottom of the Instant Pot.
- Step 6 – Return brisket to the Instant Pot and switch to the MANUAL setting. Check that the valve is closed.
- Step 7 – Let the brisket cook for 45 minutes.
- Step 8 – NATURALLY RELEASE then remove the brisket.
- Step 9 – Tent the brisket with foil, allowing it to rest for 5-10 minutes before slicing.
- Step 10 – Serve with your favorite sides!
🍴How To Slice Brisket
So you made sure the brisket you purchased is of good quality, you trimmed the extra fat, and cooked it just right.
How and when you slice brisket is also important. Here’s what you need to know.
After cooking, let the brisket rest. As it rests, the internal juices will redistribute throughout the meat. For a whole smoked brisket, we usually let it rest for at least 1 hour before slicing.
If you cut it too soon, all those delicious juices will leak, instead of staying trapped inside the meat.
Also, don’t slice it unless you are ready to eat. Once you slice it, the meat will start to dry out, so it’s best done before serving.
Using a sharp knife will ensure you get clean slices even when there are tough parts you need to deal with.
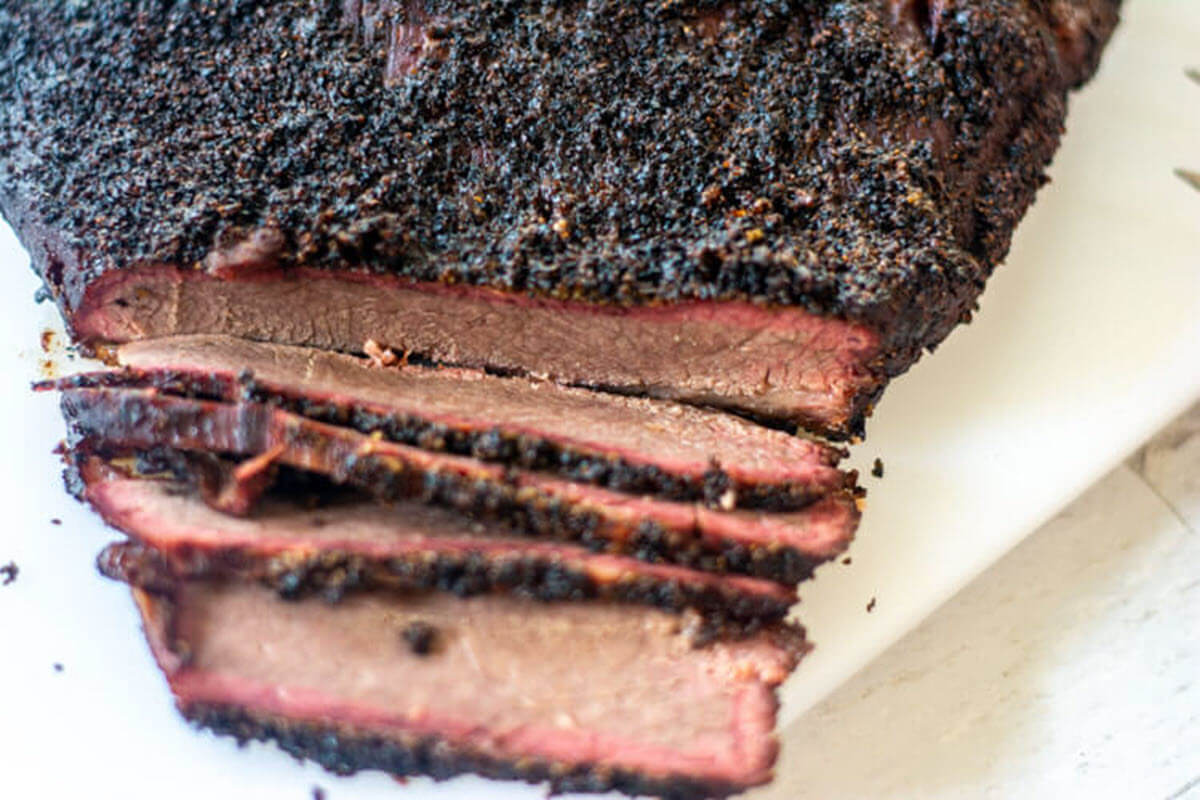
Always slice against the grain! This means perpendicular to the muscle fibers. The meat will be more tender when sliced against the grain.
Also, for brisket, thin slices are best. Thicker ones then to be a little chewy.
Tip: Pay attention to the grain as you slice the brisket. It can change direction and you should definitely follow it.
Conclusion
We figured out what part of the cow is brisket, what to look for when buying it, how to trim extra fat, and all the ways to cook it.
With all this knowledge, you can try brisket in many different ways. And keep those leftovers!
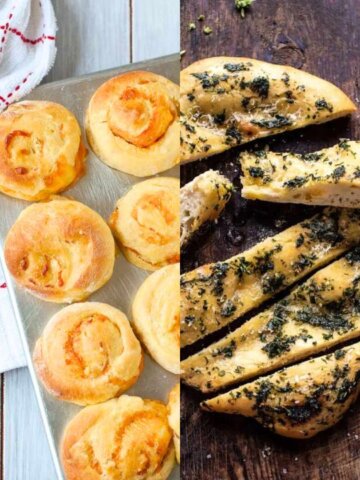
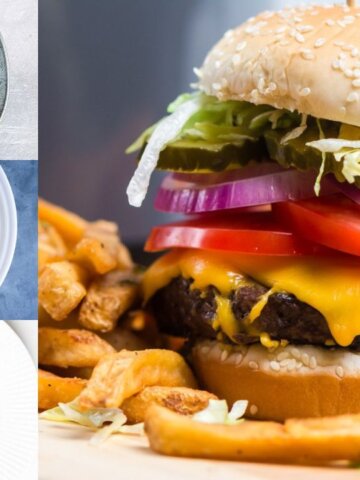
If you decide to smoke it, there are some amazing recipes you can try with leftover smoked brisket.
Some of my favorites are the smoked brisket and beer queso dip, the brisket twice baked potatoes, and the brisket grilled cheese sandwiches. You’ll love them for sure when you’re in a rush to make a quick meal!


Ginny Collins is a passionate foodie and recipe creator of Savor and Savvy and Kitchenlaughter. Indoors she focuses on easy, quick recipes for busy families and kitchen basics. Outdoors, she focuses on backyard grilling and smoking to bring family and friends together. She is a lifelong learner who is always taking cooking classes on her travels overseas and stateside. Her work has been featured on MSN, Parade, Fox News, Yahoo, Cosmopolitan, Elle, and many local news outlets. She lives in Florida where you will find her outside on the water in her kayak, riding her bike on trails, and planning her next overseas adventure.
Leave a Reply