The brisket stall temperature is that point when you know your smoking adventures won’t end anytime soon. The good news is, you can get past it and have your smoked or grilled brisket ready much faster!
Off to the grill for some good old backyard barbecue? We hope you have your A-game on because if it’s a gathering, you wouldn’t want to end up stalling till the meat gets cooked.
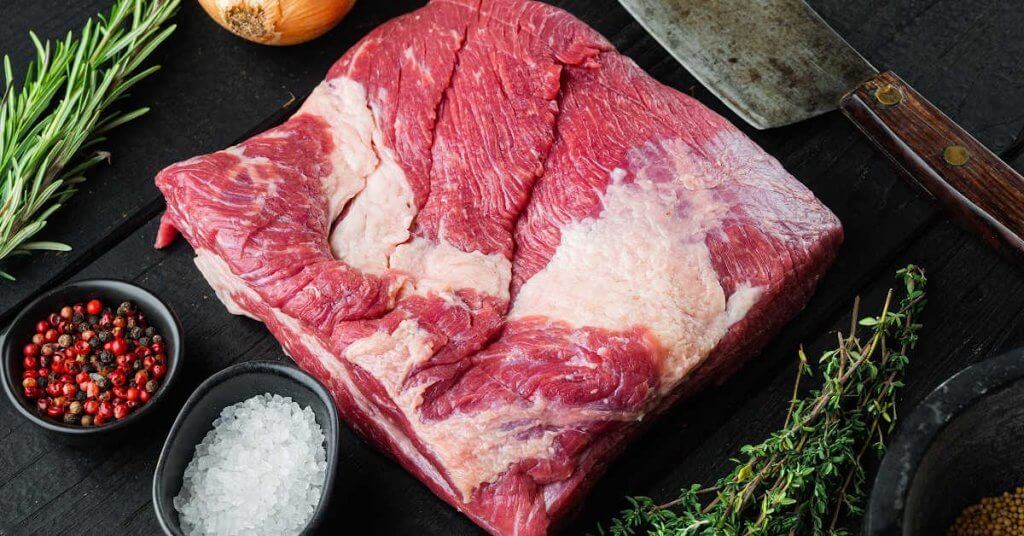
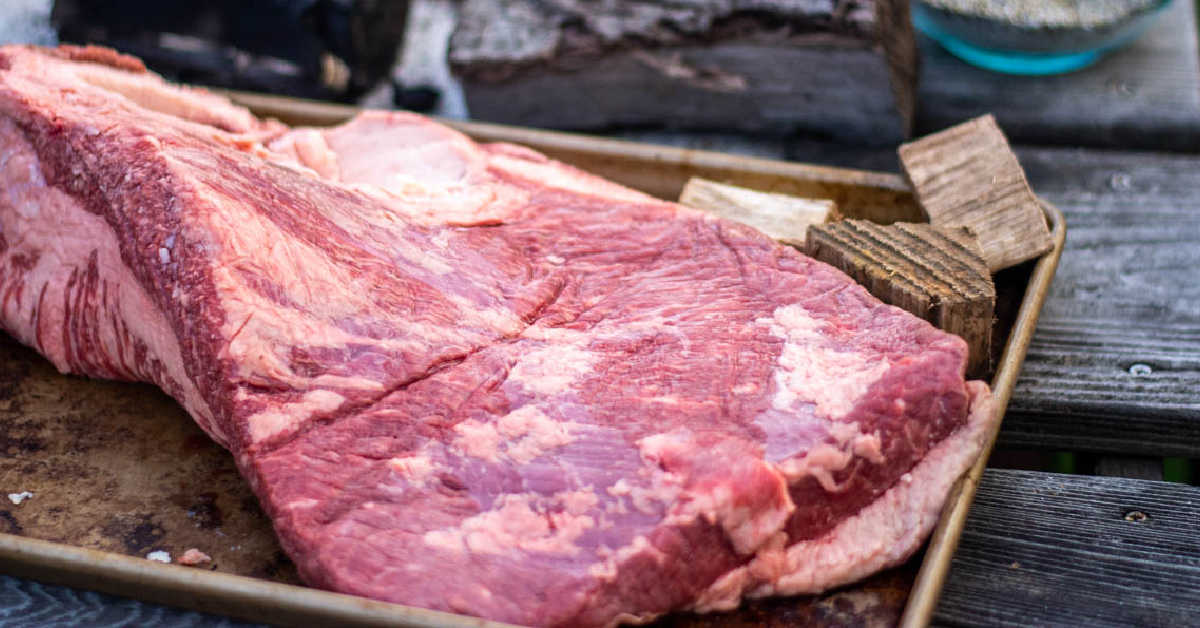
That’s especially important if you’re dealing with the pitmaster’s toughest opponent, the beef brisket.
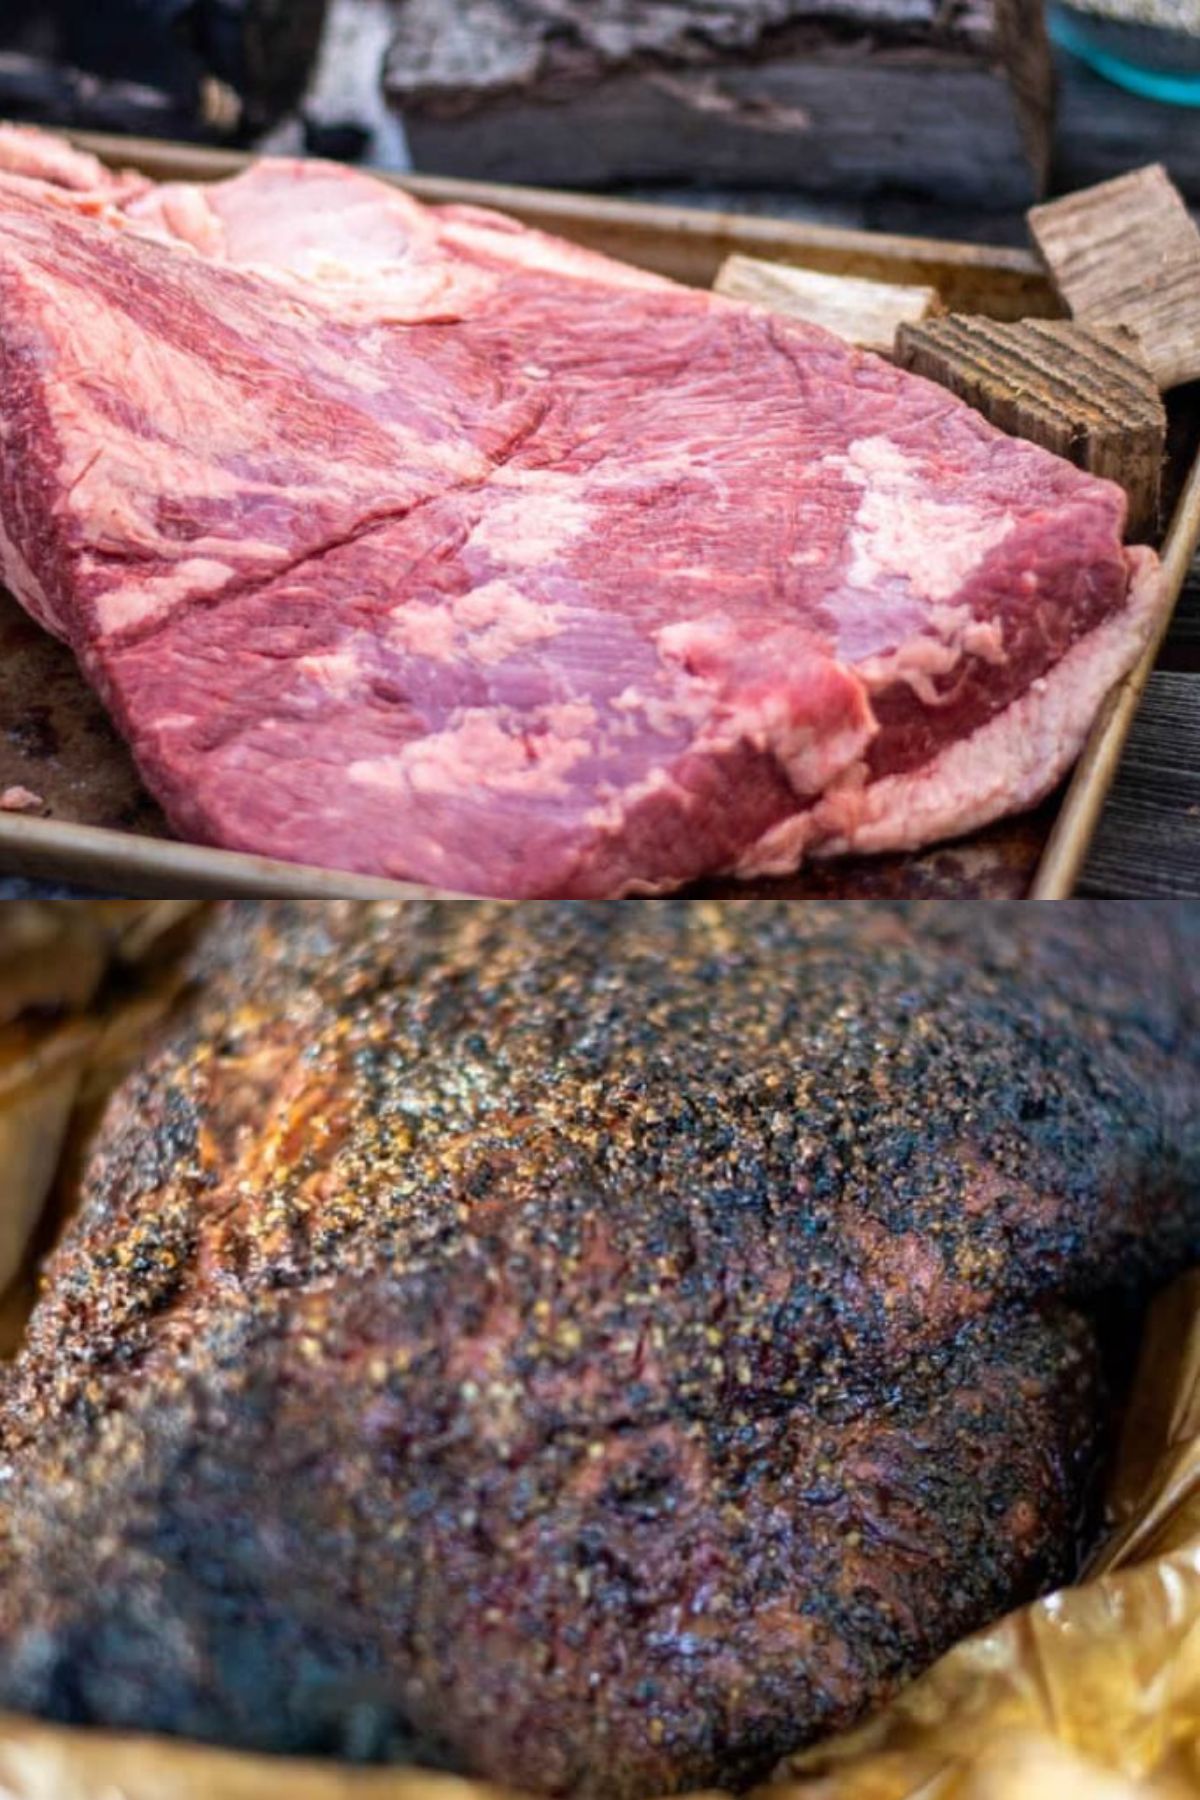
Briskets are quite intimidating cuts of meat, aren’t they? They have a reputation for being the holy grail of smoking, so we understand the feeling.
Any barbecue enthusiast should be up to the challenge of conquering such a quality piece of meat. And yes, even if it means facing the tricky brisket stall head-on.
As much as briskets are tough cuts of meat, we ought to be tougher for the love of barbecue. Remember that we’re with you as we talk about the different brisket stall temps and how to deal with them.
Let’s get grilling!
What Is The Brisket Stall?
So you decided to have a barbecue with your family or friends and got yourself a nice thick slice of brisket. You put the brisket on your grill and cook it for an hour or two, seeing its temp rise consistently.
Then all of a sudden, you notice that your brisket’s internal temperature has been stuck between 150° to 170°F for a while now.
That is when you know you’ve reached the stall, a phenomenon that happens when cooking large cuts of meat.
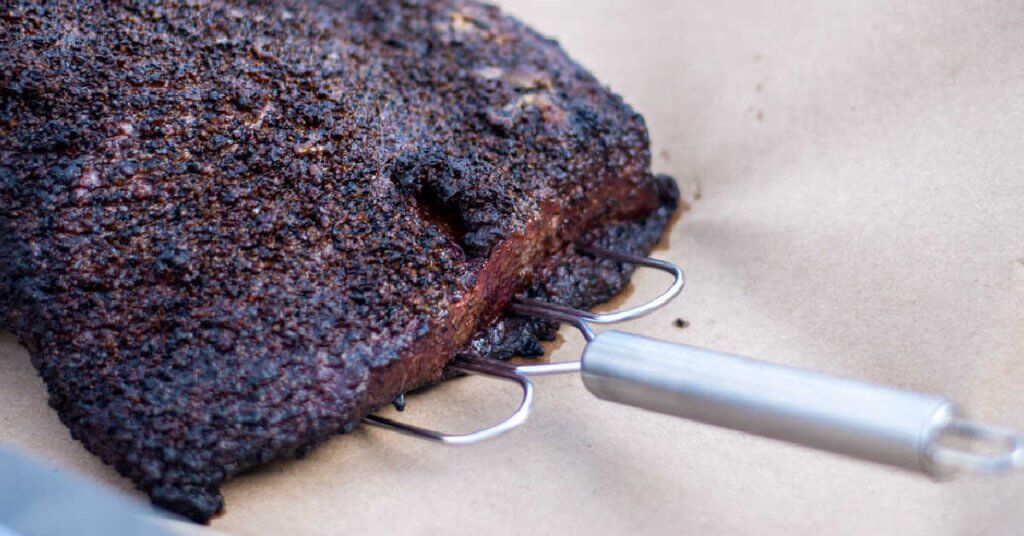
The general rule in grilling or roasting a brisket is to have the thickest part of the meat reach at least 195°F (200°F is even better) using a meat thermometer, we love ThermoPro’s Digital or ThermoPro Dual Probe to check a couple spots of meat at the same time and it will alarm me when it reaches the desired internal temp.
Any less than that counts as undercooked, so if the meat stalls at certain temps, you have two options: wait it out, or power through.
Cooking the meat can already take a while, but hitting the brisket stall may cause you to wait for a few extra hours.
All while listening to the stomachs of your family or guests growling from hunger.
How Does The Stall Occur?
Stalling in terms of cooking meat is also commonly referred to as “the plateau” or “the zone.”
When you take out your brisket from the freezer, a considerable amount of cold air is tucked inside the meat. Now, as you cook the brisket at a certain temp, hot air tries to enter the interior of the meat.
As a result, the cold air trying to get out of the meat clashes with the hot air trying to enter the meat. While the cold air is sure to escape the meat eventually, the brisket stall will make it take longer to do so.
In some cases, the brisket’s temperature might drop a few degrees during stalling.
Physicist Dr. Greg Blonder describes the stall as a process called “evaporative cooling.”
In science, this means the exterior of your brisket can cool down a bit as the cold air escapes and causes moisture. Similar to how sweating works in humans to cool down.
What Are the Brisket Stall Temperatures?
The brisket stall usually happens between the temps of 150° and 170°F.
Although, that doesn’t mean you can’t encounter the stall outside those temps. Sometimes it can happen before or after reaching that range.
Be sure to expect the brisket stall when preparing to cook. That way, you wouldn’t be panicking and all over the place when it hits you.
Brisket Stalling at 125°F to 145°F
If your brisket temp stays at around 125° to 145°F, you’ve likely hit the stall way too early. This will make the cooking process take longer, so it’s best to remedy the situation right away.
Reasons for the brisket to stall at these temps include:
- Cooking at a low temperatures
- Your thermometer may be inaccurate
- You aren’t probing the right spot with your thermometer
While it’s still okay to hit the brisket stall at around 140° to 145°F, it’s best to avoid lesser temps. You wouldn’t want your meat to stay between 125° and 135°F.
Moisture attracts bacteria, and the longer you expose the meat to moisture, the more you risk it going bad.
Beef briskets contain 71% water when raw, so you’d want to avoid stalling at those temps as much as possible.
Brisket Stalling at 150° to 170°F
This is the most common range for you to expect to hit the brisket stall. You should always try to be ready to deal with the stalling at these temps when preparing to cook your brisket.
Once your brisket stays within these temps, you have two options to go about it. You either wait it out till the meat gets past the stalling or apply different methods of cooking.
Of course, it all depends on the occasion and if you have the luxury of time to wait it out. No worries, we’ll help you power through the stalling later in the article if that’s what you need to do.
Brisket Stalling at 175° to 185°F
There’s nothing wrong with hitting the stall at these temps, but we understand how it can get frustrating. You’re inches away from finishing, then all of a sudden, you have to wait a bit longer.
Most of the time, this is when the rare second stall occurs. While it may not take as long as the previous stalls, it still delays the cooking process.
Once you’ve gotten past the 170°F mark, try to avoid basting or spraying the brisket. More often than not, this only gives additional moisture to the meat, causing it to cool down a bit or stall.
Brisket Stalling at 190°F
In most cases, the 190°F temperature mark should be okay enough to ready the brisket for serving. However, some pitmasters like to take it further and go 195° to 205°F for that perfect brisket internal temperature.
You can use your thermometer or any sharp and thin instrument to probe into the thickest part of the meat. The brisket should be ready if it slides in easily.
If you have time to spare, you can wait it out to reach the perfect brisket temp most pitmasters are aiming for. It may take some extra time, but the results are sure to pay off.
Is the Brisket Stall Bad For Your Meat?

The brisket stall has caused quite a stir among pitmasters and barbecue enthusiasts alike. Now, you might be thinking, is the brisket stall bad for your meat?
The short answer is no; the brisket stall isn’t necessarily bad for your meat. Instead, it’s a natural cooking process that should be expected, especially in thick cuts of meat.
A lot of pitmasters include the stall in the total amount of time needed to cook the meat properly.
This only works if you can afford to wait it out and aren’t pressured by any events you need to cook the meat for, though.
Should I Beat the Stall or Wait for It to Finish?
The most traditional way would be to wait for the stall. It will stop eventually and produce great, tender meat. But the cooking time will be significantly longer and you’ll also need more fuel.
The decision on how to go around this is completely up to you and your restrictions. Beating the stall and waiting it out are two cooking methods that can bear different results.
To help you plan better and ahead of time, let’s take a look at the pros and cons of both methods.
Pros and Cons of Beating the Stall
You should beat the stall if you’re in a hurry to get that brisket cooked and ready for serving. Here are the pros and cons of beating the stall:
Pros
- Significantly speeds up the cooking process
- Prevents evaporative cooling from occurring on the meat’s surface
- It can give the bark of your meat a soft and braised texture if you prefer that over a hard and crispy bark
Cons
- May produce a soft and mushy bark
- The meat might lose that authentic smoky flavor
- The meat won’t taste as tender and juicy as you want it to be
- May require you to exert extra effort in additional preparation and cooking methods
Pros and Cons of Waiting the Stall Out
If you have all day (and the patience) to wait for the stall to finish, you might as well follow the traditional way of cooking a brisket. Here are the things to expect as pros and cons:
Pros
- The meat’s fat content renders better
- The meat becomes more tender
- The meat will develop a more intense smoky flavor
- You don’t have to alter your grill’s temps as much
Cons
- It can take up to more than 7 hours to finish cooking
- You have to constantly monitor the meat for an extended period
- You may need to spend extra time planning and have to cook ahead of time
- Risk of fire hazards, especially if you have to leave it overnight
How Long Does the Brisket Stall Last?
There isn’t a specific amount of time that applies to all instances of brisket stalling. Factors such as the size and thickness of the meat, cooking temp, and moisture amount can affect the stall time.
However, you can expect the brisket to stall to last anywhere between 2 to 7 hours, depending on the said factors. Though, in most cases, the average brisket stall lasts for 4 hours.
If there are also any drastic changes in the meat’s cooking conditions, you might run into some drops in its temp. A good example of this is when the cooking temp drops too low, and there’s too much moisture on the exterior of the meat.
A good rule of thumb is to decide which method goes best with your allowed cooking time. Try to plan ahead and avoid panicking and frustration while cooking.
If you’re unlucky, you might even encounter the rare second stall. For your barbecue gathering’s sake, we hope not.
How To Beat The Brisket Stall
So you have no choice and need that brisket to be ready in time for serving your guests. Don’t sweat it! Just like we promised earlier, we’ve got you covered.
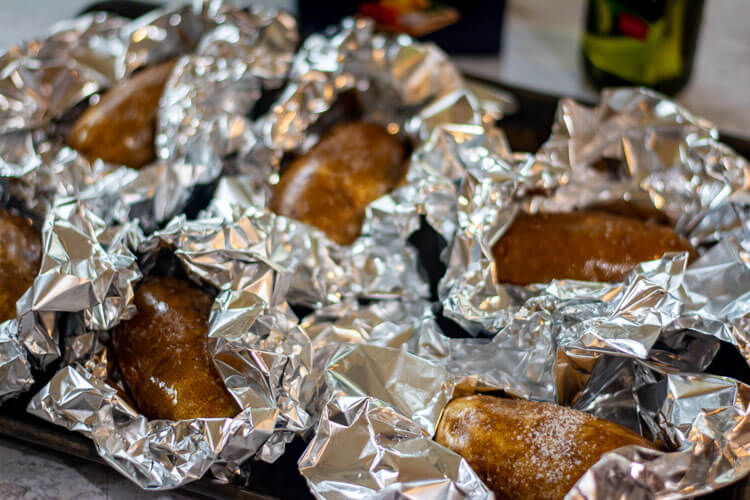
You can speed up the brisket stall by following the trusty old method, the Texas Crutch.
Let’s take a closer look at what the Texas Crutch is, how it works, and what needs to be done.
What is the Texas Crutch?
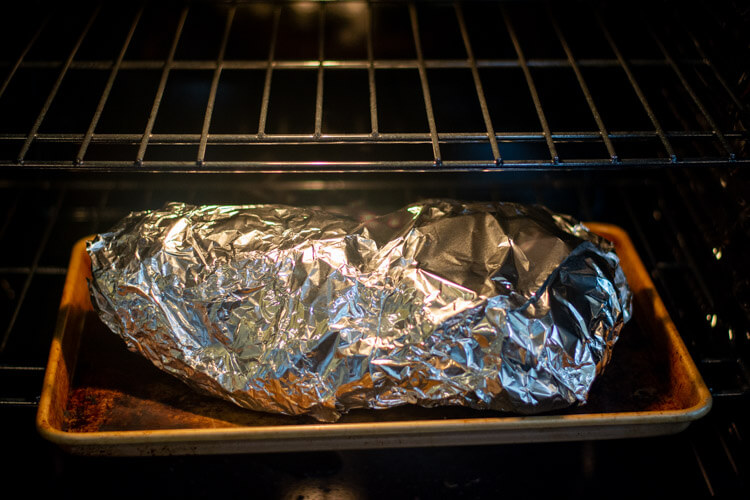
The Texas Crutch is a cooking method used to shorten the time it takes for stalling to finish when cooking meat.
You basically wrap the meat in foil or butcher paper before placing it back in your grill or smoker.
This method is a reliable way of beating the brisket’s evaporative cooling. As you wrap the meat tightly, the temperature inside starts to rise, pushing the brisket past the stalling.
Before deciding on using the Texas Crutch method, remember to take note of the following:
- Allow your brisket’s internal temp to reach at least 150°F before wrapping it
- The Texas Crutch method can considerably reduce the smokiness of your brisket
- Wrap your brisket tightly and make sure it has no leaks that could cause further or a second stalling
Yes, the Texas Crutch can reduce your brisket’s smokiness and moisten the outer bark, but there’s a way around it.
Once the brisket’s temperature hits 150°F, don’t wrap it just yet. You can wait a bit longer for the outer bark to form.
This will allow the meat to absorb more smoke before it gets wrapped inside the foil or butcher paper.
It may not be the same as what you get from waiting the stall out, but at least it still retains some smokiness.
As soon as you see your brisket’s internal temperature rising again, you can unwrap it and place it back on the grill until it reaches the perfect doneness.
During this time, the outer bark will get back its original crisp.
What’s the Difference Between Using Aluminum Foil and Butcher Paper?
There are a lot of debates on which is better to use, but both are effective at getting past the brisket stall.
Let’s look at the differences between using aluminum foil and pink butcher paper to help you decide which to use.
Aluminum Foil
- Easier to use for wrapping meat.
- Can help cook the meat faster.
- Completely prevents moisture from escaping its encasement.
- Prevents smoke from entering its encasement.
- Provides better conductor of heat.
- Can cause the meat’s bark to be soft.
- It’s the traditional way of doing the Texas Crutch.
Butcher Paper
- Takes a bit of skill to use when wrapping meat.
- Its porous material can absorb fat and moisture.
- Its breathability allows some smoke to enter the meat.
- Allows some moisture to escape its encasement.
- Can give your meat’s bark a bit more crunch.
- Cooks the meat slightly slower than with an aluminum foil.
How To Do the Texas Crutch
Before you start with the crutching, remember to wait at least until your brisket hits 150°F.
This will allow some smokiness to the meat and crunch to its bark. There are some differences between wrapping with foil and butcher paper, so we’ll give you two sets of steps.
Follow these steps, depending on which you’re using:
Wrapping in Aluminum Foil
- Prepare two sheets of aluminum foil that are equal in length. Depending on the size of your brisket, the foil’s length should at least be around 4–6 feet long.
- Take out the brisket from the grill or smoker, then place it in the middle of your laid-out foil sheets. Make sure the brisket is right side up, with its bark facing upwards.
- If you want to add any liquids to enhance the meat’s flavor and juiciness, you can do so right now. This will be easier if you have a brisket spray.
- Wrap the brisket tightly by folding over the edges of the meat. Make sure there are no leaks and excess space inside the encasement.
- If there are any overlaps, just seal them up by either crumpling or folding them against the shape of the meat.
- Place your wrapped brisket back in the grill or smoker.
Wrapping in Butcher Paper
- Prepare two sheets of butcher paper. The length of the sheets should be at least four times the width of your brisket.
- Pile the two sheets of paper on top of each other by half of their width.
- Remove the brisket from the grill or smoker, then place it across the sheets of butcher paper. Make sure the meat is in the middle of the two sheets and at least a foot from the bottom edge of the butcher paper.
- Add any liquids or flavor enhancers before folding. The flavor enhancers’ moisture can help the butcher paper’s folds stick tightly.
- Fold the edges of the butcher paper over the top of the meat. Think of it as if you’re wrapping a giant burrito.
- Wrap any excess overlaps against the meat and over each other. Again, make sure there are no leaks and that the butcher paper is tightly wrapped around the brisket.
- Place the wrapped brisket back in your grill or smoker. The fat cap of the brisket should be oriented to the heat source.
Note: Whether you’re using aluminum foil or butcher paper, try to avoid opening the wraps too much. The more you open the wraps, the more heat escapes, which could slow down the cooking process.
Can You Prevent the Brisket Stall From Happening?
If you’re in quite a hurry and can’t afford to go on extended periods of cooking, we hear you. Now, you might wonder if there’s any way to avoid the brisket stall from happening.
To answer that, we’ve got both good news and bad news.
The good news is, yes, there are some things you can try to prevent the brisket stall from happening. The bad news is that it’s not 100% guaranteed to work all the time.
However, if you’re in dire need of cutting the cooking time down, we’ve got a few tricks you can use. There’s no harm in trying, after all.
Here are some of the methods you can try:
Let Your Brisket Rest Before Cooking
One of the things you can do to prevent the stall from happening is to let your brisket rest before cooking. This will allow some of the cold air in the meat to escape, increasing its overall temp.
Some pitmasters suggest cooking the meat as soon as you take it out of the fridge to get a nice smoke ring. While that may be true, it’s not always the case.
You can still achieve a nice smoke ring to your brisket, even if you don’t cook it straight from the fridge.
If you’ve allotted some extra time to prepare before cooking, allow the brisket to rest for about an hour or two. You have a higher chance of hitting the stall if you put the meat in your grill or smoker while it’s freezing cold.
This doesn’t guarantee that you won’t hit the stall, but it can help lower the brisket’s temp before cooking.
Raise Your Grill or Smoker’s Temperature
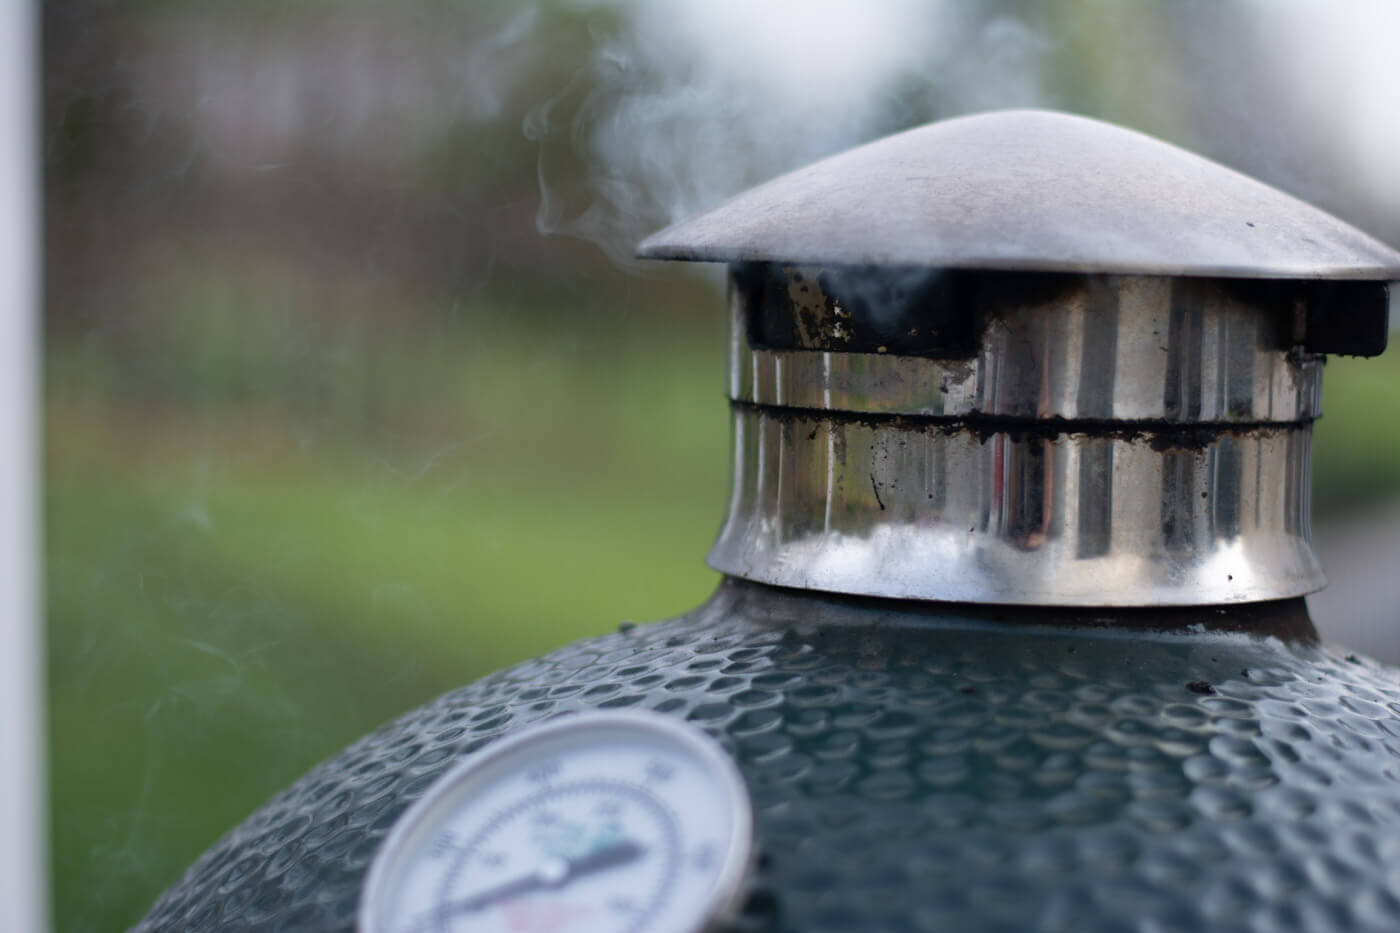
Increasing the temp of your grill or smoker is another possible way around the stall. We don’t recommend this, but it can help avoid the stall if you’re really pressed for time.
The usual temps for grilling or smoking a brisket are around 225° to 250°F. In some cases, 275°F is also viable.
However, you might get a better chance of skipping the brisket stall if you cook the meat at around 300°F.
Cooking at high temps comes with risks, though, so it’s best to be prepared. You should watch out for the following:
- You’re at an increased risk of fire hazard, especially if you’re not in control of your grill or smoker.
- It can speed up the cooking process but also makes the meat prone to overcooking.
- Your brisket can easily end up being dry and tough to chew.
- You have to constantly monitor the brisket as it cooks.
If it helps ease your mind a bit, some pitmasters cook at high temps and still produce great results. However, they are professionals and have spent years mastering their craft.
We’ll leave this one up to your judgment. Just make sure you’re well aware of the risks.
Try The Water Pan Method
Adding a water pan to your grill or smoker is a common method used by pitmasters and barbecue enthusiasts. It isn’t always guaranteed to skip the brisket stall, but it helps regulate the temperature.
To do this, fill an aluminum pan or tray with water and place it on your grill or smoker. Doing so will maximize humidity in your grill or smoker, helping the brisket cook at a steady temp.
Remember to put the water pan first before you put in the brisket.
The drawback of this method is that your brisket’s bark may not come out as crispy as you want it to be.
Nonetheless, it can help speed things up a little, as well as lessen the grease on your meat.
Furthermore, you can get creative with what you use to fill the aluminum pan. Some people like to use beer or apple juice to add flavor to the brisket.
Use Smaller Cuts of Meat
If you don’t mind cutting your brisket down to size, this method might work best for you. That’s assuming you need to get the brisket done as soon as possible.
The lesser the size of the meat, the more you reduce the chances of hitting the stall. If you don’t want to compromise the amount of meat by buying smaller sizes, you can slice them into smaller pieces.
There are no actual cons to this method, and following it doesn’t necessarily affect the meat’s texture or taste. In other words, your smoked brisket will still turn out delicious!
It does strip you away of that satisfying feeling you get from slicing a whole brisket once it’s cooked. But, hey, endure if you must.
Smoking or grilling a large quantity of brisket is definitely worth it. There are so many brisket leftover recipes to choose from and it’s exceptionally easy to reheat brisket.
Can You Have a Second Stall?
Is it bad enough that you have the brisket stall to worry about when cooking your meat? How about hitting a second stall?
It’s quite a rare and unfortunate occurrence, but yes, it can happen sometimes. Don’t throw in the towel yet, though!
If you’re careful in cooking and have had enough time to plan, this shouldn’t worry you too much. There are only a handful of reasons for a second stall to happen.
These instances include:
- Fluctuating temps in your grill or smoker (refrain from opening the lid too often).
- Spraying or basting your brisket too much.
- Your aluminum foil or butcher paper wrap has leaks.
The second stall is unlikely to happen most of the time and can easily be avoided. Be that as it may, it’s best to know that it exists so that you can take preventive measures.
If it happens, the second stall shouldn’t take as long as the initial stall.
FAQ
Smoke brisket until the internal temperature reaches 200°F using a meat thermometer.
This all depends on the size of the brisket and as stated above, if you reached a stall. Smoke the brisket until the internal temp is 200°F and not necessarily to time. This is a long and slow process.
Wrapping It Up
Properly smoking or grilling a brisket can be too tall of an order, especially for beginners. However, conquering this meat is as satisfying as its taste.
It’s not comforting to know that there’s a brisket stall to worry about, but you can always find a workaround if needed.
This is why we give prep time importance every time we cook for a special occasion.
The dreaded brisket stall can be intimidating, but remember that it’s not necessarily a bad thing. At the end of the day, it’s best to wait it out if you’re not in a hurry.
With great patience comes great meat!


Ginny Collins is a passionate foodie and recipe creator of Savor and Savvy and Kitchenlaughter. Indoors she focuses on easy, quick recipes for busy families and kitchen basics. Outdoors, she focuses on backyard grilling and smoking to bring family and friends together. She is a lifelong learner who is always taking cooking classes on her travels overseas and stateside. Her work has been featured on MSN, Parade, Fox News, Yahoo, Cosmopolitan, Elle, and many local news outlets. She lives in Florida where you will find her outside on the water in her kayak, riding her bike on trails, and planning her next overseas adventure.
Leave a Reply