If you want chicken that is tender, juicy and so simple to make, try our favorite Beer Can Chicken recipe. Our family cannot get enough of this. It’s the one recipe that turns out amazing every single time.
This chicken is so tender and moist. Even the white meat, which is so easy to dry out, stays nice and juicy using the beer can chicken method.
If you’re having guests, they will surely be intrigued and impressed with this cooking method, which is super fun and also results in a tasty chicken everyone will love.
If you’ve ever used a Texas Crutch when smoking ribs or brisket, (we think) beer can chicken is the same basic science. Even though the beer doesn’t evaporate much, steam from the beer will increase the humidity inside the bird.
This will in turn reduce the amount of moisture that evaporates from the meat as it cooks. As the humidity inside the cavity of the bird approaches 100%, the evaporation rate will be close to zero and your chicken will stay moist.
That’s one theory anyway. What I can tell you for sure is – this recipe works every single time and our family loves it!
🐔 Ingredients

Dry Rub – Our beer can chicken recipe begins with a mild grilling rub recipe from a grilling book that we have adapted to our taste. Just a few simple but flavorful ingredients: salt, pepper, brown sugar, garlic powder, onion powder, paprika, and celery seed.
Each batch makes enough for 2-3 whole chickens, but it’s also great for grilled chicken quarters or thighs. Consider it a general, all-purpose rub, not one to use on this one recipe. This is a simple dry rub that is insanely flavorful!

Chicken – A whole chicken. You could grab several whole chickens when they are on sale and have them at the ready in your freezer.
Beer – One bottle or can of the beer of your choice. Whatever beer you have on hand is going to work for this recipe, but each flavor of beer will bring a slightly different flavor to the chicken. Play around with it a few times to figure out your favorite.
*Note: If you don’t have a beer can chicken holder, make sure you have a can of beer and not a bottle.
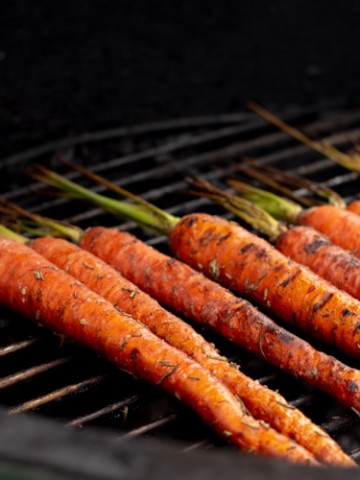
Optional Ingredients – Carrots and Onions for added flavor.
🧑🍳 Equipment and Tools
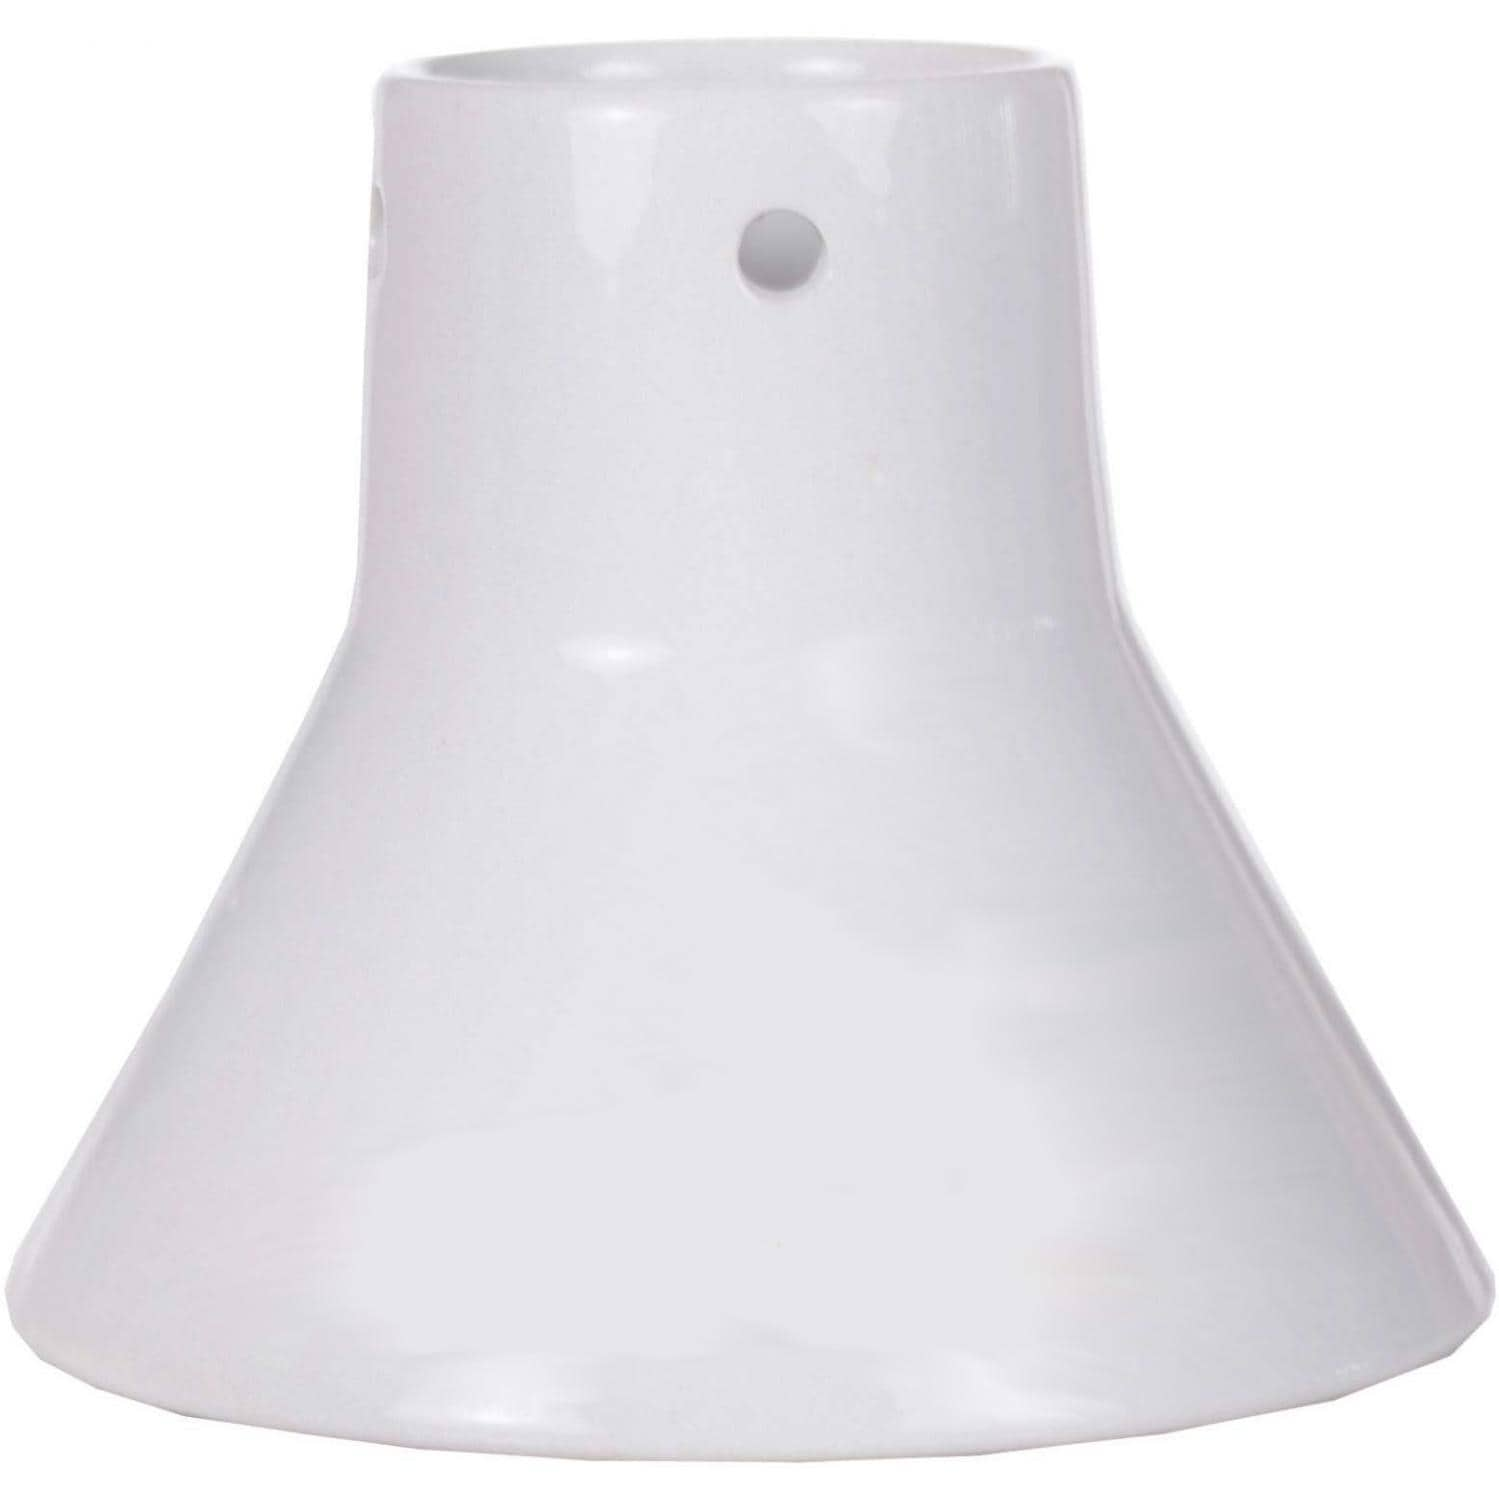
Beer Can Chicken Holder
There are several different beer can holders to help you with cooking this chicken. You certainly don’t HAVE to have one. You can just open a can, insert it into the chicken and balance it on a disposable pan on the grill.
Unfortunately, I have had it tip over mid-grill and had a bit of a mess to clean up. After that happened, I invested a few dollars into the proper tool for the job. Listed below are my favorites. Let me know what you think about them.

Meat Thermometer
Grab a meat thermometer that you can place in your chicken as it roasts with a flexible cord that will still allow your grill to close. These days, you can even get a fancy version that will sync with an app on your phone and notify you when the chicken reaches your desired temperature.
Grill
I used our Big Green Egg. You will need a grill that will hold a chicken sitting on end. If you do not have a grill, you can make beer can chicken in your oven. You can also make this recipe in your Traeger smoker.
🐔 Preparation
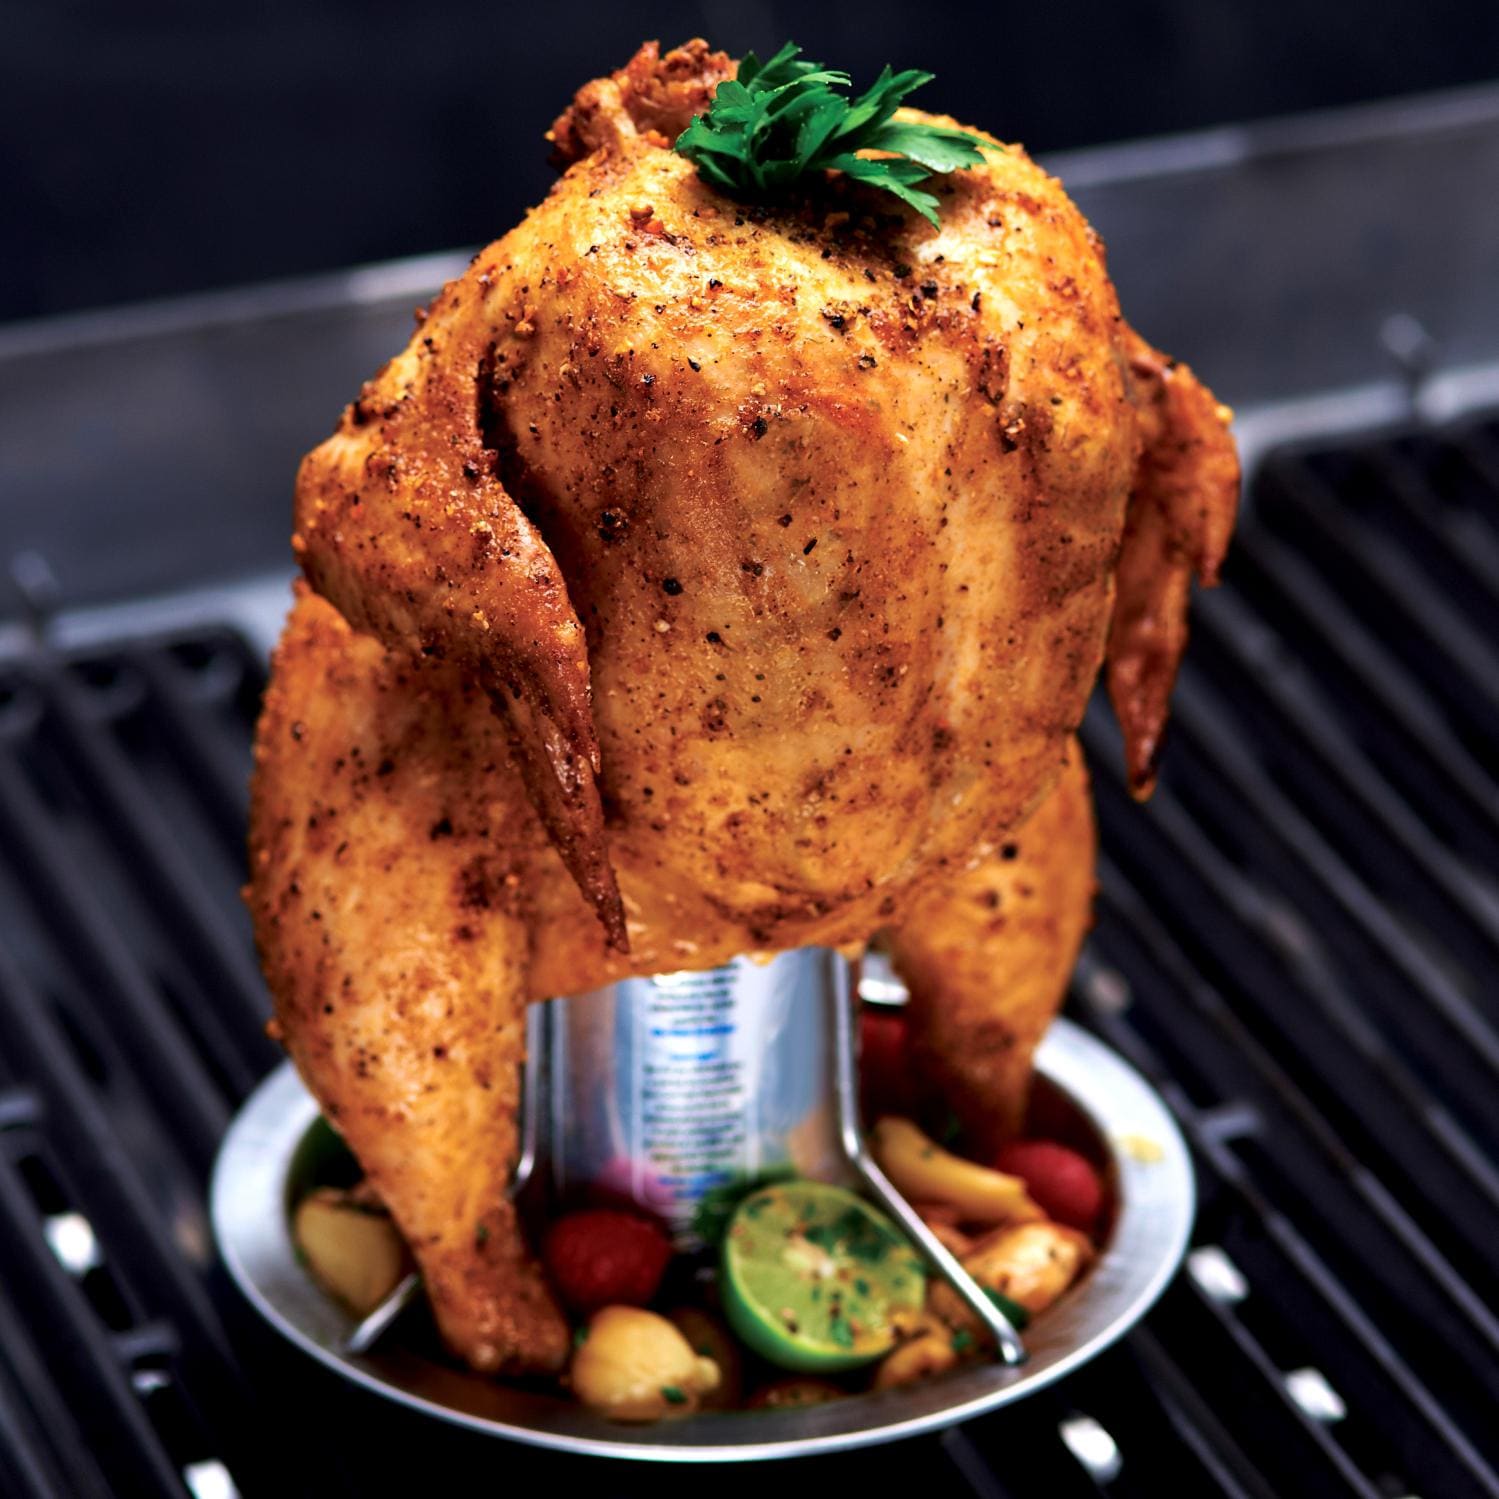
We use a traditional Beer Can Chicken pan that has the container in the center of the pan used to hold the beer. A separate conical-shaped piece slips in to help to hold the chicken upright.
Don’t worry if you do not have this exact pan. You can just use an opened can of beer to hold the chicken upright. If you do this, I recommend placing it on a small disposable aluminum pan to catch the drippings.
The pan is large enough (but not too big!) that we are able to cut up carrots and onions to put around the base of the chicken for additional flavor. I typically add these in the last 20-30 minutes, otherwise, they can easily become overcooked.
Everyone always asks about the beer that we use and does it matter? Of course, it does. It’s best to use a beer that you love. Just like a deep, dark Guinness stout tastes different than a light Belgian Ale, they will add a different flavor to the chicken as well. Play with it and see what you prefer. If you don’t normally buy beer, then it’s best to start with a Pale Ale, Belgian Ale, or a Lager.
🔥 Grilling Instructions
Make The Rub

Step 1: Measure all the ingredients and add them to a bowl.

Step 2: Mix them well, making sure to break all the clumps. If you are left with extra rub after seasoning the chicken, you can store it in a mason jar.
Prepare The Chicken

Step 1: Use 1/2 of the rub you just made to coat the chicken. Be generous, and spread it evenly, inside and out. If the skin is dry, you can use a small amount of olive oil to coat the chicken before seasoning. It will help the dry rub stick.

Step 2: If you’re using a beer can chicken holder, pour the beer in the cup it comes with. If you don’t have it, you will use the beer can itself, so just open it (and keep it full – no sips, grab another one if you’re feeling thirsty!).
Step 3: Place the chicken over the cup in the holder or the actual beer can (make sure it is open, that beer needs to flow out and moisturize the bird from the inside out as it cooks).
Grill The Beer Can Chicken
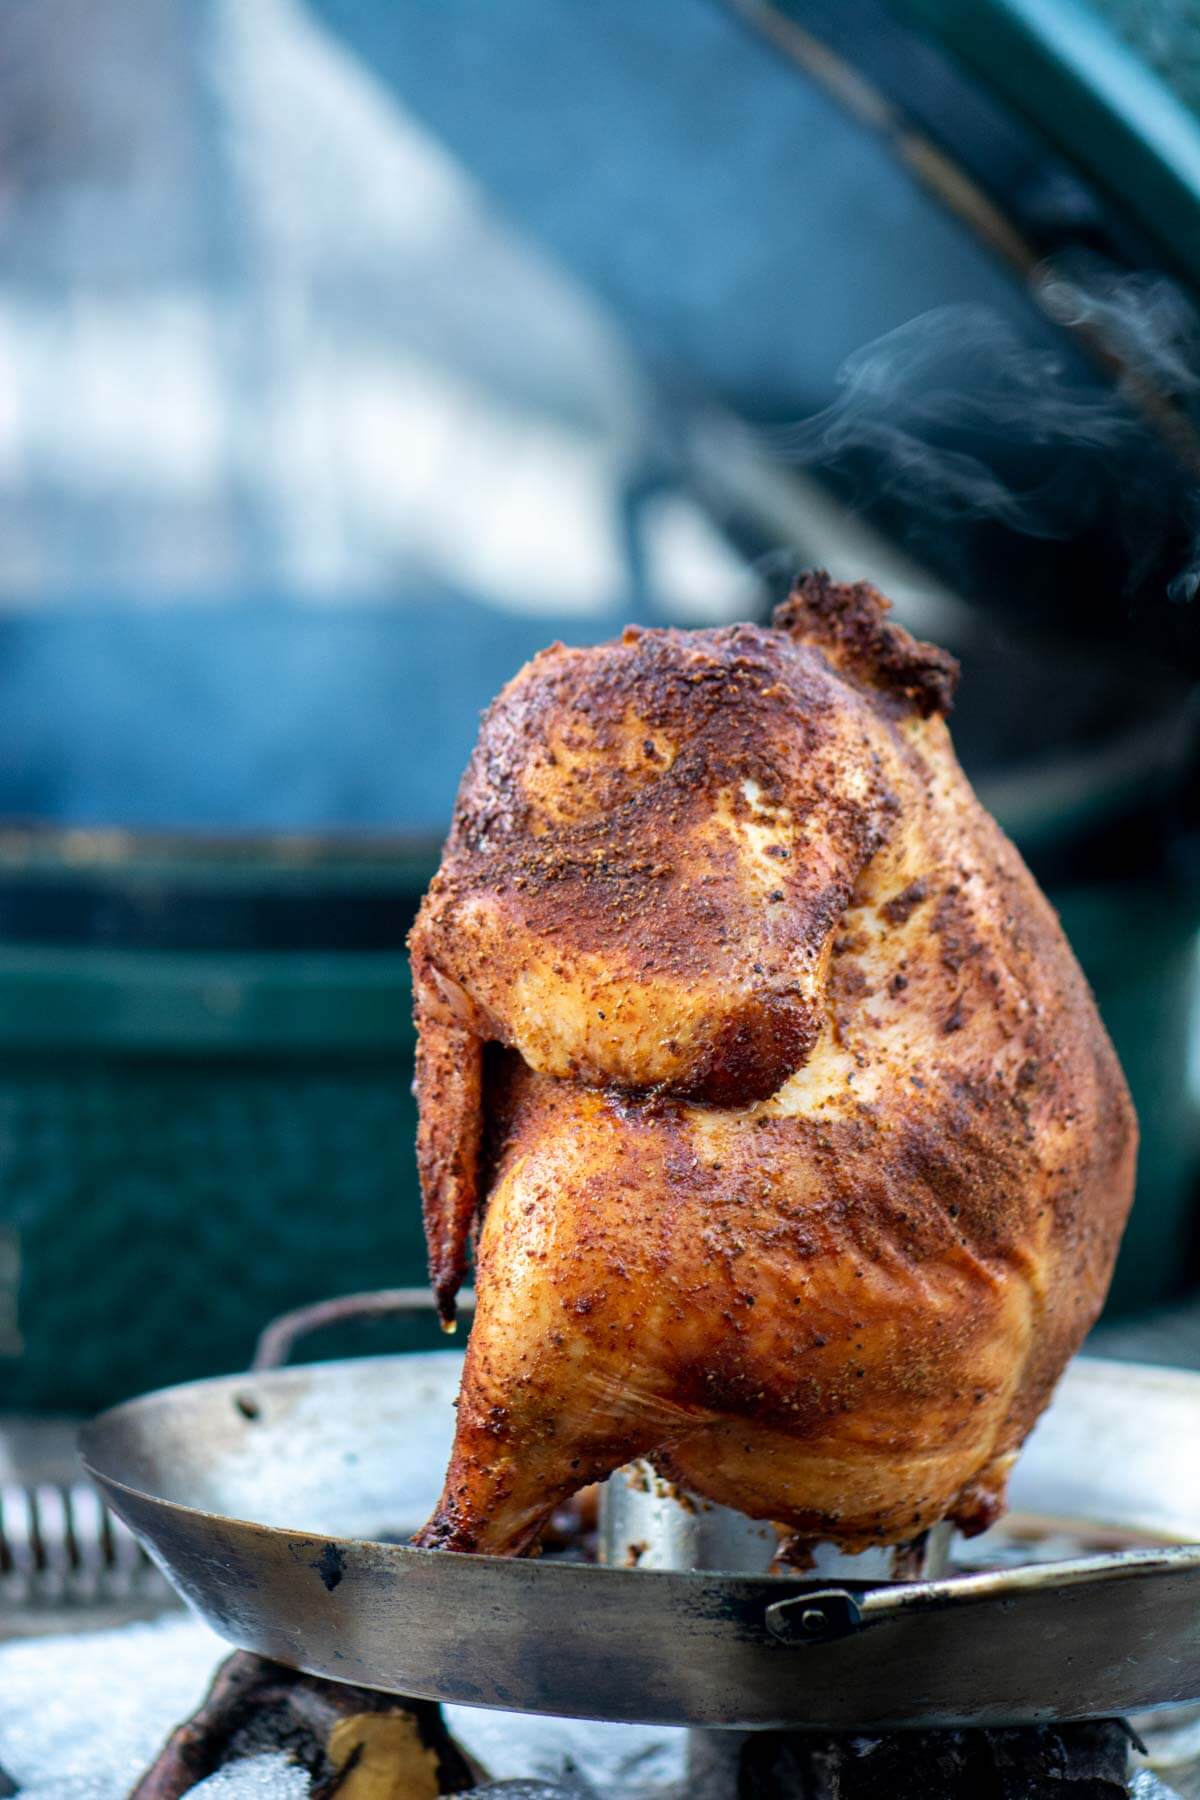
Step 1: Set up the grill using direct heat (remove the plate setter). Bring the temperature up to 350º and you will be ready to go. I like to give the BGE a few extra minutes to heat up and wait for the white smoke to turn silvery. That is when I know the grill is ready.

Step 2: Place the pan with the beer and the rubbed chicken in the center of the grill, close the lid and monitor the temperature to keep it close to 350 degrees. It is done when the internal temperature reaches 165 degrees. If you have the pan and plan to use carrots and onions, add those to the pan roughly 25 minutes before the chicken is finished.
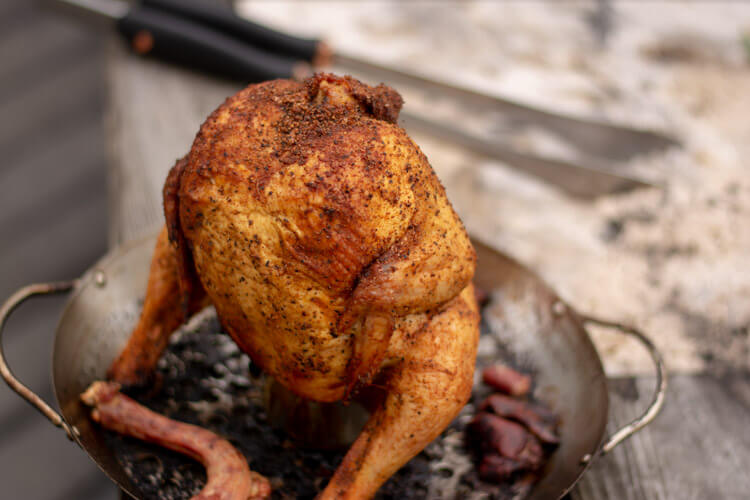
Step 3: Take your chicken off the grill and let it rest for about 10-15 minutes to let those juices settle in. If you carve it without letting it rest, the juices will all run out of the meat.

Step 4: Carve and serve your amazing beer can chicken!
💡 Expert Tips
Save leftovers in individual containers. I bring lunches to work each day and love it when I grill the whole chicken on the weekend. I know I will get lunches throughout the week with this fantastic juicy chicken. It is easy to pick the chicken apart and place them in individual Tupperware containers with some fresh grilled vegetables. That is oh-so-good!
Cook all the pieces and parts. Don’t throw away the little pouch that comes with the whole roasting chicken. The chicken liver, gizzard, and heart are packed full of nutrients and taste delicious! Wait until just 20 – 30 minutes are left on the grill, sprinkle those chicken parts and pieces with the same seasoning that you rubbed on the chicken, and let them cook. It’s funny, but these are so darned good that they never seem to make it into my lunches for the week. What’s up with that? 😀
Use your favorite rub. Substitute any rub you like or even just use fresh herbs. The key here is getting that moisture from the beer into the chicken. Another fun seasoning is the rub we used on the Lemon Pepper Chicken.
Rest Your Chicken. Don’t skip this step. Allow time for the chicken to sit on the counter after you remove it from the grill for 10-15 minutes to allow all of the juices to stay in the meat. Think of this as standard practice when grilling. You can use this time to finish up your side dishes.
Adjust the Sugar Content to taste. With the brown sugar, our dry rub is a bit on the sweet side. If you prefer a more savory version of beer can chicken, you can cut down the brown sugar as much as you want. I personally like the initial sweet flavoring before the paprika and celery seed hit my palate.
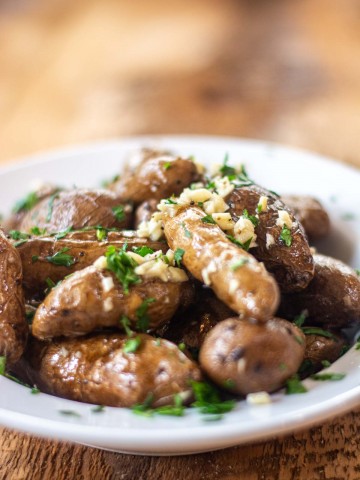
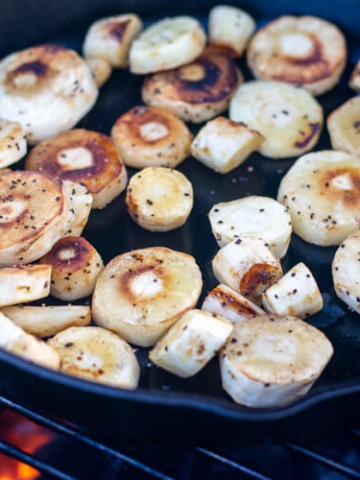
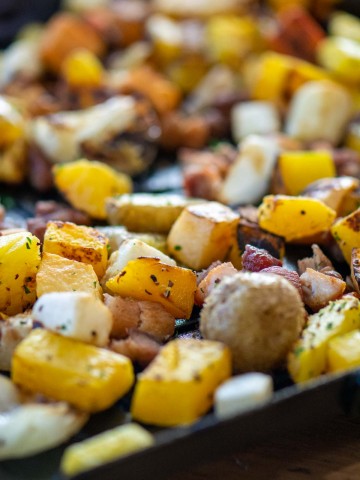
🌽 Serving Suggestions
A good fresh veggie works perfectly with this dish. I love to add a squash or potato dish to serve with this.
Find something that is fast and easy so you don’t have to reconfigure your grill. It is so much easier just to add some veggies on while the chicken rests.
Recipe FAQ
Chicken is done at 165º. Check the thigh without touching the bone. A great tip is to take it off if it is reading 160º as it will finish off on the counter as it rests to let the juices settle in nicely.
You bet! Set everything up as you would for grilling outdoors. Set the oven temperature to 425º and cook the chicken for 1 to 1 ¼ hour. Check for an internal temperature of 165º.
Use the beer that you like best. Just like a deep, dark Guinness stout tastes different than a light Belgian Ale, each beer will add a different flavor to the chicken as it cooks. Try a few favorites and see what you prefer. If you don’t normally buy beer, then it’s best to start with a Pale Ale, Belgian Ale, or a Lager.
Yes. You can make this recipe using chicken broth, soda, lemonade, apple cider, hard cider, white wine, or even a can of baked beans. Beer works the best, but any of these other options will steam the meat and add flavor.
As long as you use a gluten-free beer, this recipe is 100% gluten-free. If one of your guests is gluten sensitive, just ask them what their favorite beer is and use that. I doubt the other guests will even be able to tell.
Yes. If you do not have the special pan for making beer can chicken, simply use a beer can and insert it into the opening to stabilize the bird in a vertical position on your grill. Place a small sheet pan or metal pie pan under the beer can to catch drippings. If you do not have a grill – make this recipe in the oven! You could also try this butterflied chicken.
Yes. To more fully answer this question, we refer you to this article debunking beer can chicken myths.
It depends on the size of the bird. You want to cook the chicken until the meat reaches a temperature of 165º. You can pull it off the grill a bit before that because the meat will continue to cook some as it rests. Plan on 1.5 to 2 hours and keep track of the temperature using an internal temperature probe inserted into the thickest part of the meat being careful not to touch bone, fat, or gristle.
Related Recipes
Tried this recipe? Please leave a star ⭐️⭐️⭐️⭐️⭐️ rating in the recipe card below and/or a review in the comments section further down the page. You can also stay in touch with me through social media by following me on Instagram, Pinterest, and Facebook!
Grilled Beer Can Chicken
Equipment
Ingredients
- 1 whole Chicken
- 8 oz Beer flavor of your choice
Dry Rub
- ⅓ cup Brown Sugar
- ¼ cup Paprika
- 3 tbsp Black Pepper coarse ground
- 1-2 tbsp Sea or Kosher Salt coarse ground
- 2 tsp Onion Powder
- 2 tsp Garlic Powder
- 2 tsp Celery Seed
Instructions
Make the Rub
- Place all rub ingredients in a medium sized bowl and mix thoroughly. Break up any lumps with a whisk.
Prepare the Chicken
- Use about ½ of the rub to liberally coat the chicken, inside and out. Note: If the skin is dry, you can rub a teaspoon of olive oil over the skin before adding the mix. The oil will help the mixture stick.
- Pour your favorite beer in the cup of the beer can chicken holder
- Gently place the chicken over the cup in the holder
Grill the Beer Can Chicken
- Set the grill for direct heat and stabilize the temperature to around 350 degrees
- Place the chicken in the middle of the grill, close the lid and monitor the temperature
- Cook until the internal temperature reaches 165 degrees. It should take 1.5 – 2 hours depending on the size of the chicken.
Cooking in the Oven
- Preheat the oven to 425 degrees.
- Use about ½ of the rub to liberally coat the chicken, inside and out. Note: If the skin is dry, you can rub a teaspoon of olive oil over the skin before adding the mix. The oil will help the mixture stick.
- Open up the can of beer, place in the holder and the place the seasoned chicken on top. Place in the oven at 425 for about an hour to an hour and quarter. Always check internal temperature to be at 165 degrees.
Notes
Nutrition

Ginny Collins is a passionate foodie and recipe creator of Savor and Savvy and Kitchenlaughter. Indoors she focuses on easy, quick recipes for busy families and kitchen basics. Outdoors, she focuses on backyard grilling and smoking to bring family and friends together. She is a lifelong learner who is always taking cooking classes on her travels overseas and stateside. Her work has been featured on MSN, Parade, Fox News, Yahoo, Cosmopolitan, Elle, and many local news outlets. She lives in Florida where you will find her outside on the water in her kayak, riding her bike on trails, and planning her next overseas adventure.

Leave a Reply