Learning how to make Grilled Chicken Leg Quarters is a Grill 101 for all of us! Since these awesome pieces of chicken go on sale all the time, you need to know how to make this “to-die-for delicious”!
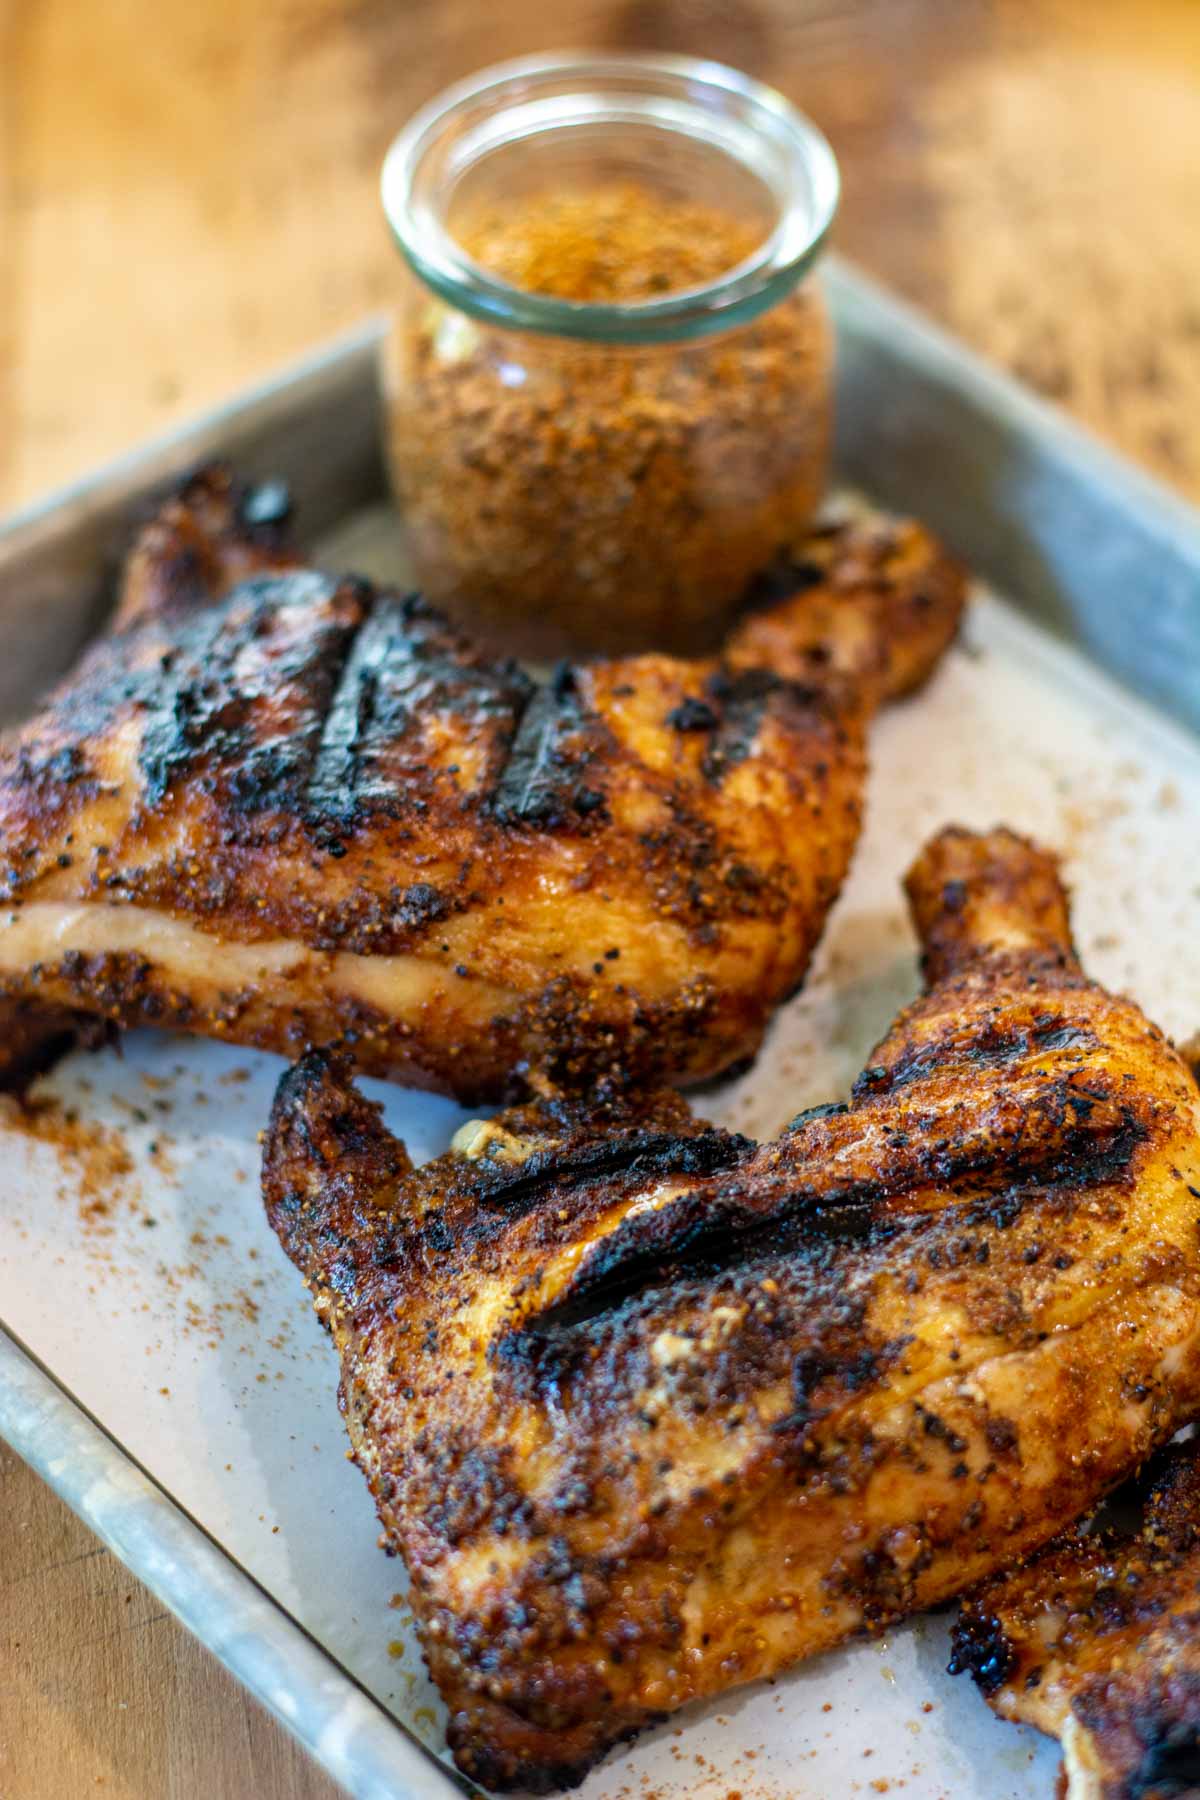
These are super easy to grill with just a few tips and tricks that will leave you picking them up all the time. There are endless options on how to grill them, especially since they cook in under 45 minutes. I can’t wait to show you a few ways to help you make these a new favorite.
📝 Why This Recipe Works
✔️2-Ingredient Recipe – As surprising as it may be, you only need chicken leg quarters and your favorite dry rub or seasoning for them to turn out juicy on the inside and crispy on the outside.
✔️Affordable & Easy To Scale – Chicken leg quarters are on of the most affordable cuts of meat. As if that wasn’t enough, they are often on sale. They make a great budget meal and the grill will elevate them to a whole new level of flavor!
✔️Fast Prep – We’re not doing anything fancy. In 10 minutes, the leg quarters will be ready for grilling.
✔️Easy To Customize – Switch out the rub, use a marinade, baste with BBQ sauce at the end – whatever you please. Chicken meat goes well with so many spices and herbs. I did two versions and both were delish!
🍗 Ingredients
I like recipes that give some leeway for the ingredients. I made this one several times, using a store-bought garlic herb rub, and then changed it up to use a traditional homemade BBQ rub from another recipe. I wanted to show you that it is best to grab the one you love and use it!
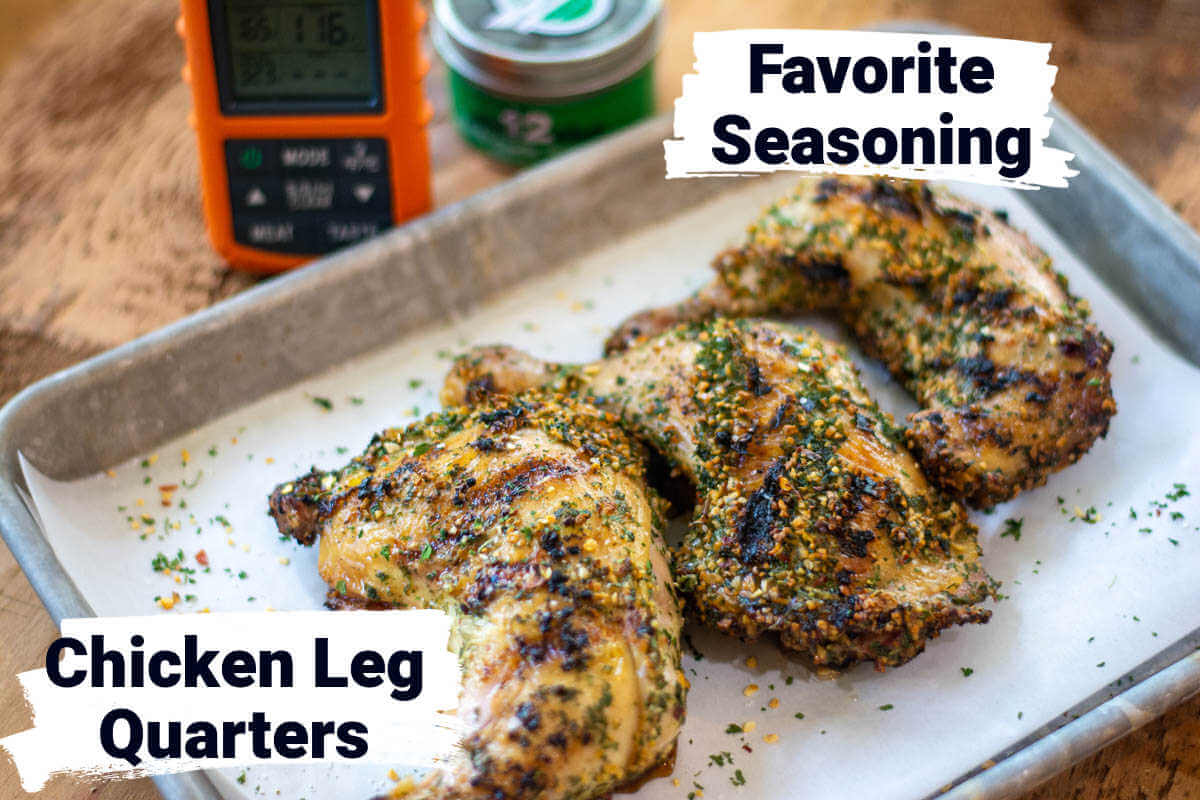
🛒Chicken Leg Quarters | I usually buy the large packages with six chicken leg quarters, but adjust the amount you need based on how many people you are feeding and if you want leftovers.
🛒Garlic Seasoning | I love the Two Snooty Chef’s Seattle Garlic Seasoning! I made these grilled chicken leg quarters two ways. One is using this herby garlic seasoning and it turned out fabulous.
🛒BBQ Rub | Chicken goes well with so many barbecue rubs so you have a lot of options here. For the second version of these chicken leg quarters, I used my homemade beer can chicken rub, but it’s easy to customize it or use one of the many storebought rubs available.
⏲️ Equipment and Tools
✅Grill | Almot any kind of grill will work here. I am using the Big Green Egg, which is a charcoal grill, but a gas grill, charcoal grill, or a pellet grill like the Traeger will work just as well.
✅Ziploc Bag or Large Bowl | You’ll need a large bowl or a ziploc bag (my personal preference for avoiding a mess) to season the chicken leg quarters.
✅Instant Read Thermometer | The secret to getting these chicken quarters cooked to perfection is to monitor their internal temperature. Without an instant read thermometer you won’t be able to accurately monitor the doneness of the meat, making it easier to under or overcook it.
If you’re just starting your grilling adventures, read our chicken internal temperature guide for more information on the perfect doneness for chicken.
✅GrillGrate | This is optional but a very welcome accessory for preventing flare-ups.
🔥 Instructions
This is an extremely easy and (almost) foolproof method to grill these perfectly juicy.
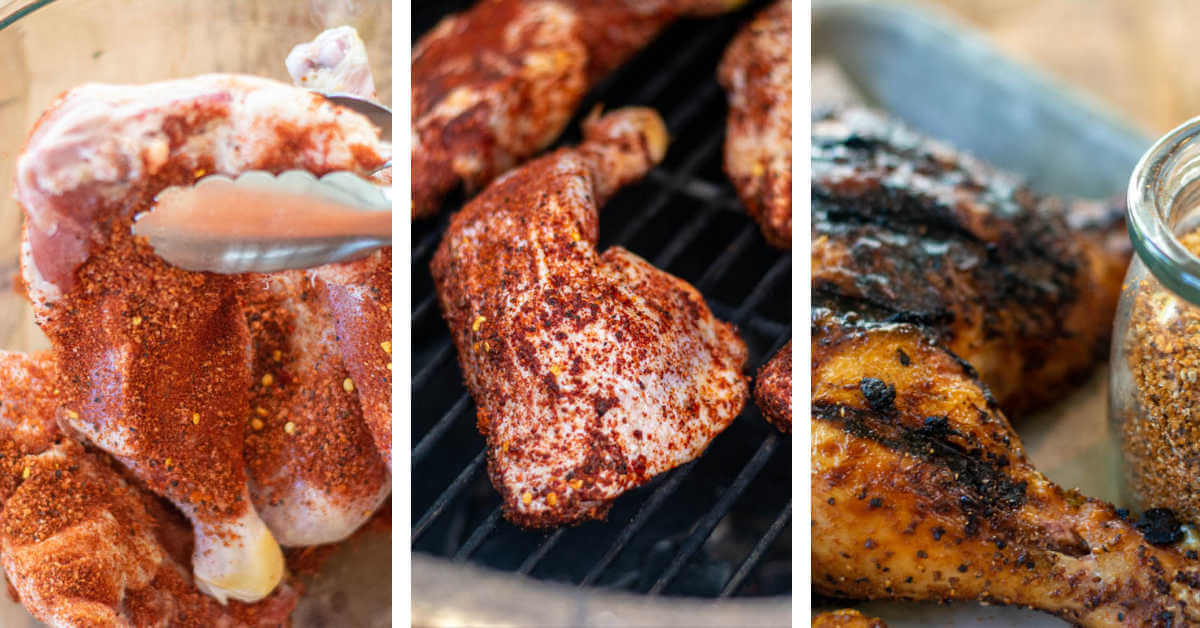
👉Step 1: Set up the grill for medium temperature. I set it to 350°F on direct heat. Too hot, and the outside will burn before the inside is fully cooked. Too low and this will take FOREVER to grill.
If you do want a slow-cooked recipe, check out these smoked chicken thighs. These have the complex flavor of a long smoke and an amazing BBQ sauce.
👉Step 2: While the grill is coming up to temperature, add the chicken quarters to a large Ziploc bag and add a few tablespoons of your favorite dry rub. Seal up the bag and shake until the chicken is fully coated.
👉Step 3: Place them on the grill. Insert your wireless thermometer, and flip the quarters every 10-12 minutes. It should take between 35-45 minutes for them to reach the safe recommended internal temp of 165°F.
👉Step 4: Let the chicken rest for 5 minutes before serving, so the juices settle back into the meat.
This is one of my favorite cuts of chicken. I don’t know why more people don’t jump at these in the store. They are extremely inexpensive, always juicy, delicious, and extremely versatile. My favorite way to grill them is just using a simple dry rub. That’s it. No fancy sauces, no competition BBQ injections. Nope. A dry rub will do the trick. It is just enough flavor to complement the extremely delicious chicken without taking over the flavor profile.
⏲️ How Long to Grill Chicken Leg Quarters
At 350°F over direct heat, the leg quarters will take 35-45 minutes to cook. The key is to bring them to 165°F. One of the most common concerns is when you cut it open and you see a bit of pink, especially around the bone, but as long as the temperature is 165°F, you are fine.
Here’s how to tell if chicken is undercooked so you can eliminate all suspicions.
👩🍳 Expert Tips
📌Always start off with meat that is not frozen. If it is frozen, it takes that much more time for it to come up to temperature which risks it drying out.
📌Leave the chicken on the counter for about 20 minutes prior to grilling. This brings that refrigerated temperature up quite a bit which improves the cooking.
📌Grill at 350°F. Hotter than that will risk burning the outside and leaving the inside raw.
📌Tame any flare-ups from charcoal before you put the chicken on the grill. Flare-ups can burn the food and again, the inside won’t be done.
📌Use a GrillGrate. To avoid juices dripping onto the charcoal, I use the GrillGrate. Not only does it catch the drippings, but it gets so hot that it leaves some amazing char marks on the quarters. You seriously can’t beat that!
📌Baste at the end of the grill. I don’t always baste with BBQ sauce, but when I do, I wait until the last 2-3 minutes. If I do it earlier, it drips down into the coals and creates a smoky mess. The last few minutes allow it to caramelize without burning, and the smoke issues are minimized.
📌Use a wireless thermometer. Always, always, always! It is tough to tell when the quarters are completely done, and not over-cooked. The only way I have been able to successfully cook them each and every time is with this tool. If you want to read more about them, I created a post on the best wireless meat thermometers.
Note: I use the ThermoPro TP20. It is pretty inexpensive, and the wireless range has been extremely good. Fortunately, the alarm is loud enough for even me to hear it without trouble! On the off chance you aren’t using one, cut open the chicken to see if it is fully cooked. If the juices run clear, you should be set. To be safe, though, use a thermometer.
📌Use a Ziploc Bag. The easiest way to evenly coat the chicken with a dry rub is to add them to a gallon Ziploc bag, dump in a few tablespoons of your favorite rub and shake it up.
Seriously, this is the fastest and most efficient way to go. I have added them to a glass bowl and used my hands to coat the chicken, but I always ended up wasting the dry rub, as too much would fall to the bottom of the bowl, and wouldn’t stay on the quarters.
BBQ Dry Rub
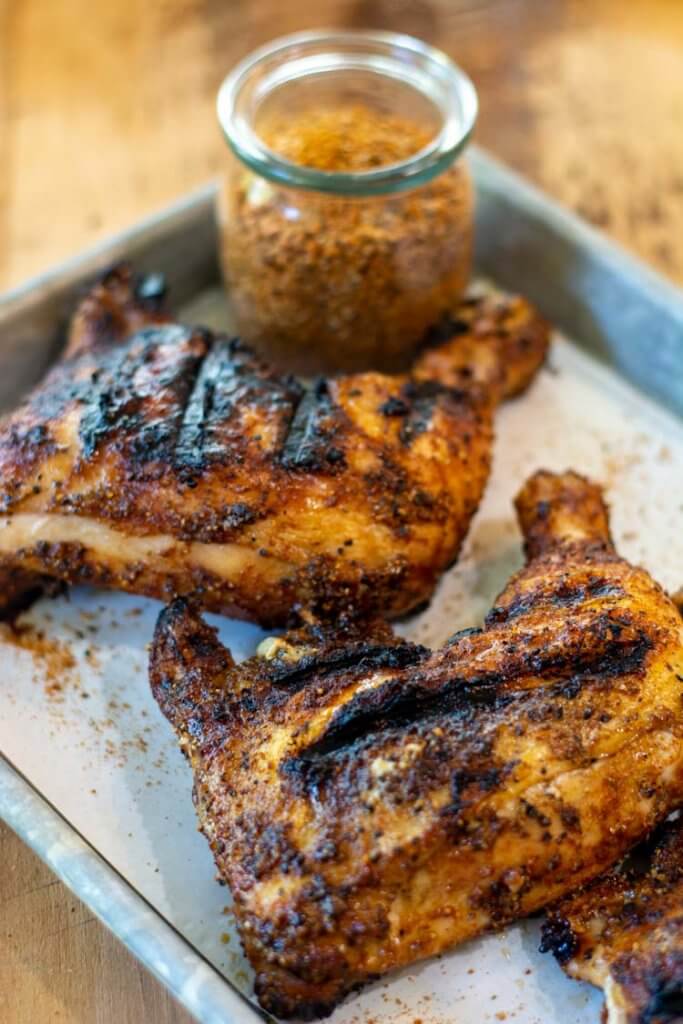
Using our homemade dry rub is a sweet and savory seasoning that is super easy to make.
Garlic Herb Dry Rub
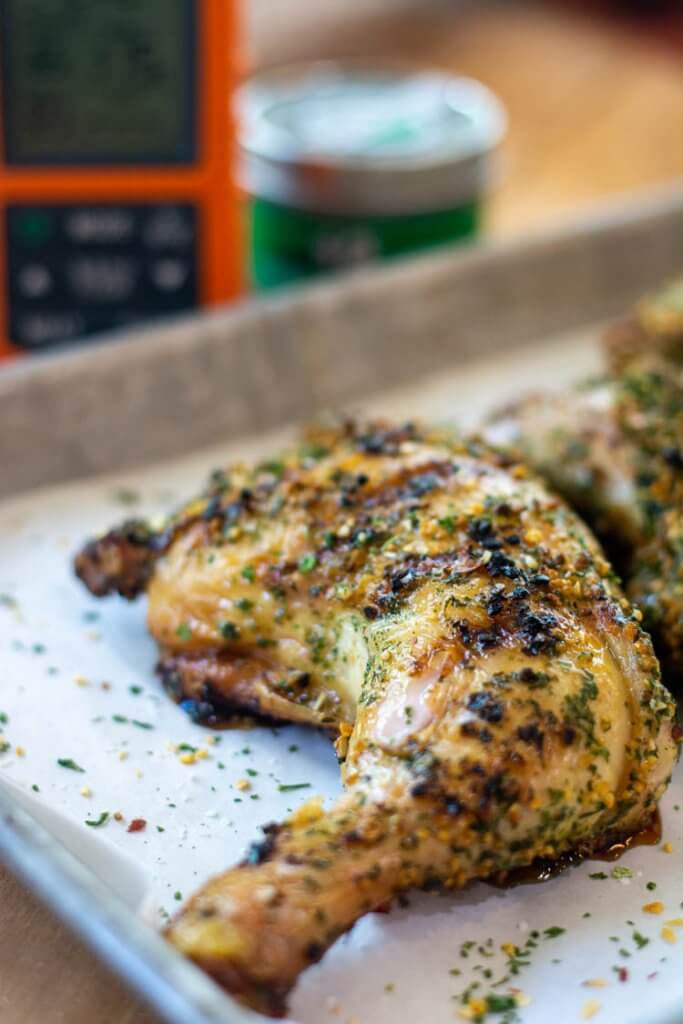
The Garlic Herb seasoning is a great one we picked up from Two Snooty Chefs.
🔁 Additions & Substitutions
👍Use Chicken Drumsticks Or Thighs | This recipe relies on cooking the chicken quarters to the perfect internal temperature of 165°F. You can substitute chicken thighs or drumsticks and it will turn out just as tasty. Use our free grilled chicken temperature chart to grill any chicken part to perfection!
Since a quarter contains both the drumstick and the thigh, using the smaller parts will reduce the cooking time, which is excellent when you’re hungry even before firing up the grill.
Or simply follow one of our tried-and-tested recipes such as grilled chicken drumsticks, grilled chicken lollipops (for a special presentation), or grilled lemon pepper chicken thighs.
👍Experiment With Different Dry Rubs | You have to love how versatile chicken meat is when it comes to seasoning options. I used a ready-made garlic herb rub, and my own homemade dry rub blend for chicken but there are a lot more to try.
Some of my favorite homemade BBQ rubs for poultry include the all-purpose dry rub for grilling and the Yukatan dry rub. It is worth making a larger batch if you grill chicken and turkey often!
You can also use common ingredients such as paprika, garlic powder, cumin, brown sugar, and cayenne pepper to create a custom dry rub that perfectly suits your taste preferences.
👍Dry Brine Overnight | Even if your favorite seasoning is just salt and pepper, letting the chicken sit overnight will help it absorb more flavors and become more tender. Just keep in mind that smaller, boneless cuts, like chicken breast, will need less time dry brining. Even a few hours is enough.
👍Glaze With BBQ Sauce | This adds a special charm to BBQ chicken leg quarters. If you choose to do it, wait until the last 2-3 minutes of cooking. The BBQ sauce can easily burn if you grill it for too long.
Try my honey sriracha sauce as a glaze for a spicy kick, or the whiskey BBQ sauce for a slightly boozy flavor.
👍Wet Brine vs. Dry Brine | Wet brining is another way to tenderize meat and infuse more flavor. The chicken is submerged in a saltwater solution, infused with herbs and spices.
The best way to figure out which method you like best is to use both. This easy citrus brine I used for smoked spatchcock chicken gave excellent results!
👍Use a Marinade | And finally, a third option to elevate the humble chicken leg quarters with just as many flavors to choose from. This is a larger chicken cut, so whatever marinade you choose, let them sit in it for 3-6 hours.
It’s just as easy to marinate chicken, as it is to dry or wet brine it. As far as seasoning options are concerned, you have just as much freedom as you do for the dry rub.
From the citrusy honey orange marinade to the savory garlic, and soy sauce marinade, and herby rosemary thyme marinade chicken lends itself well to this technique, especially for dry cooking methods like grilling, smoking, and roasting.
🍱 Storage
I love having any grilled meat as leftovers, including these crispy chicken leg quarters. You can easily reheat them or clean the meat off the bones and use it in a sandwich, salad, casserole, or another dish.
❄️Fridge | Ideally, place the leftover chicken quarters in an airtight container, as soon as they cool down to room temperature and transfer them to the fridge. As per USDA’s guidelines, cooked chicken will last 3-4 days in the fridge.
🧊Freezer | Wrap the leftovers in a double layer of plastic wrap or aluminum foil and place them in a heavy-duty freezer bag. They will last 2-6 months, but I recommend you use them in the first 3 for the best taste and texture. Do not skip the wrapping before bagging. It offers much-needed protection against freezer burn.
♨️ Reheating
Reheating grilled chicken leg quarters is extremely easy. As long as you use the proper cooking temperature and reheat the chicken to an internal temperature of 165°F it will remain moist and delicious.
Oven
🔸Preheat the oven to 350°F (175°C).
🔸Place the grilled chicken leg quarters on a baking sheet or in an oven-safe dish.
🔸Cover the chicken with aluminum foil to help retain moisture.
🔸Reheat in the oven for 20-25 minutes or until the internal temperature reaches 165°F (74°C).
Grill
🔸Preheat the grill to medium heat.
🔸Place the grilled chicken leg quarters on the grill.
🔸Cover the grill and reheat for 10-15 minutes, turning the chicken occasionally, until the internal temperature reaches 165°F (74°C).
Microwave
🔸Place the grilled chicken leg quarters on a microwave-safe dish and cover with a microwave-safe lid or microwave-safe plastic wrap, leaving a small opening to vent.
🔸Reheat on medium power for 2-3 minutes per piece, or until the internal temperature reaches 165°F (74°C).
Air Fryer
🔸Preheat the air fryer to 350°F (175°C).
🔸Place the grilled chicken leg quarters in the air fryer basket in a single layer.
🔸Reheat for 6-8 minutes, or until the internal temperature reaches 165°F (74°C).
🍽️ Serving Suggestions
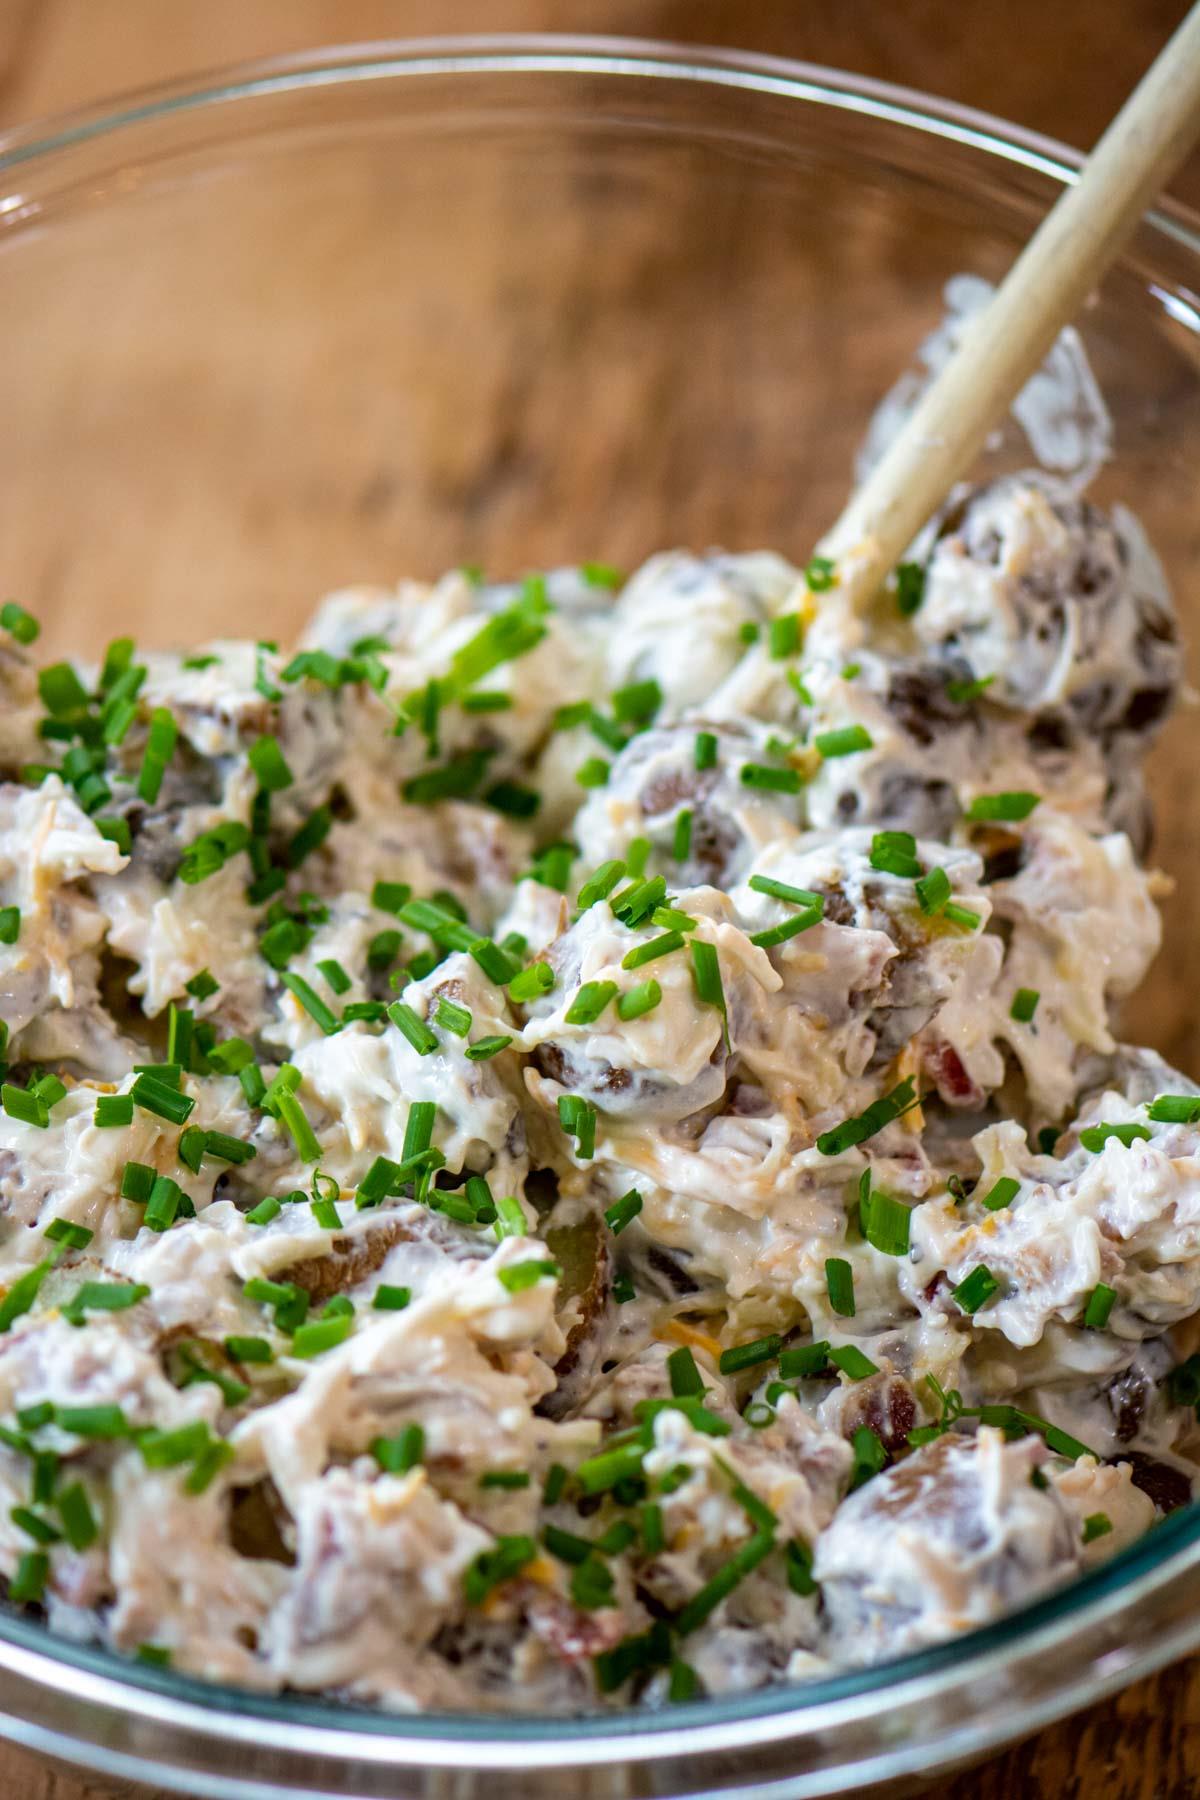
You know what the best part is about grilled chicken? It works with an impressive variety of seasonings, BBQ sauces, and side dishes. It is, quite literrally, a neverending adventure, so let’s explore some of the best BBQ chicken sides.
⭐Classic BBQ Sides | There’s no way to make a cookout complete than to include a traditional BBQ side. Whether you go for a hearty grilled mac and cheese, grilled baked beans, smoked potato salad, or a light and crunchy grilled beer corn on the cob, or coleslaw, it will be a total hit!
⭐Potato Sides | Chicken and potatoes might sound like a basic meal but it depends a lot on how you cook both. Of course, grilled chicken is fantastic, but potatoes can get the same magic from the grill or smoker.
My friends and family are quick to gobble up these cheesy grilled potato skins and they will pair wonderfully with any BBQ meat. I also make smoked fingerling potatoes, and grilled baby potato skewers very often because my wife and son keep asking for them, and I like to keep my favorite humans happy!
⭐Veggie Sides | Make it a lighter meal by serving your grilled chicken leg quarters with a nutritious veggie side. I like to complete my grilled meats with a grilled or smoked veggie so there is no compromise on flavor!
Simple sides like grilled sweet onions, smoked asparagus bundles, grilled broccolini, and grilled patty pan squash are proof the earthy sweetness of veggies gets even better once you throw them on the grill or in the smoker.
⭐Salads | This is the perfect refreshing companion for grilled chicken! A simple mixed green salad, a creamy cucumber salad, or a more textured grilled peach and arugula salad will make any meat go down easier.
⭐BBQ Sauces | You can skip the formalities and use your favorite storebought BBQ sauce for convenience. It is worth mentioning, making your own is a matter of minutes!
We love the smoked pumpkin Bourbon BBQ sauce, the sweet and spicy BBQ sauce for grilled chicken, and the cherry Bourbon BBQ sauce to serve with all grilled poultry. They add a fantastic depth of flavor, you’ll want to enjoy over and over.
❓ Recipe FAQs
No way! There are a few reasons, but mostly the flavor is legit amazing when you leave the skin on. It gets crispy and makes the chicken taste so good. Plus, it locks in the moisture. If you really don’t want to eat it, skip it, but please don’t cook it without the skin.
It doesn’t matter which side you place them first on. I found the best temperature to grill chicken quarters is at 350°F over direct heat. You will need to flip the chicken every 10-12 minutes until it reaches the safe internal temperature of 165°F. This will take around 35-45 minutes.
Let them cool down all the way; then you can store them in the refrigerator for up to 4 days.
Place it on a baking sheet and gently cook it in a preheated oven that is 350°F. It will take 10-15 minutes to warm up, but it will taste better that at a higher temperature. Or you can heat it in the air fryer at 350°F for 6-8 minutes or until hot.
🍗 More Amazing Recipes!
Tried this recipe? Please leave a star ⭐️⭐️⭐️⭐️⭐️ rating in the recipe card below and/or a review in the comments section further down the page. You can also stay in touch with me through social media by following me on Instagram, Pinterest, and Facebook!
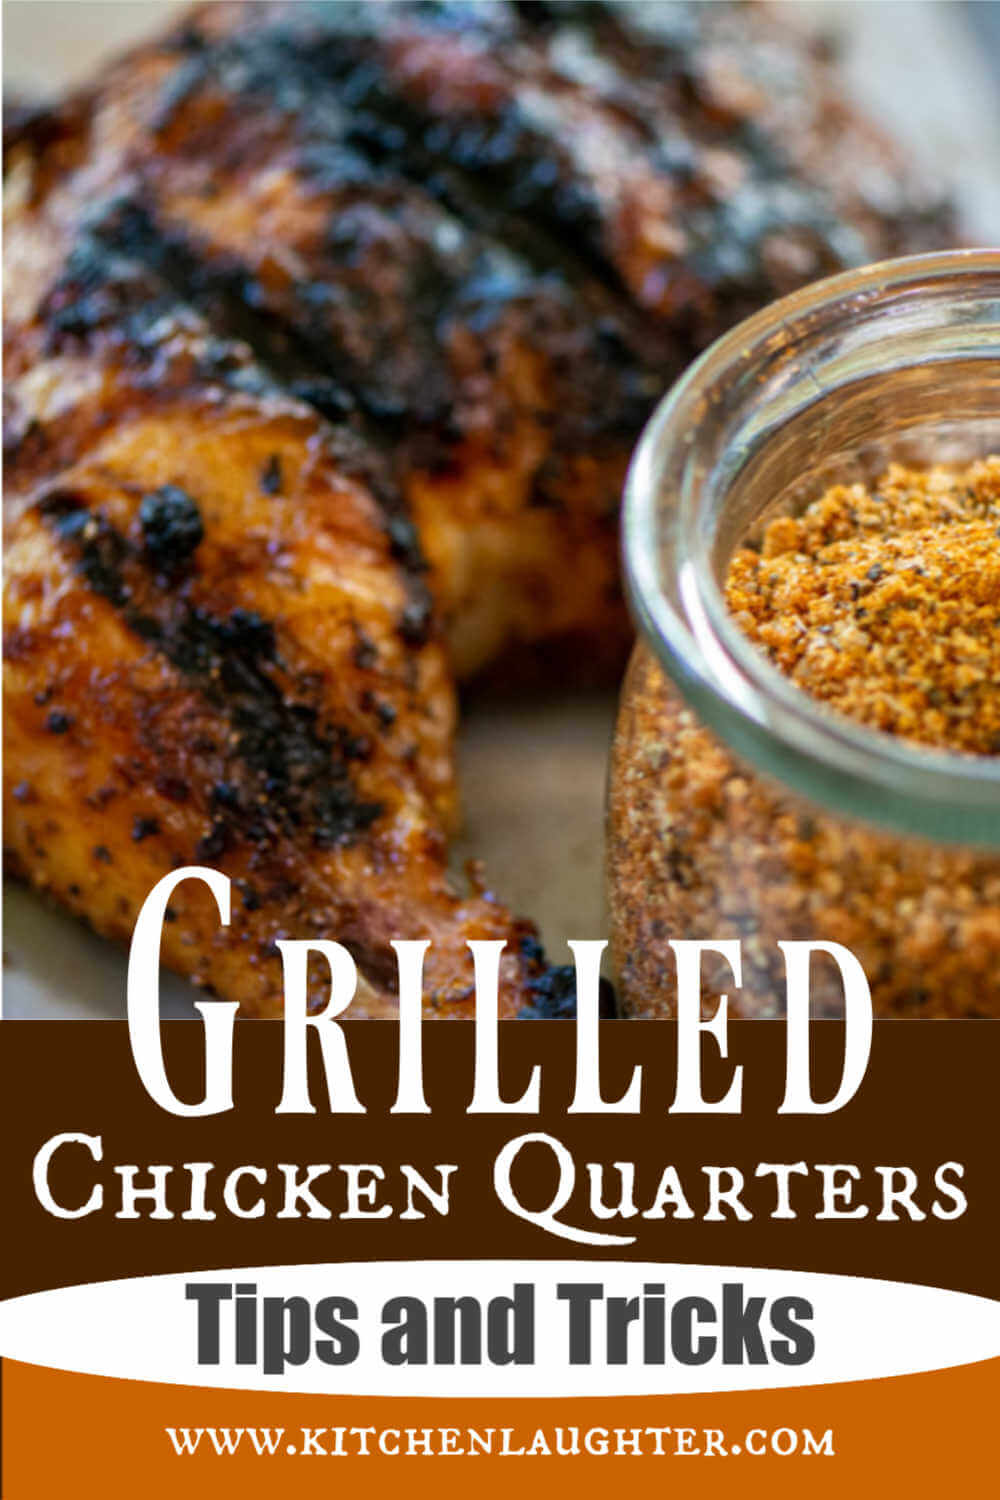
How to Make Grilled Chicken Leg Quarters
Equipment
- Grill
- GrillGrate
- Ziploc Bag or Large Bowl
- Instant Read Thermometer
Ingredients
- 6 Chicken Leg Quarters
- ¼ cup Two Snooty Chef's Seattle Garlic Seasoning optional
- ¼ cup BBQ Rub optional – we used our Beer Can Chicken Rub
Instructions
Prepare the Grill
- Heat the grill to 350°F using direct heat.
- If you are using a GrillGrate, add it now to give it time to heat up fully.
Prepare the Chicken Quarters
- Add the chicken to a large ziploc bag and add in the dry rub of your choice.
- Seal the bag and shake it so all of the chicken is coated evenly. This is the most effective method for ading a dry rub to the chicken.
- Alternatively, you could add the chicken to a large bowl and combine with the dry rub. I found this technique to be more difficult to coat the chicken evenly.
Grill the Chicken Quarter
- Add the chicken to the grill. Insert the wireless meat thermometer and change the alarm setting to "chicken".
- Flip the chicken quarters every 10-12 minutes.
- Remove the chicken when the internal temperature reaches 165°F (this usually takes around 35-45 minutes). If you do not use a meat thermometer, then cut open a thigh and make sure the juices run clear.
- Let the quarters rest for 5 minutes before serving.
Notes
Nutrition

Jason’s been firing up the grill for over 30 years after graduating from the US Coast Guard Academy. His love of finely-grilled steak and chicken led him to buy his first Weber grill to put on his apartment patio in 1992. Each military move led to a new grill (a mixture of gas and charcoal) until he fell in love with the Big Green Egg in 2008. Since then, he has added another 4 grills to the collection. Yes, he has a problem. Jason loves smoking in the ceramic BGE with exotic woods including olive wood from Egypt and hard to find varieties such as sassafras and orange wood. Jason takes the term “foodie” to a whole new level, jumping at the chance to take food tours and cooking classes during foreign travels. These have provided inspiration to incorporate new ideas into recipes when he gets back home. He has been featured in Fox News, Parade, Yahoo News, Kansas City Living and more. After retiring from the military and moving to southwest Florida, he has focused grilling and smoking locally sourced meats and fish (read: he likes to catch his own fish!)


Leave a Reply