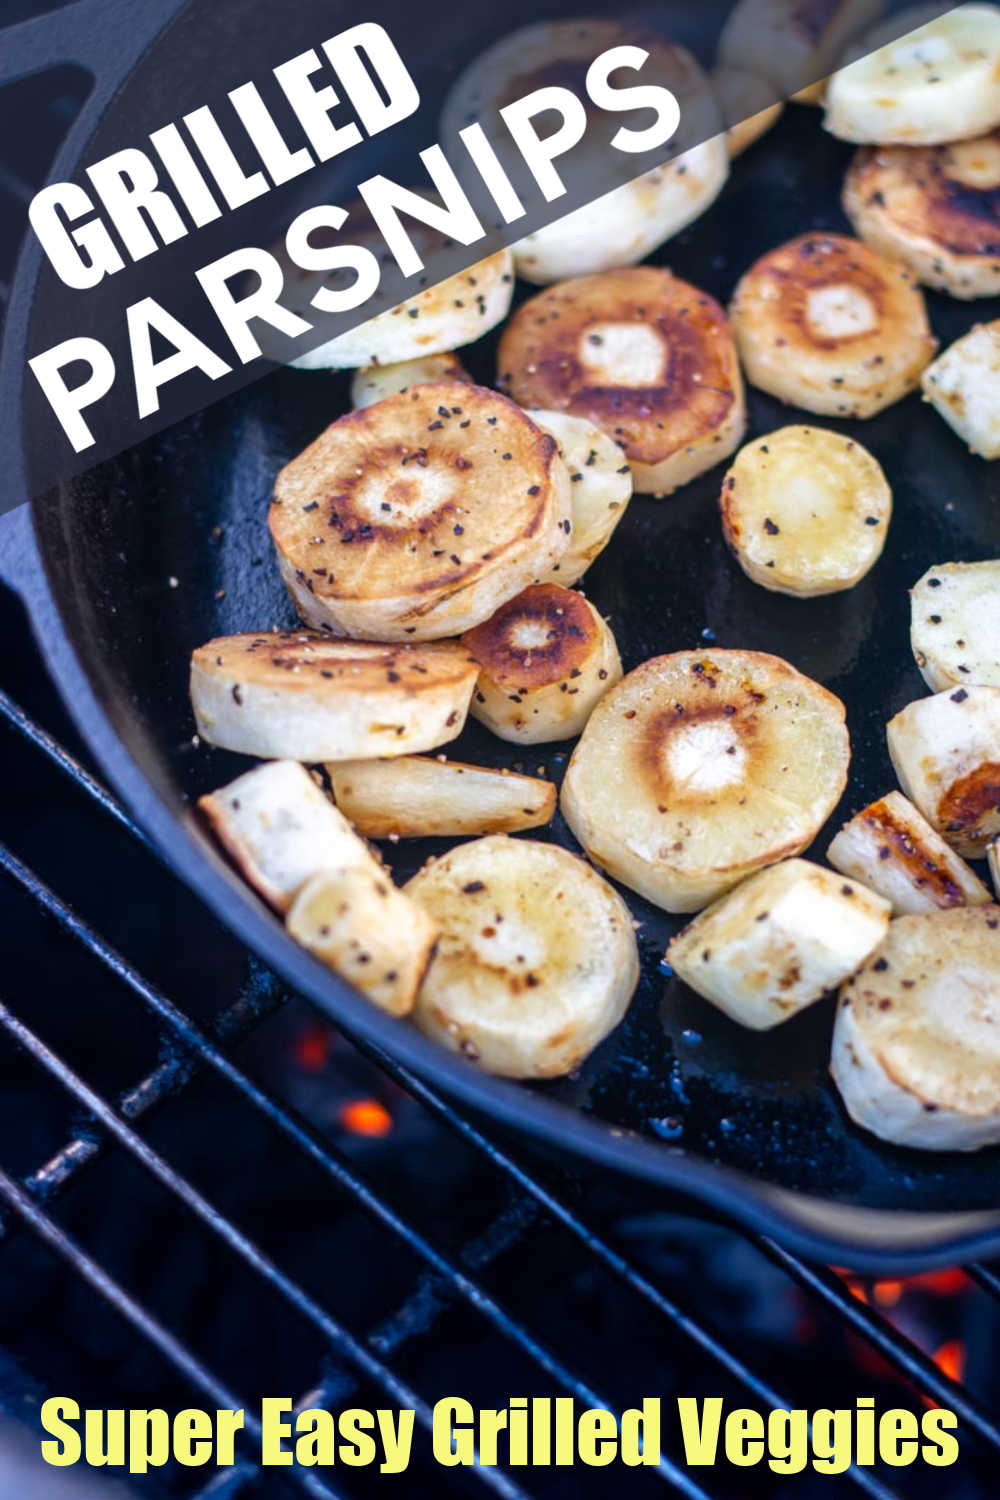
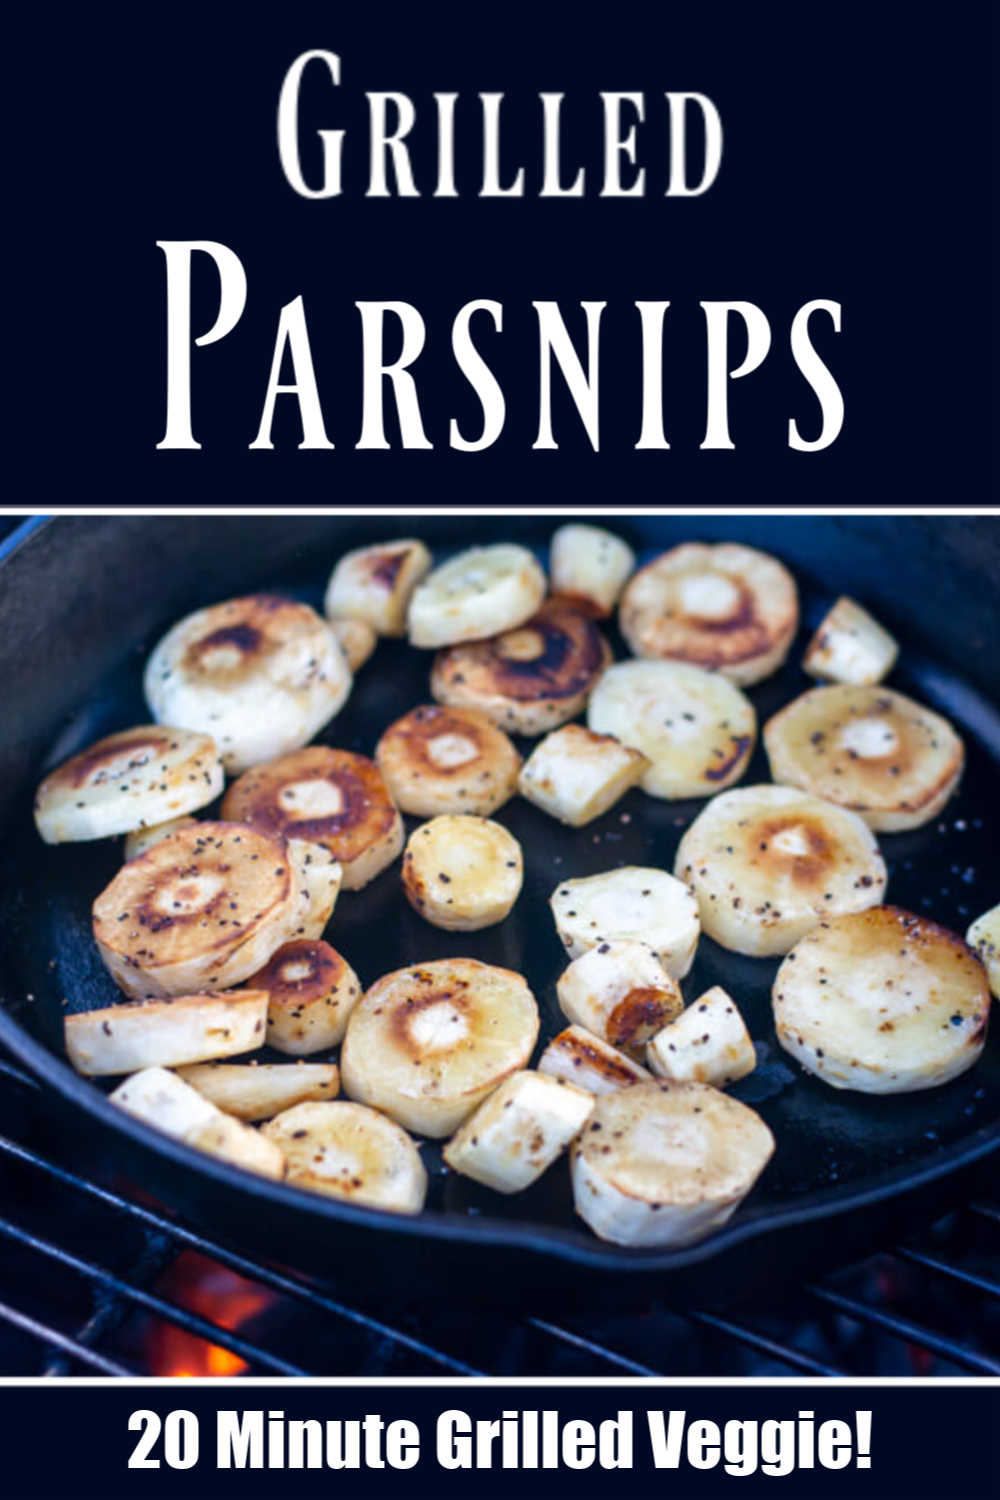
These Grilled Parsnips are 15 minute & easy side dish that is packed with flavor. It will go into your favorites to make again and again.
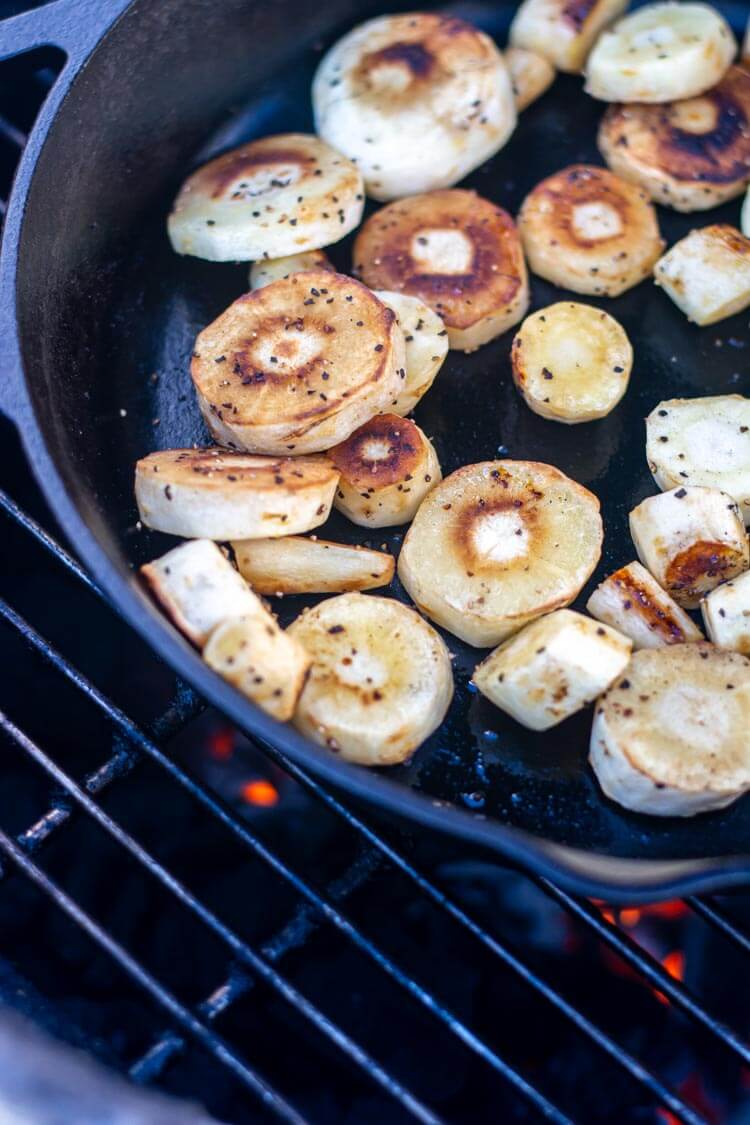
We love easy side dishes and frankly, this recipe is so easy, it is almost embarrassing to share it with you.
But, we decided to do it anyway because it is so darned delicious! I will show you how to mix this up by combining them with sweet carrots too. You will have an impressive and delicious side dish at a moment’s notice without having to spend a lot of time preparing it.
🍽️ Why You’ll Love This Recipe
- They are straightforward to make.
- Parsnips have a high fiber content, so they are good for you.
- They are also filled with potassium and vitamin C too.
- Grilled parsnips taste amazing.
- They go well with all types of meat or can be enjoyed as a vegetarian dish.
🧂 Ingredients
You can’t find an easier recipe for parsnips! Let’s take a peek at what you will be needing.
Olive Oil | We enjoy the texutre and flavor of using olive oil to cook these parsnips. You could swap it for avocado oil or sunflower oil as well.
Parsnips | Remove the peels or leave them on and cut them into even slices before beginning. This will ensure they cook preprly.
Salt & Pepper | You can add as much salt and pepper that you like.
🥘 Equipment and Tools
Cast Iron Skillet | Using a cast iron to cook these on the grill makes this so easy and the veggies come out crisp and yet packed with flavor. The coloring is gorgeous as well.
Grill | Use any grill you have including the Weber, Char-Broil, Big Green Egg, Traeger or Camp Chef. If you have a smaller grill, you may need to use a smaller skillet or cook these without cutting and place right on the grill grate like we did for the Grilled Carrots.
🔥 Grilling Instructions
Start by determining if you need to peel the parsnips or not. I usually don’t peel the smaller, younger parsnips. The skin is really soft and contains a lot of the flavor and nutrients, so I prefer to keep it on. Heck, it saves a few minutes too!
You may want to peel the larger parsnips as the skin can become a bit tough.
Step One: After cleaning and peeling (or not), cut them into ½” slices. Try to keep them evenly sized so they cook at a similar rate.
Step Two: Add two tablespoons of oil to a cast iron skillet and add the sliced parsnips. Sprinkle with sea salt and coarse ground black pepper.
Step Three: Place the cast iron skillet on the grill set to 350 degrees. I used indirect heat to avoid burning. For a gas grill, turn off the burners immediately under the skillet.
Step Four: After five minutes, stir them. You should see the bottom of the parsnips starting to turn golden brown. After another five minutes, the parsnips should be tender and ready to serve. **Cook an additional five minutes if you want them more tender.
Note: Depending on your grill and the size of the parsnip slices, you may need a few minutes more or less. ⚠️ Check them often to avoid burning.
🍴 Substitutions
There are always ways to mix up a standard recipe and here are my suggestions for this one. All of these ideas are using the exact cooking time and methods. Just mix it up to make a whole new side dish.
- Use ½ parsnips and ½ carrots and cook the same way
- Cut them into strips instead of circles to make french fry parsnips
- Add in rosemary and thyme for a flavorful herb grilled parsnip dish
- Add in one minced garlic clove into the olive oil mixture. I love the earthy taste of garlic with the root vegetables.
- Drizzle a little bit of honey on top when they come off the grill for a fun sweet kicker
📌 Meal Prep
The best way to meal prep this recipe is to peel and slice the parsnips so you really just have to put the olive oil in the skillet and start grilling. I keep mine in a sealed container in the fridge until I am ready to use them.
🥕 Storage
The leftovers can be stored in a sealed container for up to 5 days in the refrigerator. They also make excellent

💡 Expert Tips
Don’t over crowd the pan. There needs to be room for the veggies to sizzle up or they will start to steam and not get crispy and brown.
Remember to hand wash the skillet with a little bit of soap and hot water. I love to use a scraper to get any hard stuck on spots off.
Recipe FAQs
Nope! There is no need to spend time boiling them before you start. They can be placed in the skillet and on the grill.
Sure! You can add other flavors and seasonings if you want. Fresh herbs like parsley or oregano would be pretty tasty. Any kind of spices that you like can be added, such as garlic pepper. Another way to change the flavor is to drizzle them in some honey or maple syrup. This is a great way to sweeten them a bit.
If kept refrigerated and in an airtight container they will last around 3 days.
Related Recipes
- 17 Fun & Tasty Bite-sized Treats To Spoil Your Grandkids and Make Them Smile
- 21 Unbelievably Tasty Grilled Chicken Recipes That Make Dinnertime A Breeze
- 19 Incredible Grilled & Smoked Fish Recipes For A Sizzling Summer Cookout
- 19 Foods You Should Make in Your Instant Pot To Save Money and Ditch Store-Bought
Tried this recipe? Please leave a star ⭐️⭐️⭐️⭐️⭐️ rating in the recipe card below and/or a review in the comments section further down the page. You can also stay in touch with me through social media by following me on Instagram, Pinterest, and Facebook!
Grilled Parsnips
Equipment
- Grill
- Cast Iron Skillet
Ingredients
- 1 tbsp Olive Oil
- 1 cup Parsnips sliced and peeled (optional)
- Sea Salt and Pepper to taste
Instructions
Prepare the Parsnips
- Wash and cut the parsnips into ½ inch slices. It's your choice whether to peel them or not. I keep the skins on as it saves time and has extra nutrients.
- Add the oil to a cast iron skillet
- Add the sliced parsnips to the skillet and top with sea salt and coarse ground black pepper
Grill the Parsnips
- Preheat the grill to 350 degrees and use indirect heat
- Place the skillet on the grill and let cook for five minutes
- Stir the parsnips to make sure they do not burn
- Leave them on the grill for another five minutes or until they are golden brown and tender. **Cook an additional five minutes if you want them more tender.
- Serve and Enjoy!
Notes
Nutrition

Jason’s been firing up the grill for over 30 years after graduating from the US Coast Guard Academy. His love of finely-grilled steak and chicken led him to buy his first Weber grill to put on his apartment patio in 1992. Each military move led to a new grill (a mixture of gas and charcoal) until he fell in love with the Big Green Egg in 2008. Since then, he has added another 4 grills to the collection. Yes, he has a problem. Jason loves smoking in the ceramic BGE with exotic woods including olive wood from Egypt and hard to find varieties such as sassafras and orange wood. Jason takes the term “foodie” to a whole new level, jumping at the chance to take food tours and cooking classes during foreign travels. These have provided inspiration to incorporate new ideas into recipes when he gets back home. He has been featured in Fox News, Parade, Yahoo News, Kansas City Living and more. After retiring from the military and moving to southwest Florida, he has focused grilling and smoking locally sourced meats and fish (read: he likes to catch his own fish!)


Leave a Reply