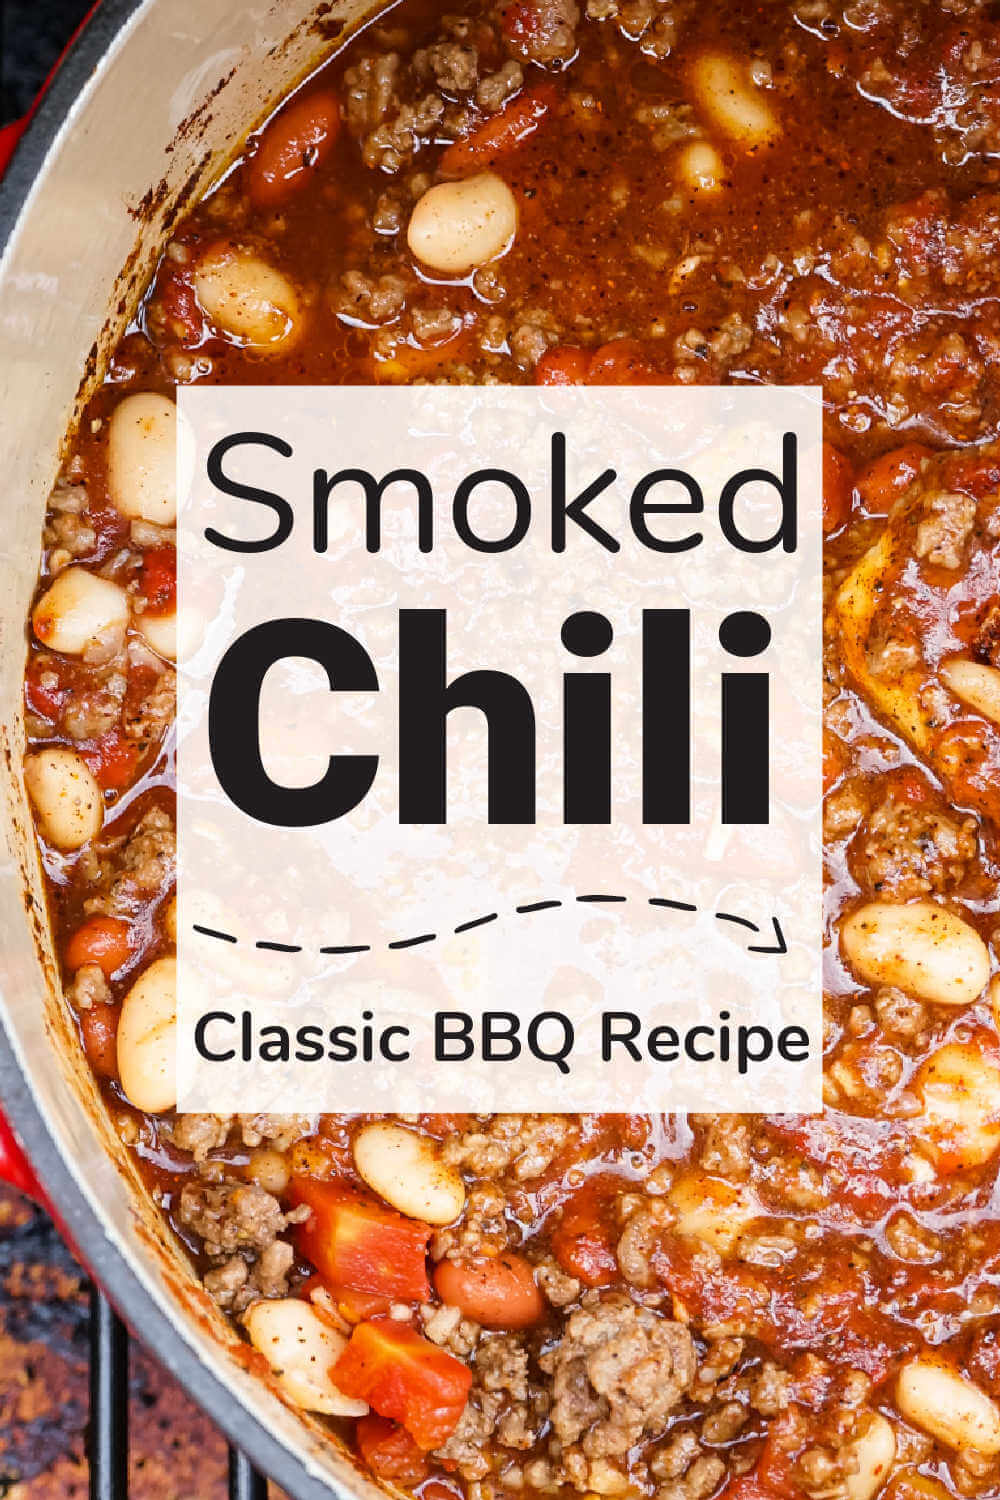
Once you get hooked on smoking foods, you start to find all kinds of things that have just been missing a little something. You’ve never realized that it was the smoke that was missing until you cook it in the smoker. It’s an Aha! moment. That’s why this Smoked Chili recipe is a must-try.
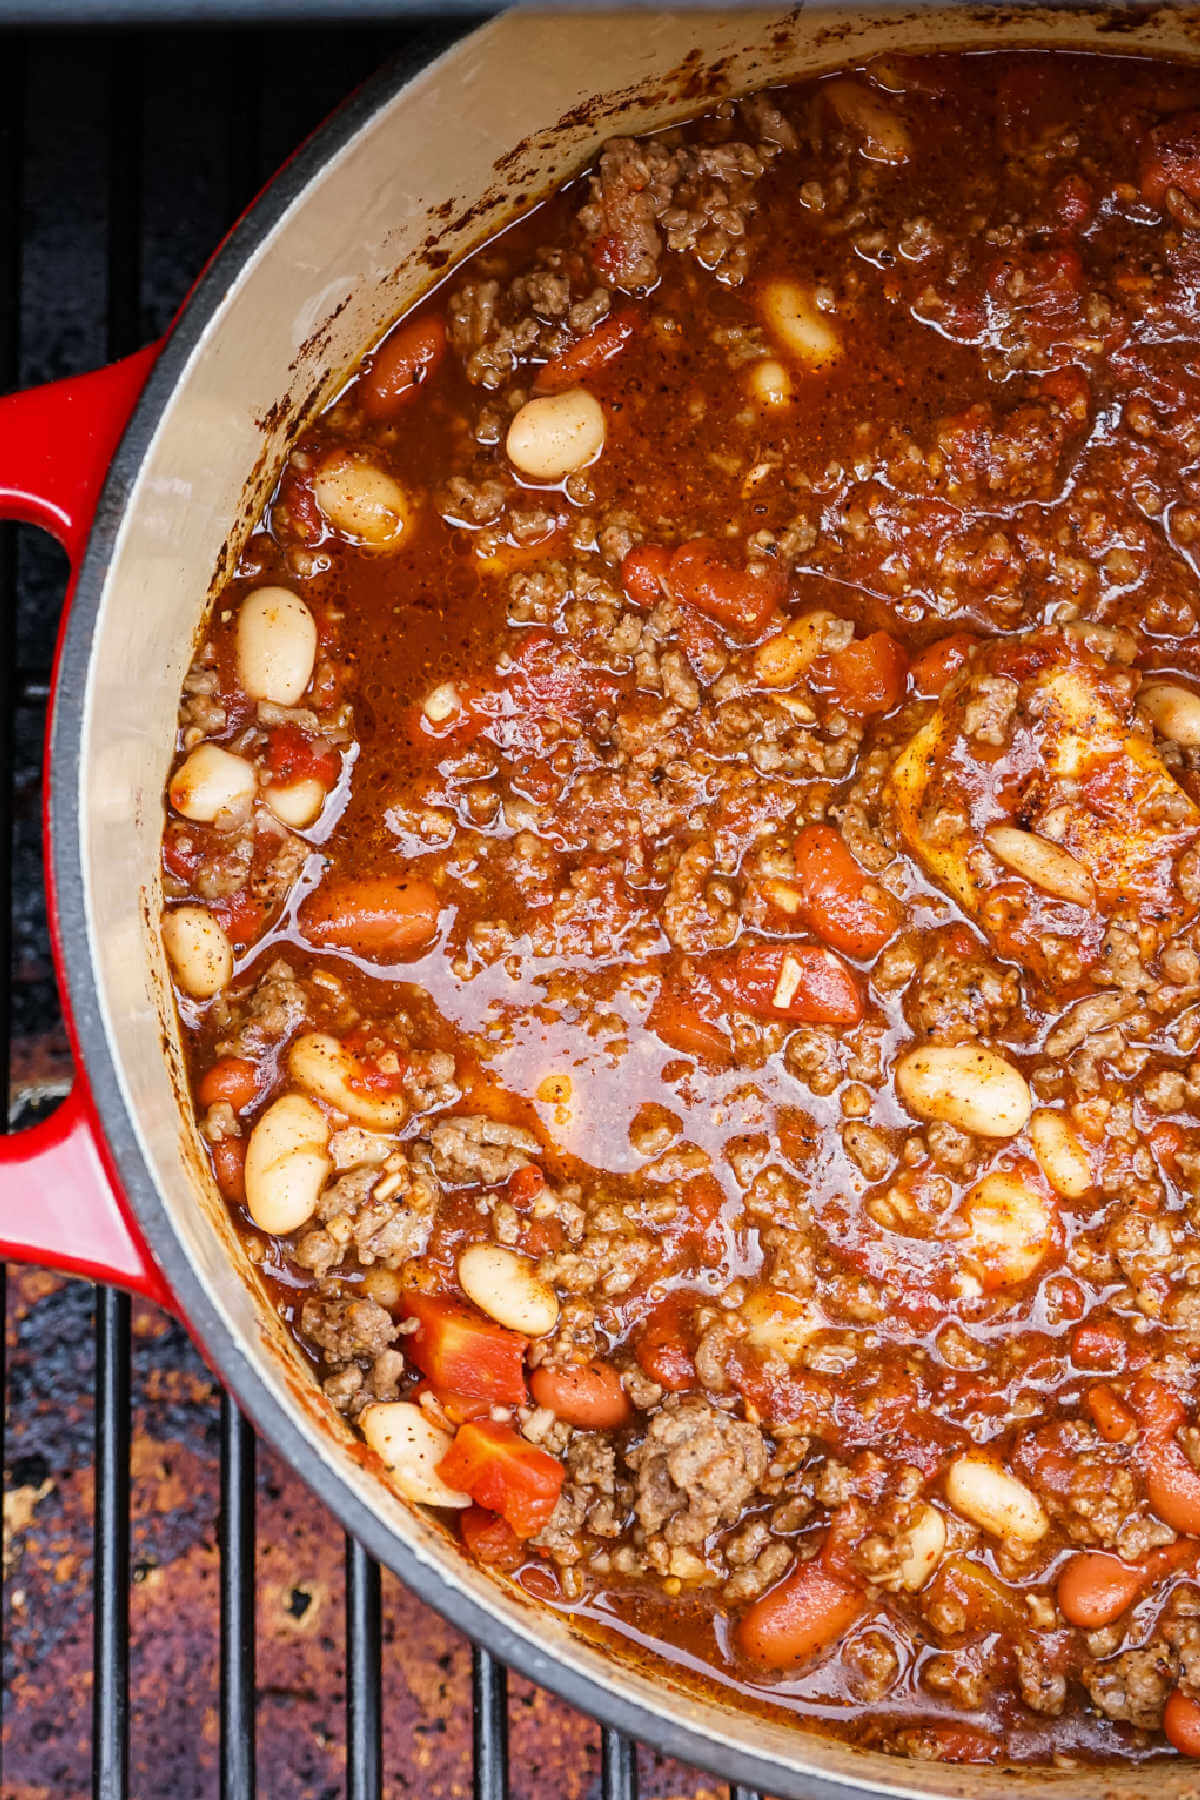
Chili is that quintessential recipe that everyone knows and loves, especially if it’s “as good as Dad makes.” Well, you didn’t try the smoked version yet!
We took this classic recipe and placed it in the smoker for an impressive flavor upgrade.
It does take about 3 hours to smoke but you only need to stir every hour so it’s a pretty relaxing dish to make. The taste is certainly worth the wait.
🌶️ Ingredients
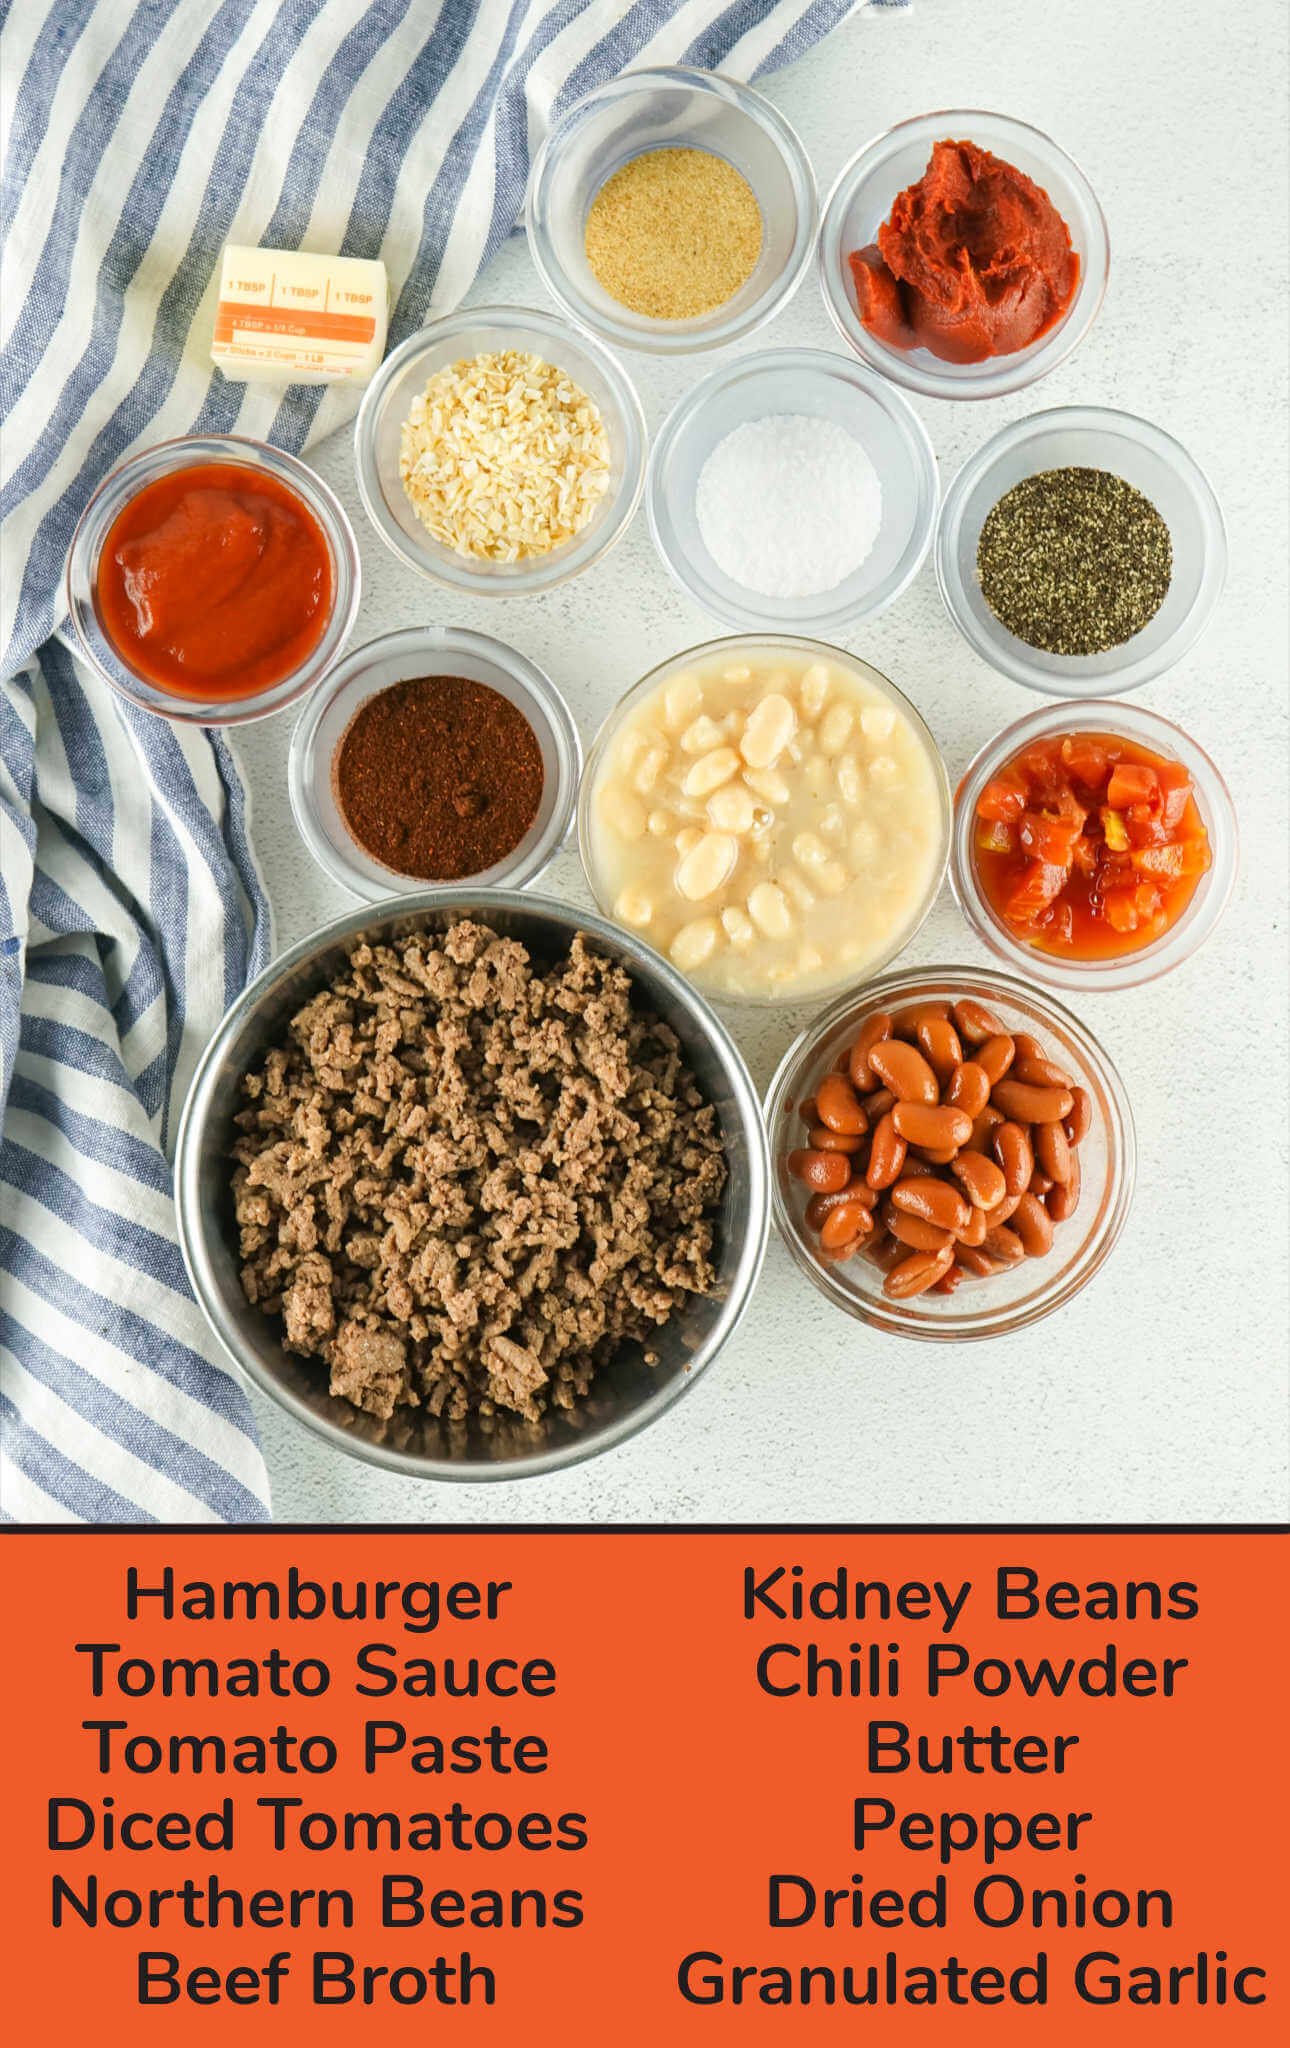
Ground Hamburger. It will need to be browned and drained. Since you are cooking it separately and draining it, you can use whichever ground beef is cheapest. When deciding whether to use ground beef vs ground chuck chuck, give this a little glance to make the best chili for your family.
Tomato Sauce. A high-quality sauce made with plum tomatoes will have more flavor.
Tomato Paste. A six-ounce can is plenty. This adds depth of flavor and a little goes a long way.
Petite Diced Tomatoes. The petite dice is better for this because the tomatoes fit nicely on a spoon.
Northern Beans. I find that having two different kinds of beans definitely makes the recipe better. You can pick the beans of your choice.
Red Kidney Beans. This is the traditional bean used in chili. You could also use black beans which have a more firm, almost crunchy texture.
Chili Powder. For the bulk of your chili powder just use the regular kind. If you want a spicy chili, add a dash or two of ancho chili powder.
Butter. Real butter adds significantly to the flavor and texture of the dish. Non-dairy butter could be used if you need to make it dairy-free.
Diced Dried Onion. Adds an extra kick of onion flavor to the recipe.
Granulated Garlic. This is the kind that comes in the spice section. You could also mince your own if you prefer.
Beef Broth. If you want to drain your tomatoes and beans, you’ll want to add in the beef broth. However, if you don’t drain them, you shouldn’t need the beef broth.
🔥 Instructions
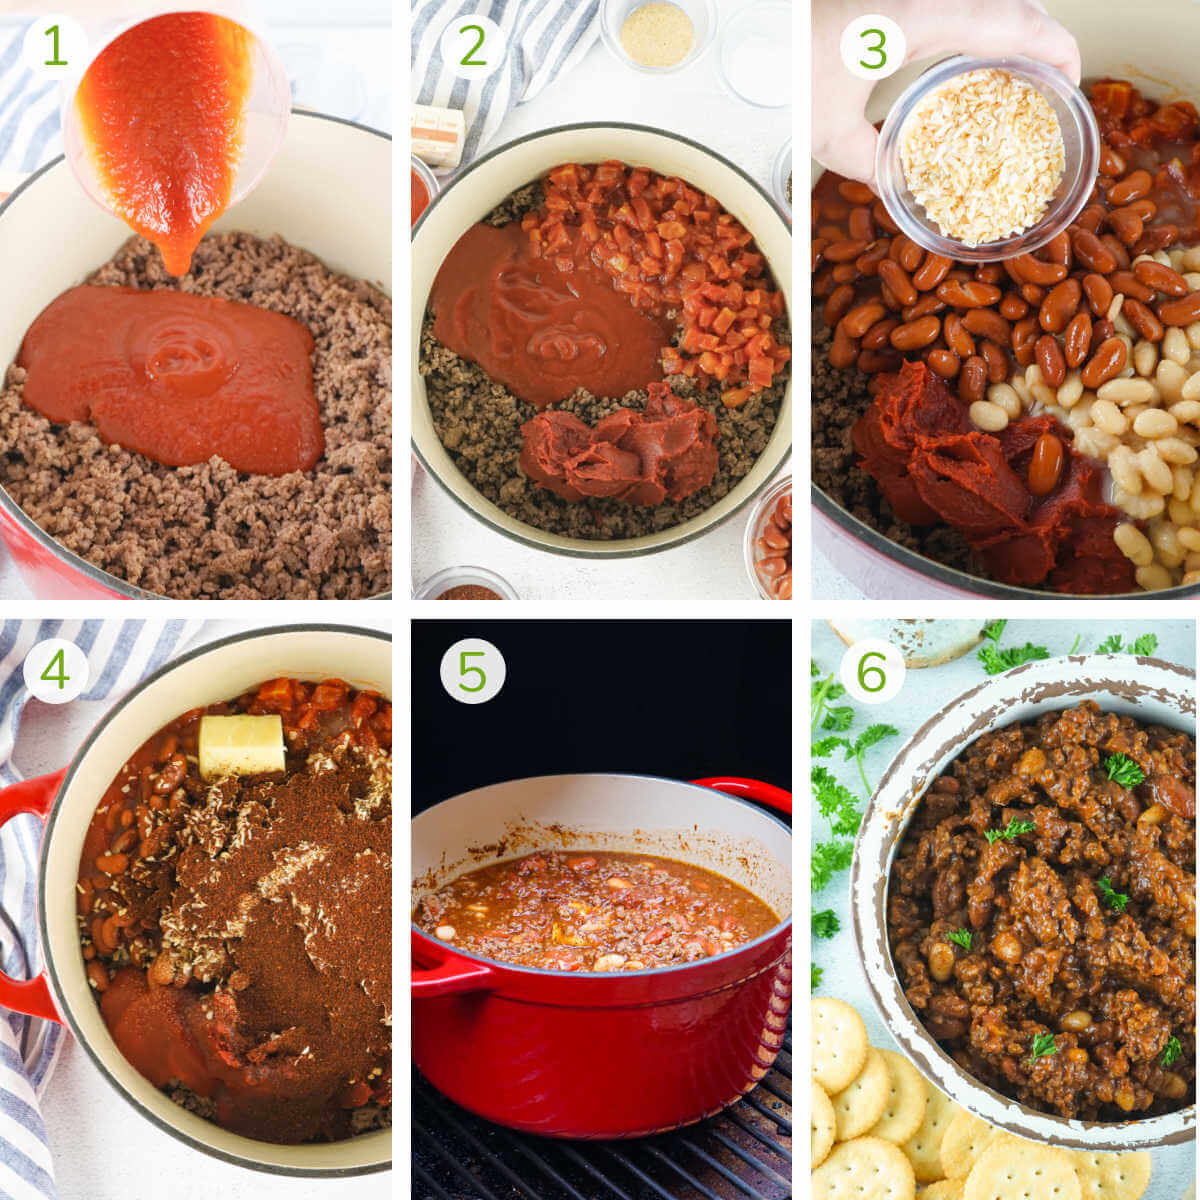
Step One | Preheat your smoker to 250º. Add the wood.

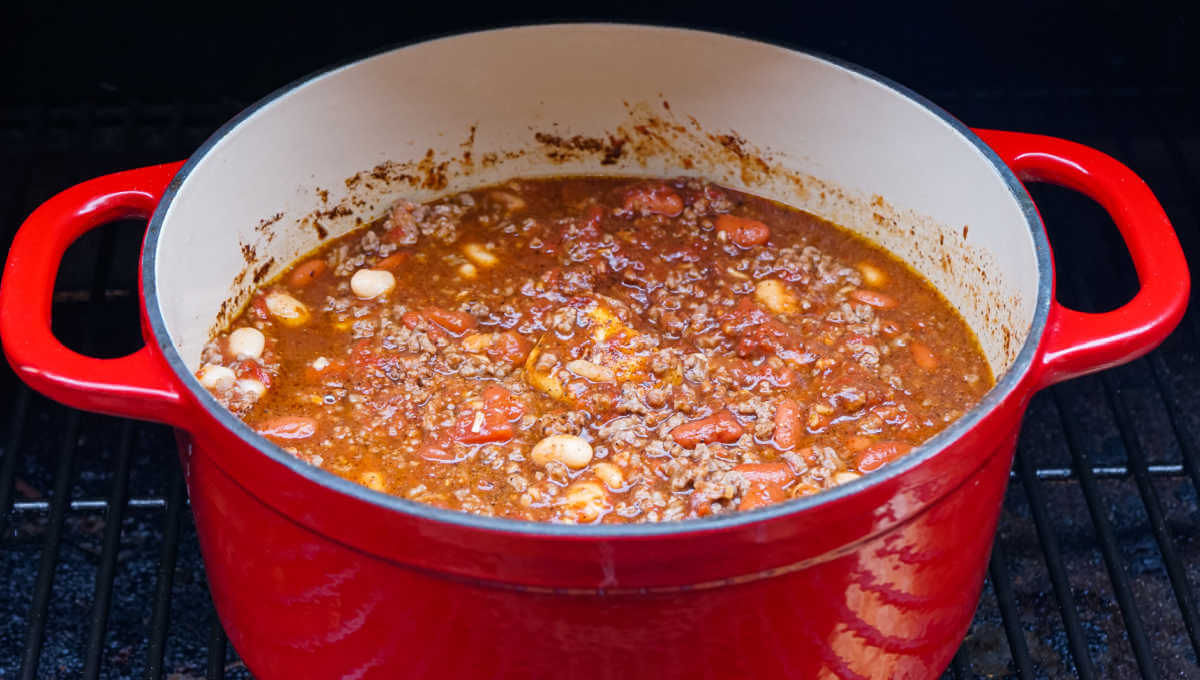
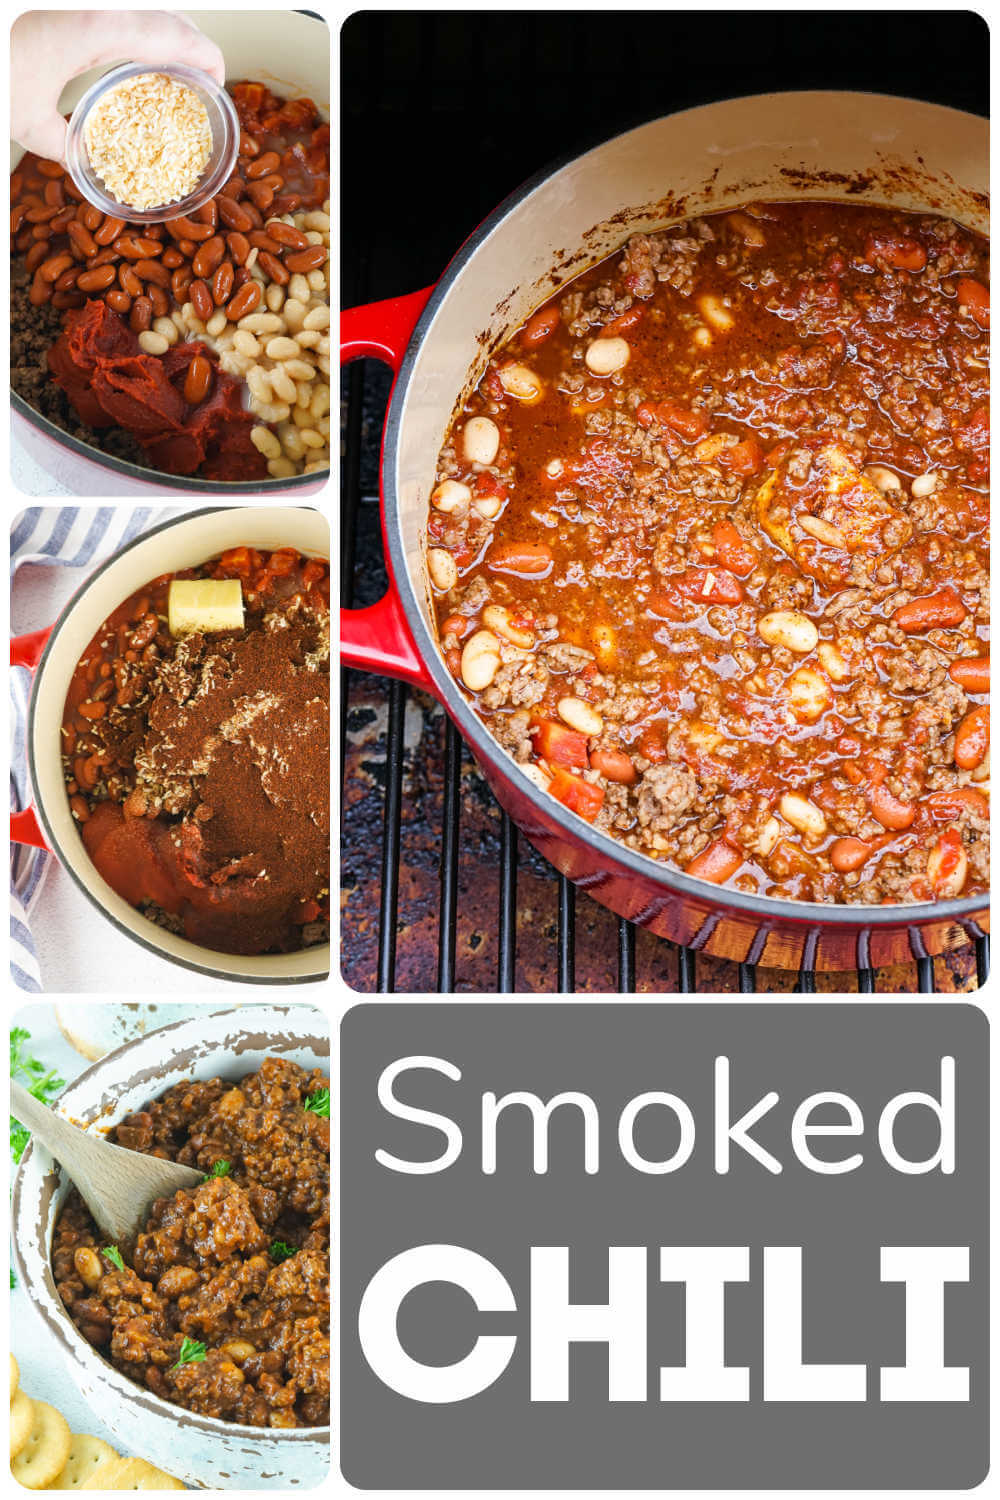
Step Two | Brown and drain the hamburger and then place all of the ingredients in a dutch oven and stir well. Do not put the lid on.
Step Three | Cook for about three hours, stirring every hour. If it’s too thick to your liking, you can add a bit of the beef broth until the desired consistency is reached.
Note: Remember that the smoke will only impact the top layer of the chili, so it is extremely important to stir periodically to get the full smoke taste.
Step Four | Taste the smoked chili about an hour in and add more seasonings as desired. Let it continue to smoke for about three hours in total.
Serve and enjoy!
❗ Expert Tips
Consistency – Everyone likes their chili with their own special ingredients. So, if you get to cooking and find that you want it thinner, you can add some beef broth in. Remember, it’s easier to fix thick chili than it is to fix it if it is too soupy.
Do not cover the chili – The only way it can get that smoky flavor is to keep the top off.
Faster cooking – If you feel like taking it off sooner than four hours, that’s fine. Once it’s fully heated, it’s technically ready to eat. However, the longer it gets a chance to smoke, the more flavor you get.
Smoking wood – I used hickory for this recipe, but just about any wood option will do. Make note that fruit woods are lighter in flavor. I’ve seen people say that mesquite is too strong for chili. I haven’t tried it to confirm. You can see more options in our smoking wood chart printable.
Stovetop and oven – Want to skip the smoker, but still get that smoky flavor? Add in a tablespoon of liquid smoke and cook this on the stove, or in the oven, instead.
Storage
Leftover smoked chili can be kept in the refrigerator in airtight containers for two to four days. Before it goes bad, move the individual containers to the freezer where they can be kept for up to three months. If you have a deep freezer it will last even longer!
Reheat chili in the microwave. Urban legend tells us that chili is even better the second or third day after it is cooked as it gives more time for the flavors to meld.
Note: If you are using pre-cooked ground beef that was frozen after cooking and then thawed for the recipe, it cannot be frozen again. Make sure to follow food safety rules.
Meal Prep
The ground beef for this recipe needs to be browned and drained ahead of time. Keeping one pound, two-pound, or three-pound bags of browned and drained ground beef is a huge time-saver and so handy for recipes like this.
You can buy it in bulk when you find it on sale, cook it all at once, and freeze it for later. You’ll only have to wash the skillet and dispose of the grease once! A couple of minutes in the microwave is all it takes to get your frozen ground beef recipe ready.
Variations and Substitutions
- I used dark red kidney beans, but use any combination of beans you prefer.
- Want to add a bit of spice to your chili? Add in some crushed red peppers or freshly chopped jalapeños or habaneros. Alternatively, I like to sometimes swap out half of the tomato sauce for a can of El Pato. It’s a Mexican style tomato sauce that adds the perfect flavor and spice and is found at most grocery stores.
Serving Suggestions
Add a tasty cornbread to complete this homestyle smoked chili. And really, it can’t get any better than smoked cornbread!
You could also serve it with a loaf of crusty Italian bread. Cheddar cheese or a nice pepper jack cheese is a nice touch in each bowl. If your family enjoys oyster crackers or soup crackers, those can also be added.
We typically serve this over rice, so it is really up to you on how to serve.
Other Chilis You May Love
Recipe FAQ
Yes! This recipe is proof that you can smoke chili with fantastic results. You are going to love our chili in the smoker!
If you want smoked chili but don’t have a smoker, use one tablespoon of liquid smoke for this recipe.
No. I mean it’s chili, so yes and no. If you must leave the beans out, realize that it will not be as thick and may not need as much liquid. You will need to adjust for that. Beans or no beans is the age old chili question!
Yes. Use ground turkey just like you would sub it in any other recipe. I really can’t taste the difference after it has been combined with all of the other ingredients.
No. If you do not have one, use a smoker-safe pan. Do not use cast iron, since the tomato base could interact with the iron.
Related Recipes


Tried this recipe? Please leave a star ⭐️⭐️⭐️⭐️⭐️ rating in the recipe card below and/or a review in the comments section further down the page. You can also stay in touch with me through social media by following me on Instagram, Pinterest, and Facebook!

Smoked Chili
Equipment
- 1 Enamel Coated Dutch Oven
- 1 Smoker
Ingredients
- 3 lb Ground Hamburger browned, and drained
- 16 oz Tomato Sauce
- 1 can Petite Diced Tomatoes 14.5 oz
- 1 can Tomato Paste 6 oz
- 1 can Northern Beans 15.5 oz
- 1 can Kidney Beans 15.5 oz
- ¼ cup Chili Powder
- 3 tbsp Butter
- 2 tbsp Coarse Ground Black Pepper
- 2 tbsp Dried Onion
- 2 tbsp Granulated Garlic
- 1 tbsp Coarse Salt
- 1 cup Beef Broth optional
Instructions
- Brown and drain the hamburger.
- Preheat the grill or smoker to 250 degrees. Add pellets or wood chunks to generate a nice smoke.
- Place all of the ingredients in an enameled dutch oven and stir well.
- Smoke for about three hours, stirring every 30-60 minutes.
- Note: If the chili is too thick, use some beef broth to make it thinner.
- Taste the chili after about an hour to make sure it doesn't need to be adjusted.
- Remove after about three hours. Serve and enjoy!
Notes
Nutrition

Jason’s been firing up the grill for over 30 years after graduating from the US Coast Guard Academy. His love of finely-grilled steak and chicken led him to buy his first Weber grill to put on his apartment patio in 1992. Each military move led to a new grill (a mixture of gas and charcoal) until he fell in love with the Big Green Egg in 2008. Since then, he has added another 4 grills to the collection. Yes, he has a problem. Jason loves smoking in the ceramic BGE with exotic woods including olive wood from Egypt and hard to find varieties such as sassafras and orange wood. Jason takes the term “foodie” to a whole new level, jumping at the chance to take food tours and cooking classes during foreign travels. These have provided inspiration to incorporate new ideas into recipes when he gets back home. He has been featured in Fox News, Parade, Yahoo News, Kansas City Living and more. After retiring from the military and moving to southwest Florida, he has focused grilling and smoking locally sourced meats and fish (read: he likes to catch his own fish!)
Leave a Reply