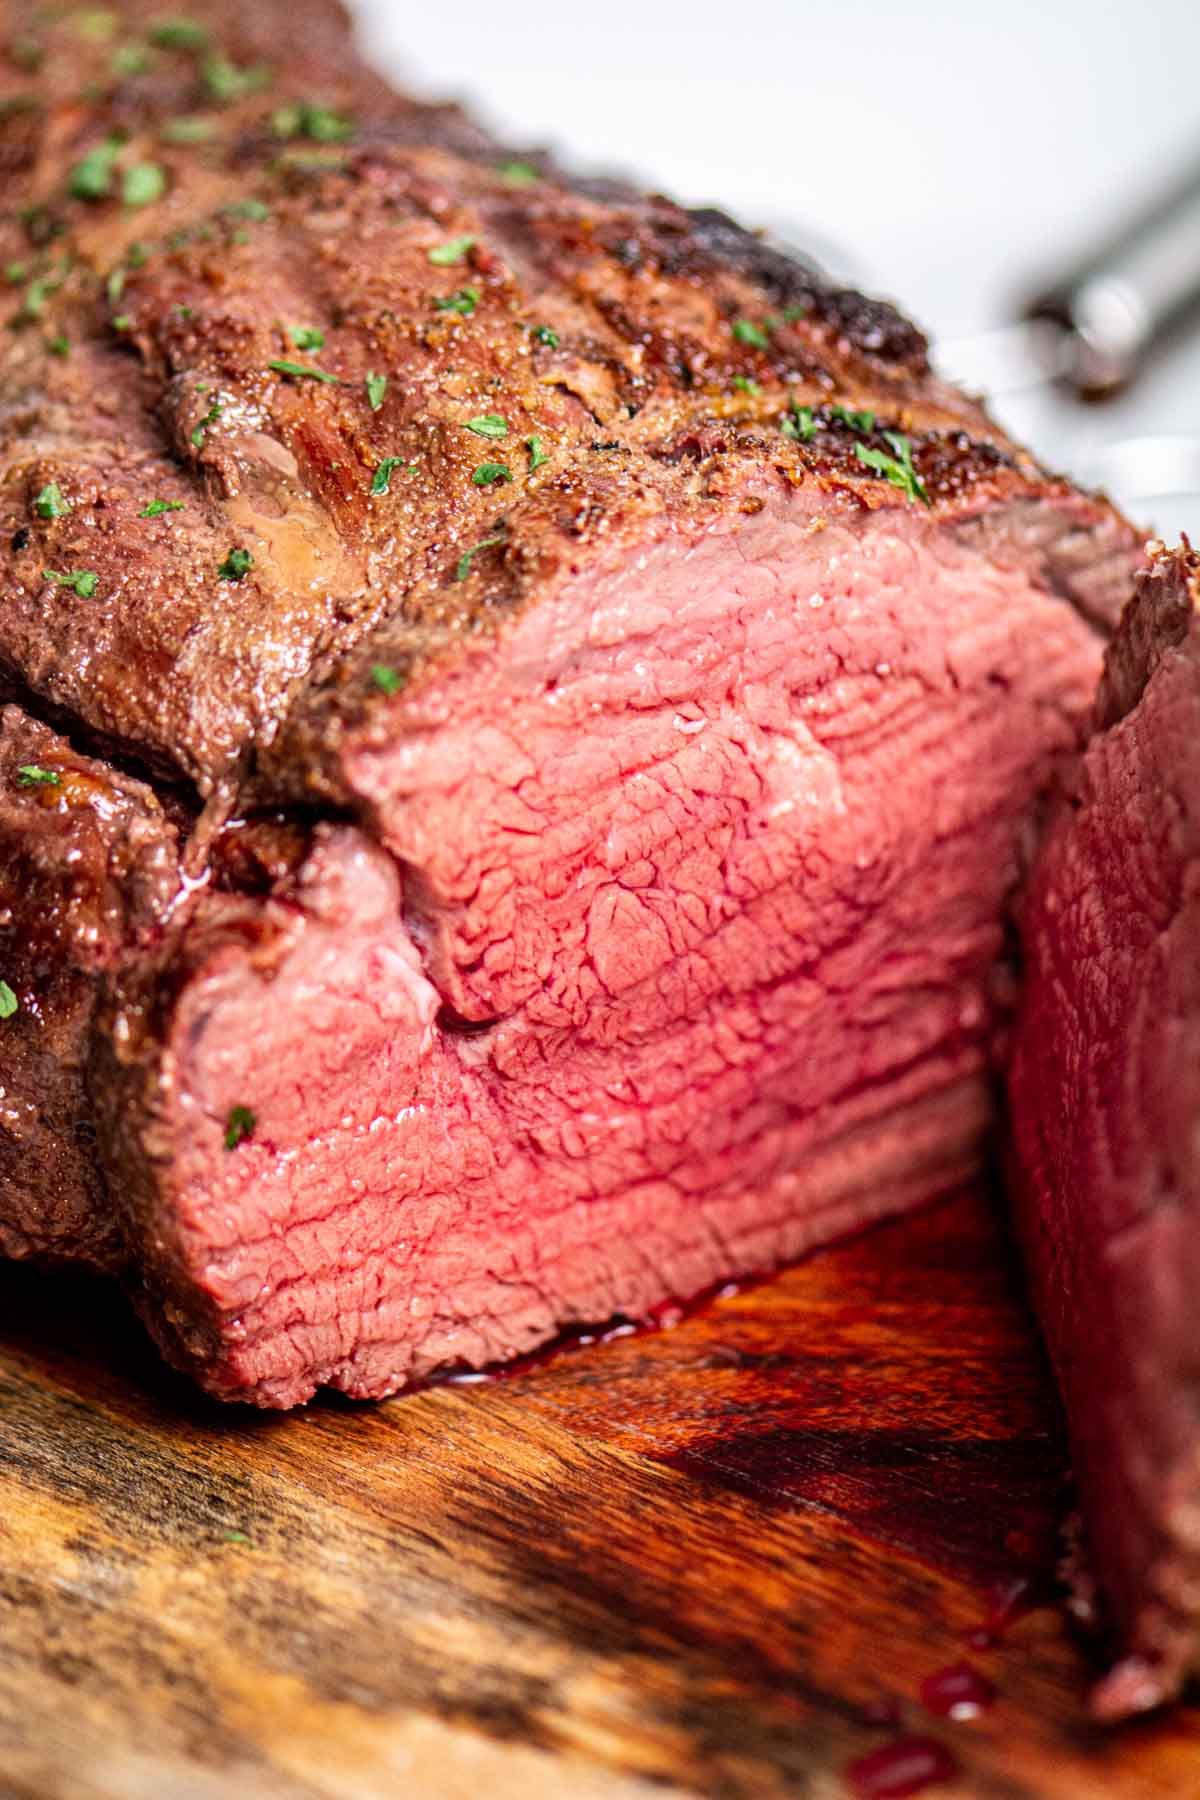
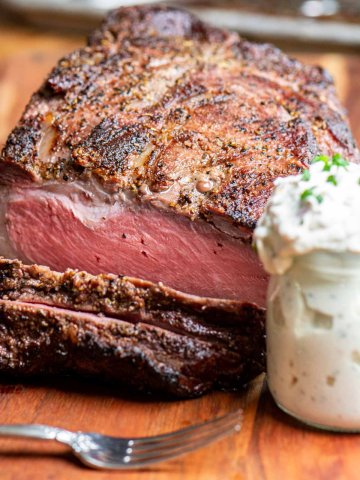
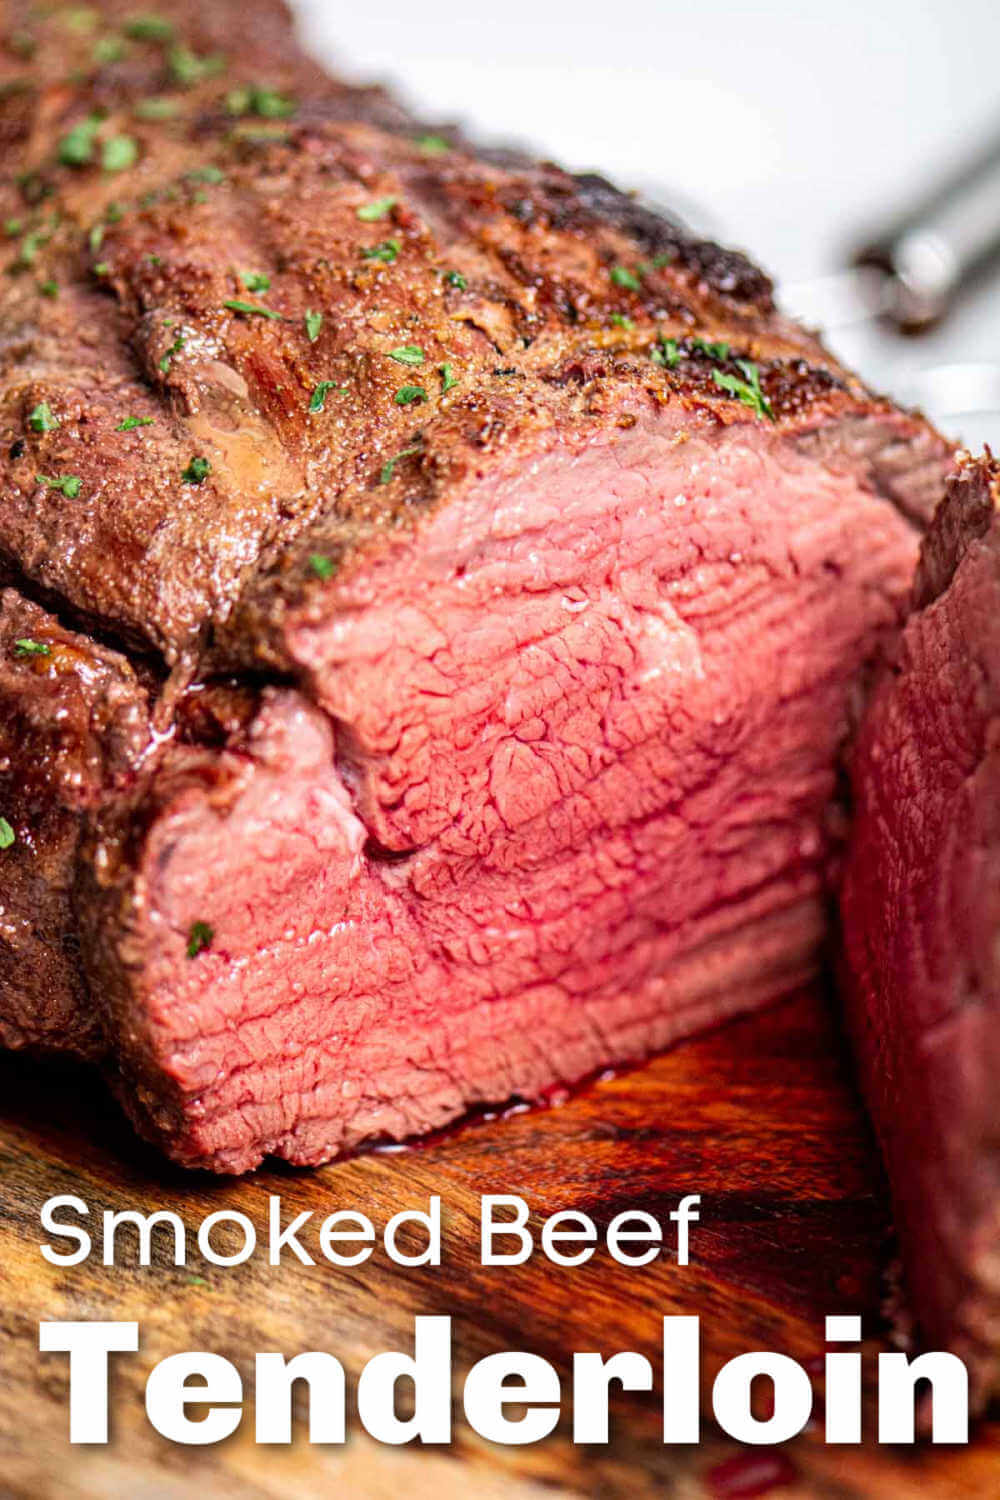
This incredibly tender smoked beef tenderloin recipe is super easy and insanely delicious! It is seasoned with a simple salt, pepper, and garlic (SPG) mix, and reverse-seared to lock in the juices. Step aside, prime rib, this one may just have you beat!
Tenderloin is the most tender beef cut – it comes from the cow’s spine, so this is one of the muscles that gets the least amount of work. Of course, the price totally reflects that, so let’s treat it right.
With tenderloin being lean and delicate, the most important thing is how you cook it. But it’s quick and easy. I’ll walk you through the steps and you’ll love the end result.
If you can sprinkle salt and black pepper on meat and wrap it, you can smoke this to perfection.
🐄 Ingredients
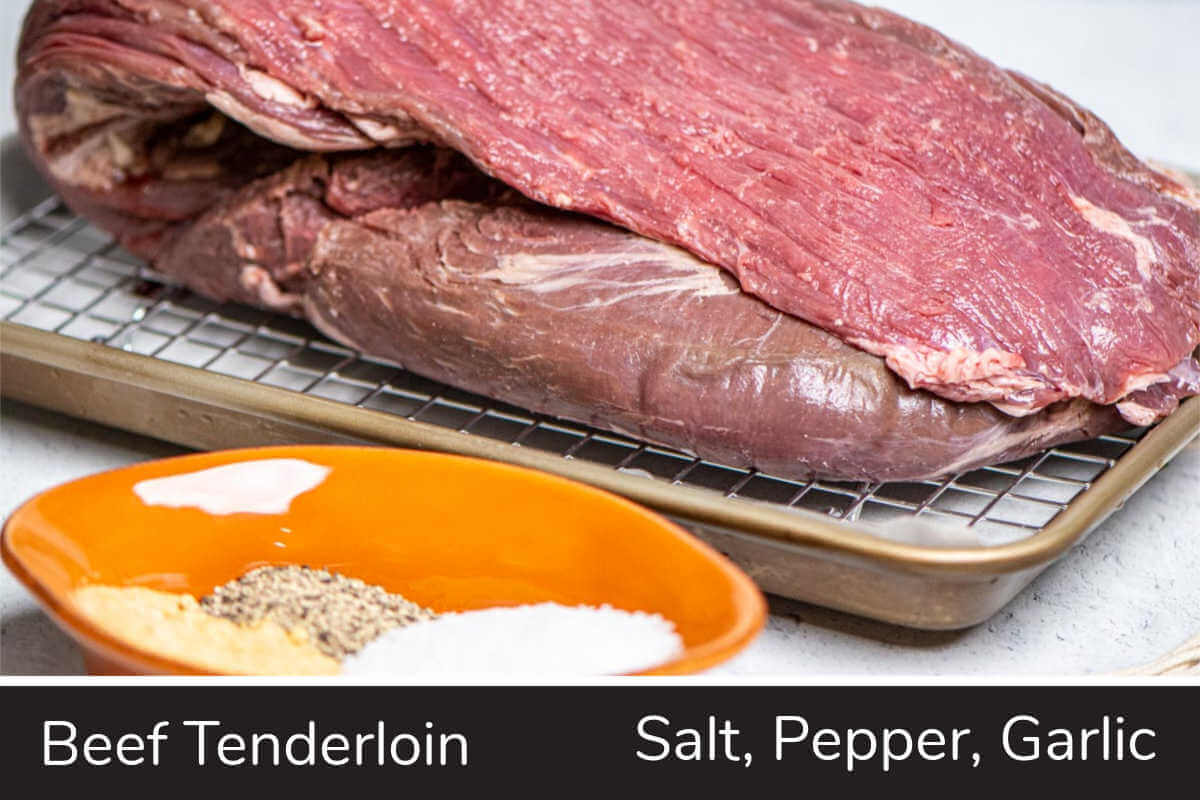
Beef Tenderloin – This was a six-pound cut of meat that we picked up at Costco. It is long and fairly narrow. If you can’t find tenderloin, read up on Tenderloin vs Filet Mignon to see if the alternative would work for you. Filet is found just about everywhere and is an equally succulent cut of meat.
SPG – This is a simple dry rub of salt, black pepper, and garlic powder.
Hickory Wood – This cut does well with a stronger, more intense wood smoke flavor. I had some extra Hickory chunks and thought those would be perfect. Mesquite would work well here too. If you haven’t experimented with different wood smoke before, take a look at this free wood smoking chart to get you started.
⏲️ Equipment and Tools
Baking Rack – I used to just put the meat on the grill set up with indirect heat. I use the Big Green Egg primarily and would set up the plate setter. The problem was that the meat would drip juices and cause unwanted smoke. I moved to an elevated baking rack in a sheet pan and it made all the difference in the world.
The rack is elevated slightly, which allows the smoke to reach all sides of the meat, and the sheet pan catches any drippings. Winner winner!
However, this is optional! As long as you have a clean grill grate, you can certainly place it on that. We are in love with the rack right now, though.
Wireless Meat Thermometer – You will want to closely monitor the temps of this tenderloin. I use the ThermoPro TP20, but I reviewed several thermometers if you want a more in-depth analysis.
Butcher’s Twine – This can be found just about everywhere in the kitchenware department. Our small, local grocery store has it, Walmart carries it and you can always skip the stores and order from Amazon.
🔥 Instructions
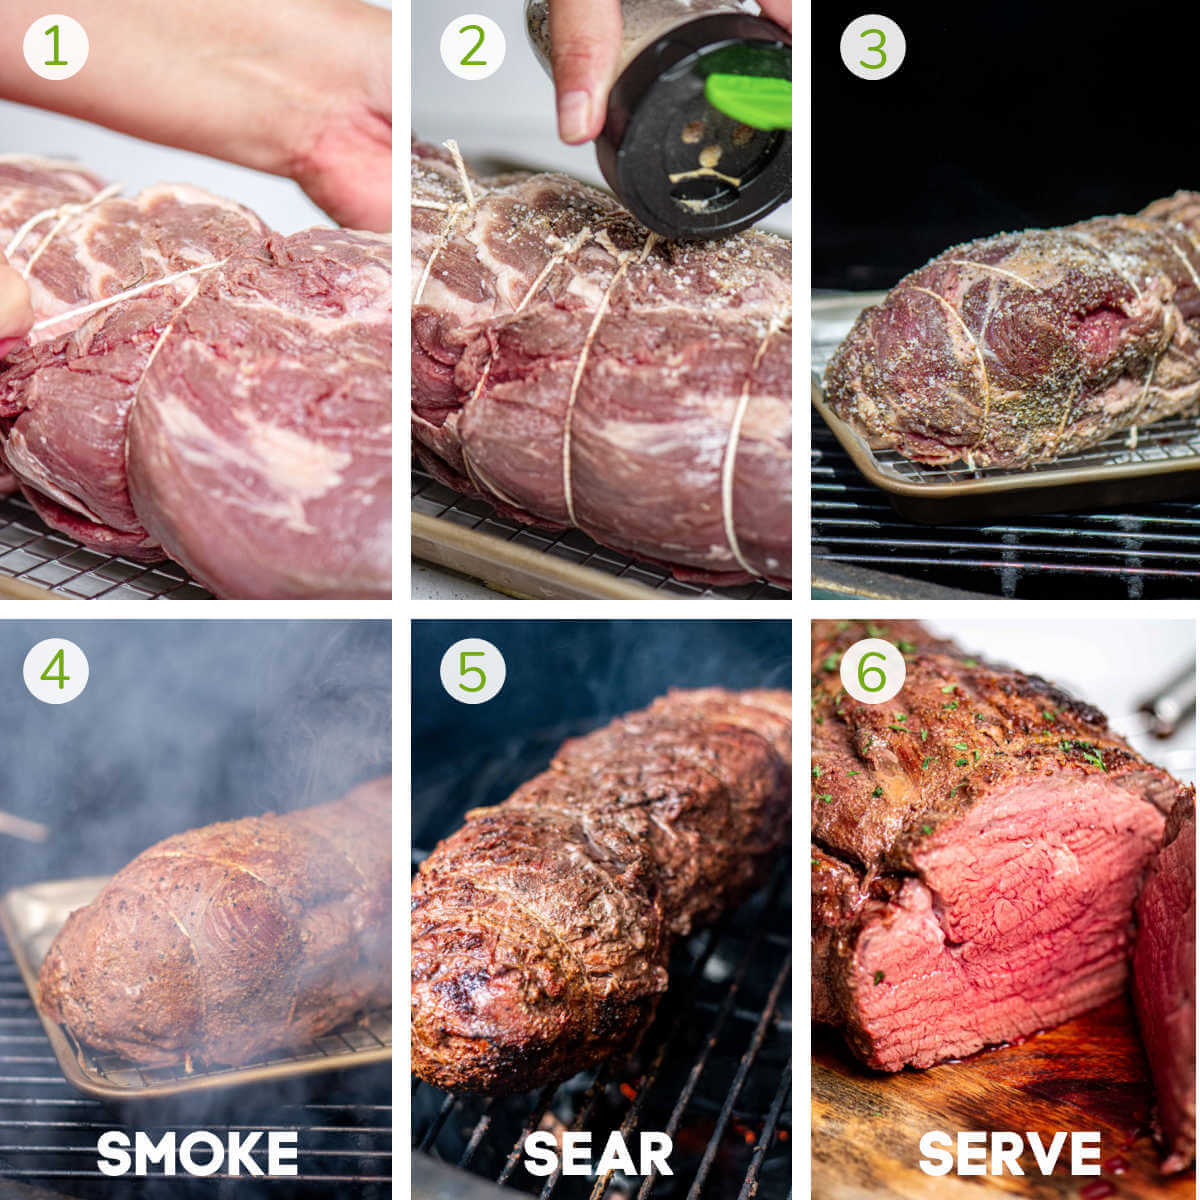
Step 1: Trim any extra fat and remove the silver skin.
Step 2: There are two options for dealing with the tenderloin’s size.
- Cut the Meat: You can open up the package and lay the meat flat. Then, cut it to size, trimming the ends to keep a uniform thickness for the grill. You’ll be left with the center cut beef tenderloin. The benefit of that is your final product will be of similar size and definitely gorgeous, but you’ll have to find something else to do with the sections you cut off.
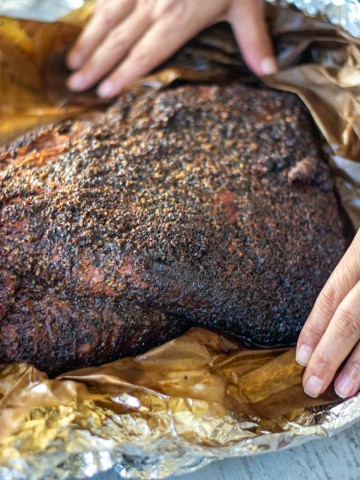
- Truss the Meat: This is the path I took. Fold the beef over on itself so the new length is of a manageable size, and tie it off with butcher’s twine. I measured it against the size of a quarter sheet pan, as that is what would fit comfortably on the grill. I was able to fold over the thin end to double up its thickness. I included photos of the steps above. The benefit is that I did not have to worry about finding something else to do with the extra pieces.
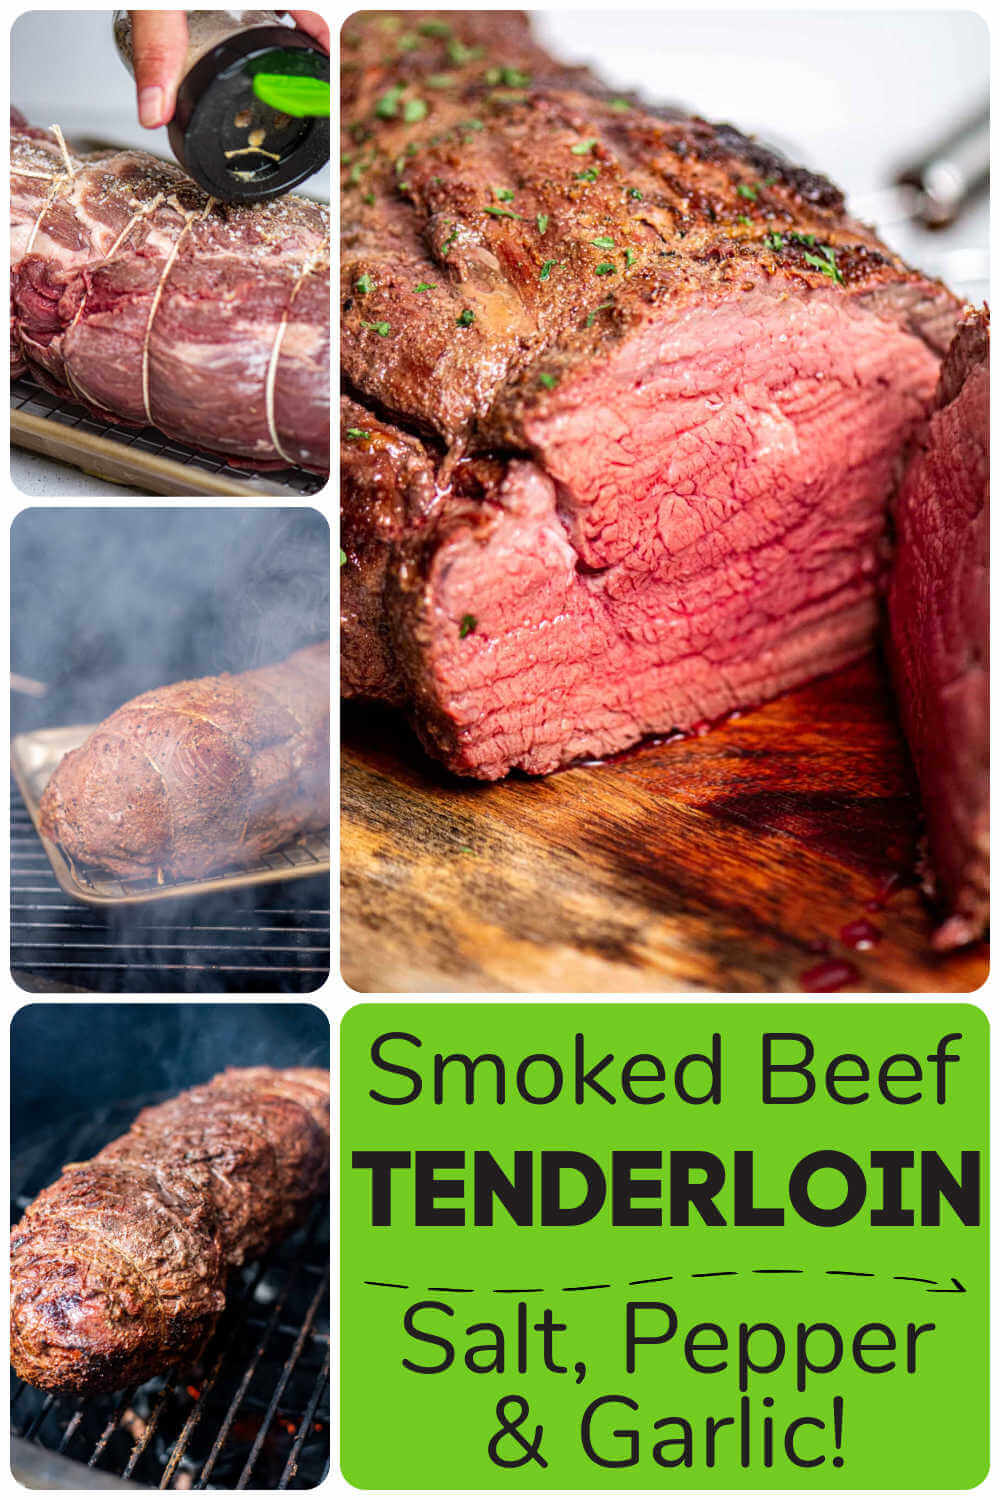
Step 3: Mix your SPG together. This salt, pepper, and garlic mix is a classic seasoning and doesn’t overpower this beef.
Step 4: Season the beef tenderloin roast with the SPG, turning it over to make sure you cover it all evenly. You can coat the meat with a little olive oil to help the seasoning stick to the beef.
Step 5: Set up the grill for indirect heat at 275 degrees. For the kamado grills, use a plate setter. For gas grills, turn off the center burners.
Step 6: Add the smoking wood. If you have a gas grill, use a smoking box instead.
Step 7: Insert the temperature probe and place the tenderloin on the grill. Close the smoker’s lid. Let the tenderloin gently smoke until the internal temperature of the meat reaches 130 degrees.
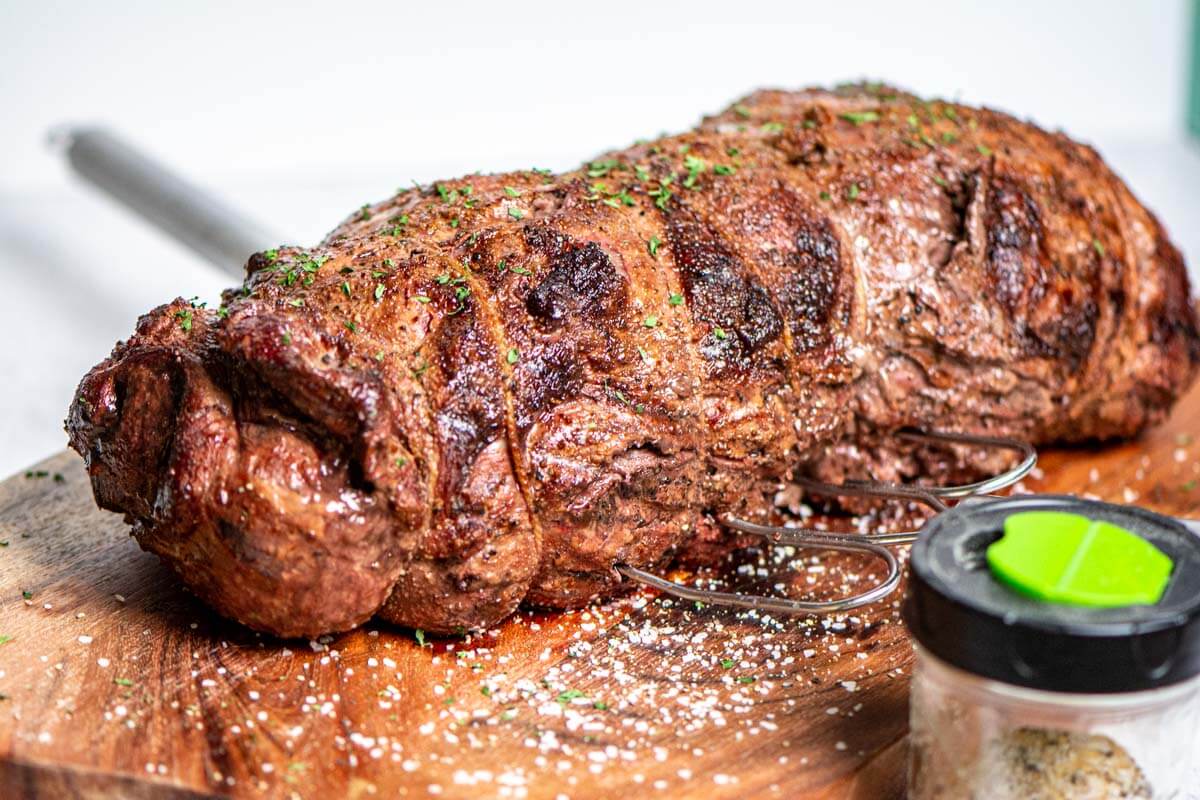
Step 8: When the beef reaches 130ºF, it is time to sear it. Remove the meat and set up the grill for direct heat. Increase the temperature to 450ºF. Use the high heat setting for Traeger or any other pellet grill that has it. Carefully remove the plate setter (it’s hot!). Place the tenderloin directly on the grill grate and let it sear for about three minutes on each side. This will create a gorgeous crust. The temperature will quickly rise, and it’s time to remove it when it reaches 140-145 degrees.
Step 9: Bring it inside and let it rest under an aluminum foil tent for ten minutes. This will help to keep the juices inside when you slice it.
❗ Expert Tips
Truss the Tail – You can cut off the thin piece of the tenderloin (called the tail, even though it isn’t a tail), but it’s perfectly fine to tuck it under the thicker portion and truss it off with butcher’s twine.
Season Lightly – This is one of those recipes where you really don’t want to overpower the flavor of the beef. Keep the seasoning light and simple.
Fresh Herbs – Sage, rosemary, and thyme always complement beef and you can either use them when seasoning the raw meat or add a sprinkle once it’s finished smoking.
Bacon Wrap It – The same weaving technique we used for this bacon-wrapped smoked pork tenderloin would work for beef tenderloin as well. If you do this, you can skip the reverse sear. Simply smoke the beef on indirect heat until the internal temp comes to 140-145 degrees. The bacon will become crispy during the smoking process.
Store Leftovers – This was way too much meat for us, so we let it cool, and then sliced it into smaller pieces and stored it in Ziploc freezer bags. The wonderful smoke flavor intensifies and the kitchen smells so good when we reheat it!
🥦 Side Dishes
Don’t forget about grilling a delicious side dish to serve with this incredible meat perfect for the holiday season and special occasions.
The grill will be set up for direct heating after you remove it for resting, so consider a few recipes that you can whip up while it rests.
You can keep it simple and just grill some sweet onions. These work well as the flavors won’t overpower the tenderloin, and they don’t take very long to cook. Or, consider some grilled baby potatoes for that extra starch. Those can be ready in just 20 minutes and will be piping hot when the beef is ready to slice.
My favorite is grilled root vegetables. While the beef is smoking, cut up the parsnips, turnips, potatoes, rutabagas, and anything else you want to throw in. This is a phenomenal combination of sweet and tangy that works just perfectly with this recipe.
There’s also the option of smoking your side dish next to the tenderloin. You can’t go wrong with smoked corn on the cob, smoked asparagus bundles, or smoked baked potatoes.
We also love this creamy homemade horseradish sauce that really packs a punch! It goes well with beef and it’s ready in just a few minutes. Even more, if you make it a day ahead, it will taste so much better.
Let’s not forget about lighter sides, like this grilled peach and arugula salad. Fresh greens and veggies are low in calories and highly nutritious. They’re always a wonderful addition, especially on hot summer days.
Recipe FAQ
The reverse sear method is a two-step process that is often used for thick pieces of meat. First, cook the meat using indirect heat. This will allow the beef to slowly come up to temperature. Second, you will move the meat to a direct heat source and cook it over high heat. This will sear the outside of the beef and provide that delicious, caramelized texture that we all love! It allows the outside of the beef to cook quickly.
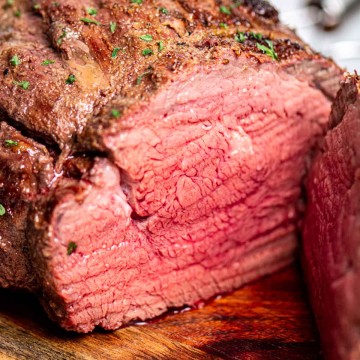
I kept this to about 140 degrees, for a nice medium rare, but cook it to the desires of your guests. This cut of beef is so tender that it can afford to be cooked a bit more if you want.
At 275ºF, it should take about an hour for the internal temperature to reach 130 degrees. Then, it is time to finish the recipe using the direct sear techniques until the internal temperature reaches your desired level of doneness. We usually aim for 140-145ºF for a medium-rare level of doneness.
It would take about two hours for a whole beef tenderloin to smoke at 225 degrees F on indirect heat. Keep in mind the time can vary based on the size of the cut, outside conditions, and other factors. Always smoke to a target internal temperature based on the desired level of doneness. (120-130°F – rare, 130-135°F – medium rare, 135-145°F – medium, 145-155°F – well, 155-165°F – well done)
Hickory is perfect for adding a bold smokey flavor to beef cuts that have a short smoking time, such as beef tenderloin. Mesquite is another strong-flavored option you can try. If you prefer a milder smoke taste, opt for apple, cherry, or oak wood. See our free printable wood smoking cheat sheet for more alternatives.
Related Recipes


Smoked Beef Tenderloin
Ingredients
- 6 lb Beef Tenderloin
SPG Seasoning
- 4 tbsp Kosher Salt
- 2 tbsp Garlic Powder
- 1 tbsp Coarse Ground Pepper
Instructions
Make the SPG
- Combine the salt, pepper and garlic in a jar. Cover and shake to mix well.
Preparation
- Cut off any large chunks of fat and remove the silver skin.
- Fold the thin end of the tenderloin over and secure it with butcher's twine. This will help the beef retain its shape as it cooks.
- Sprinkle the SPG over the beef. Make sure you get all sides.
Smoking
- Set up the grill to indirect heat and bring the temperature to 275 degrees. Add your wood chunks. We used Hickory.
- Place the beef on a raised baking rack on a sheet pan and place it on the grill.
- Let the beef smoke gently until the internal temperature reaches 130 degrees.
Searing
- When the temperature reaches 130 degrees, remove the tenderloin and reconfigure the grill for direct heat. When the beef reaches 130ºF, it is time to sear it. Remove the meat and set up the grill for direct heat. Increase the temperature to 450ºF. Use the high heat setting for Traeger or other pellet grills that have it.
- Remove the beef from the baking rack and place it straight on the grill grate to sear the exterior.
- Turn the beef every two to three minutes, making sure to sear all sides, until the internal temperature reaches your target. I removed mine at 140 degrees for a solid medium rare.
- Bring the tenderloin inside and tent it with foil, letting it rest for 10-15 minutes.
- Slice and serve!
Notes
Nutrition

Ginny Collins is a passionate foodie and recipe creator of Savor and Savvy and Kitchenlaughter. Indoors she focuses on easy, quick recipes for busy families and kitchen basics. Outdoors, she focuses on backyard grilling and smoking to bring family and friends together. She is a lifelong learner who is always taking cooking classes on her travels overseas and stateside. Her work has been featured on MSN, Parade, Fox News, Yahoo, Cosmopolitan, Elle, and many local news outlets. She lives in Florida where you will find her outside on the water in her kayak, riding her bike on trails, and planning her next overseas adventure.
Leave a Reply