The sweet and smoky aroma of juicy corn, perfectly cooked in its natural wrapper is unbeatable! Grilling corn on the cob in the husk is practically effortless and once you have a taste you’ll surely wonder why you’ve ever boiled a pot of water!
The husk offers natural protection for the kernels keeping them juicy and that perfect balance of moisture and char. They are so easy to grill up, you’ll be serving these at all your summer cookouts.
⚖️ Compare Grilled Corn in Husk vs. Grilled Corn in Foil vs. Grilled Corn on Grill Grates
If you have some fresh ears of corn in the husk, you might be wondering which is the best method for grilling corn. It all depends on your taste but here are the differences to help you decide:
| Feature | In the Husk | In Foil | On the Grates |
|---|---|---|---|
| Flavor | Smoky, grassy | Smoky, sweet | Intense char |
| Moisture | Juicy | Extra Juicy | May dry out |
| Texture | Tender | Tender, Steamed | Tender to crisp |
| Preparation/Cleanup | Minimal | Some | Some |
🌽 Ingredients

🛒Corn on the Cob – Purchase sweet corn from your farmer’s market or grocery store still in the husk. You will use the husks in the cooking process to keep the corn from drying out as it roasts.
🛒Dressing – This will be slathered on the shucked corn for the last 5 minutes of cooking – you’ll get extra flavor and a bit of char. A few simple ingredients are all you need:
- Olive oil
- Salt & pepper
- Fresh garlic
- Crushed red pepper
- BBQ seasoning (we used Jamaican Firewall mix from Dizzy Pig this time)
🔥 Instructions for Grilling Corn in the Husk

👉 Step 1: Cut off the ends of the corn to make flat, clean edges. This will remove most of the tassel, and allow corn cob handles to fit neatly into the corn when you are ready to eat. Corn cob handles give you a nice easy way to hold hot corn and eat it at the same time.

👉 Step 2: Soak the corn submerged in a bucket of water for at least 30 minutes up to 4 hours. This fully saturates the corn husks with water so that they can take the heat off the grill without burning.

👉 Step 3: Mix the seasonings and oil in a measuring cup. A whisk makes this super easy. You can whisk it again right before using it at the end of the grilling process. Mixing it at the beginning of the process gives the flavors time to meld.
👉 Step 4: Preheat your grill to 375-400°F. Remove the corn from the bucket and let it drain while the grill is heating up.

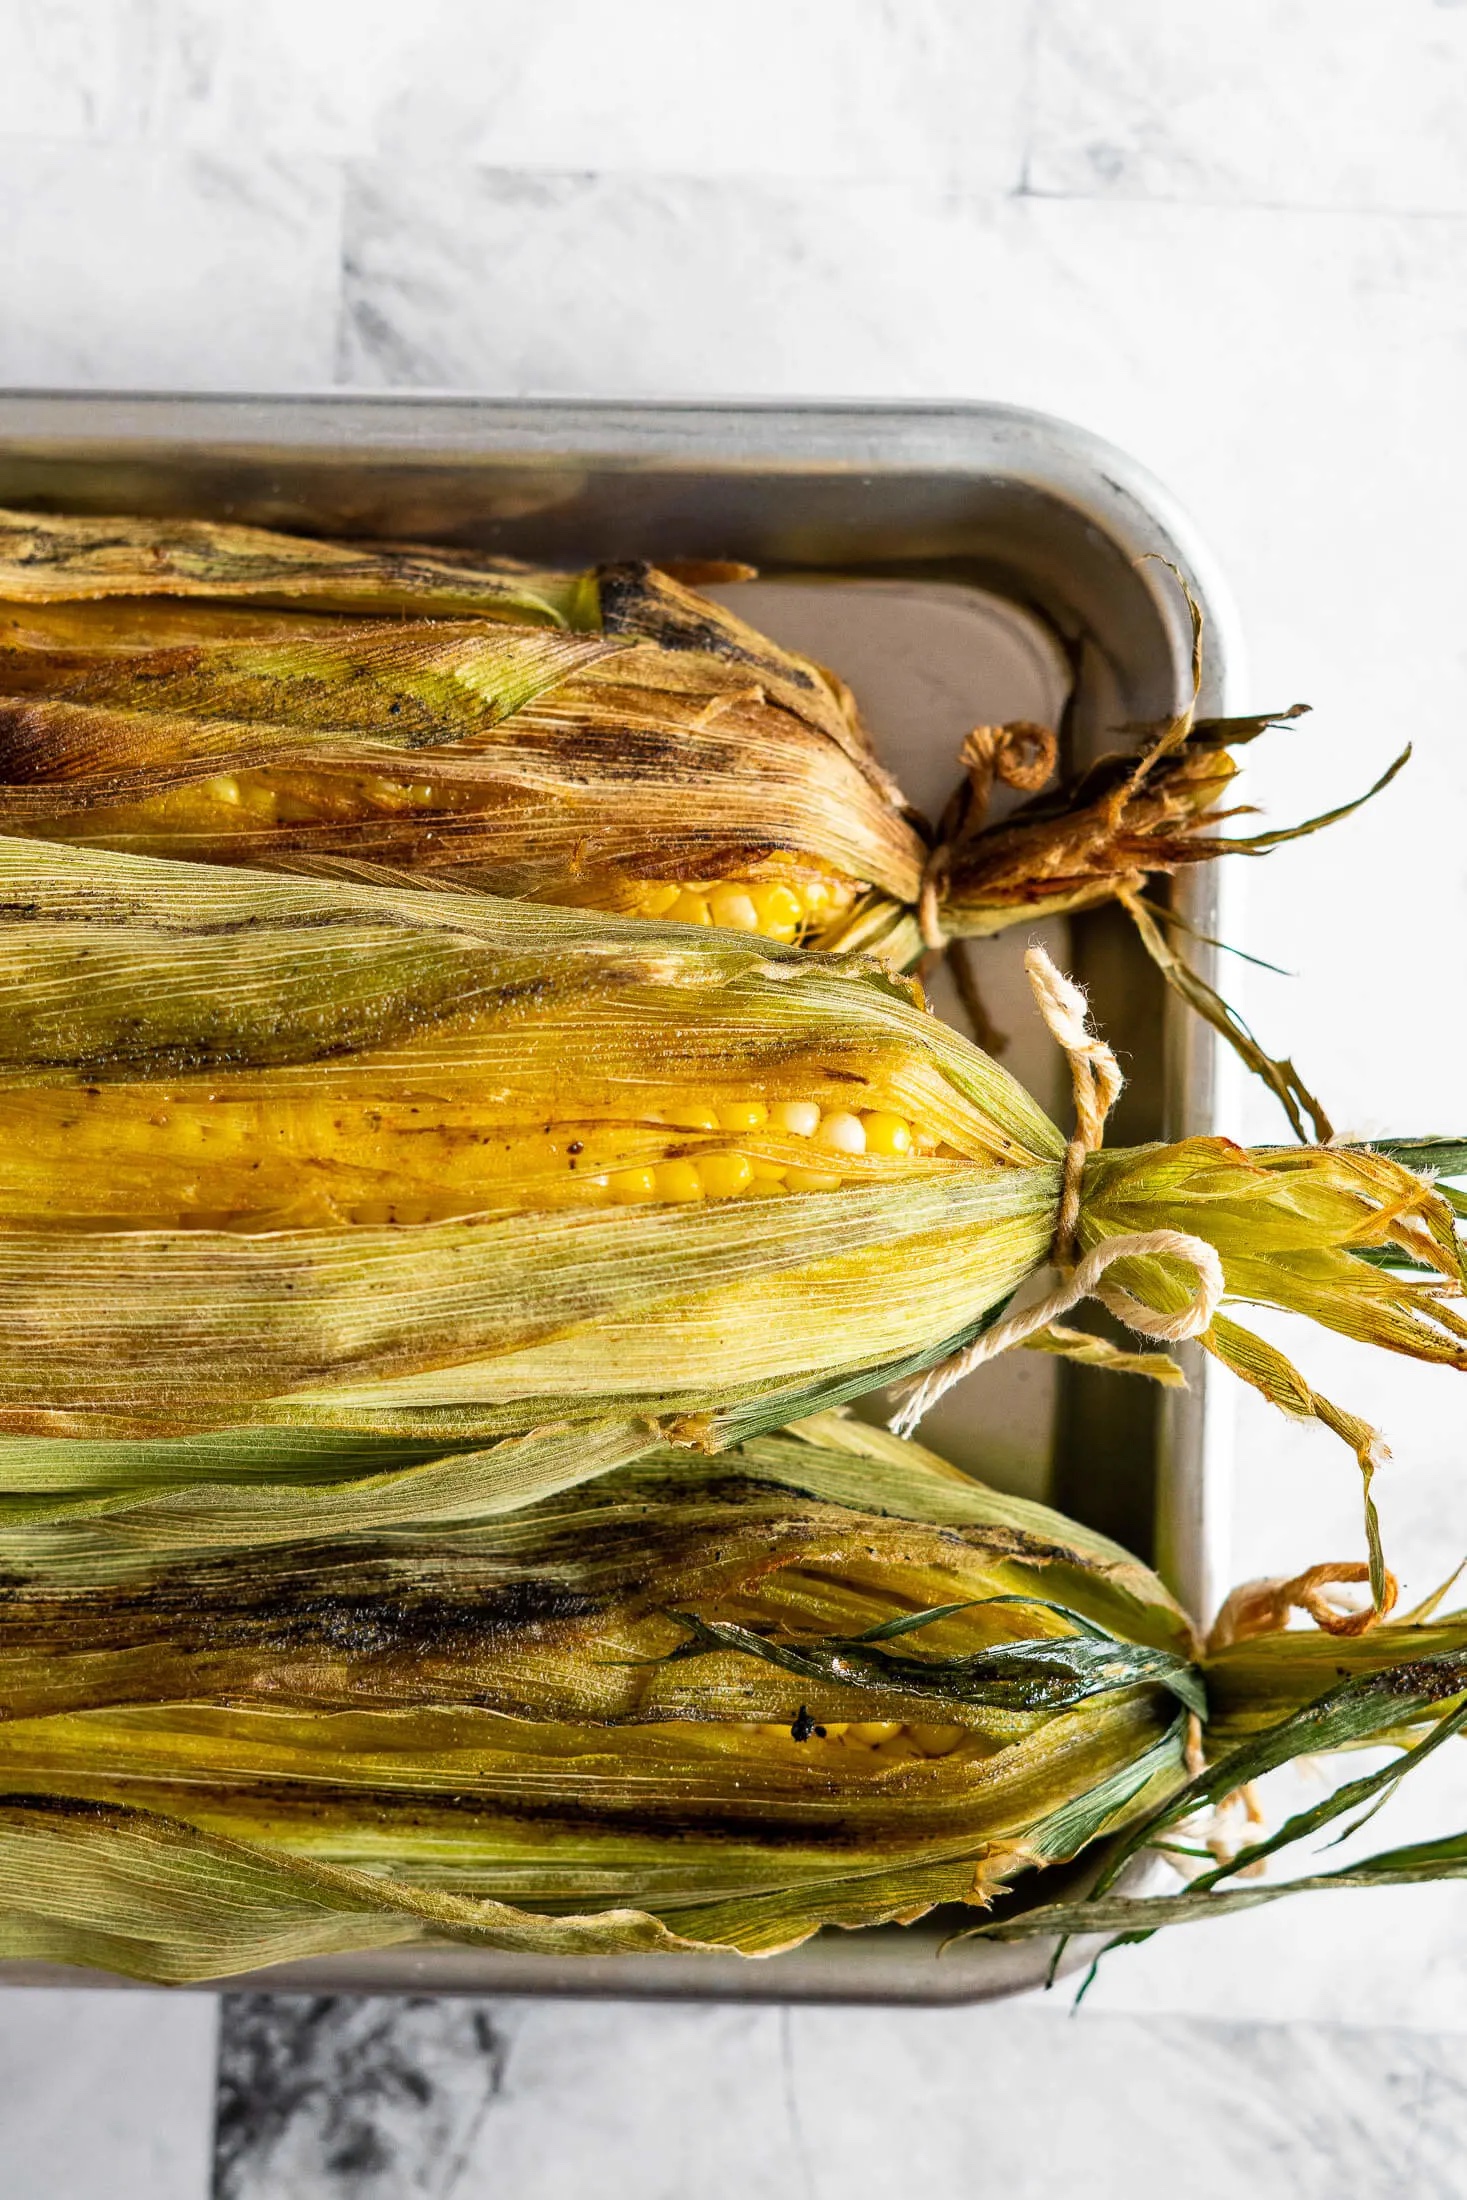
👉 Step 5: Add the corn, still in its husk, to the grill. Grill the cobs for 20 minutes, turning every 5 minutes so they don’t burn.

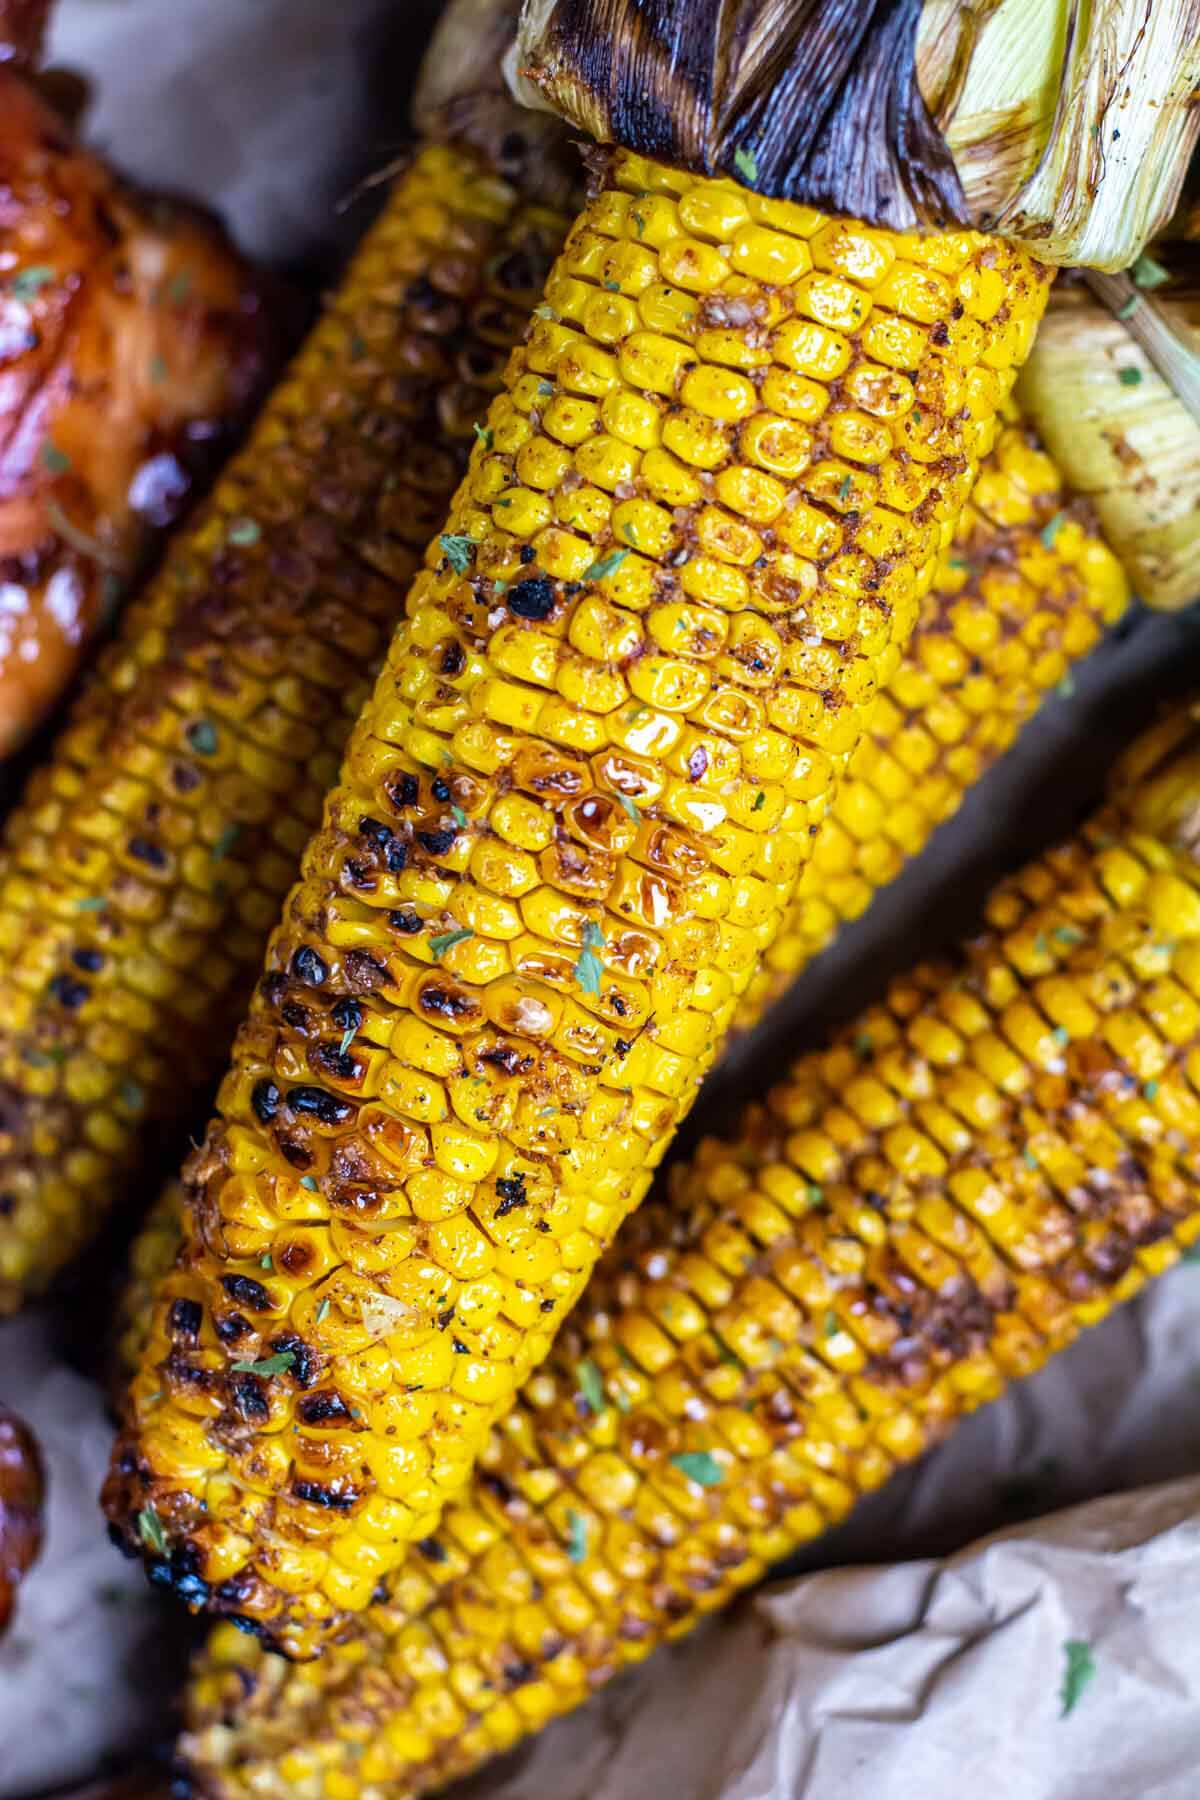
👉 Step 6: Peel back the corn husk and tie it out of the way with kitchen twine. The good news is, heat has made shucking the corn and removing the silks significantly easier. Use a gloved hand to rub any remaining silks off the corn. Baste the corn with the dressing mixture. Place it back on the grill.

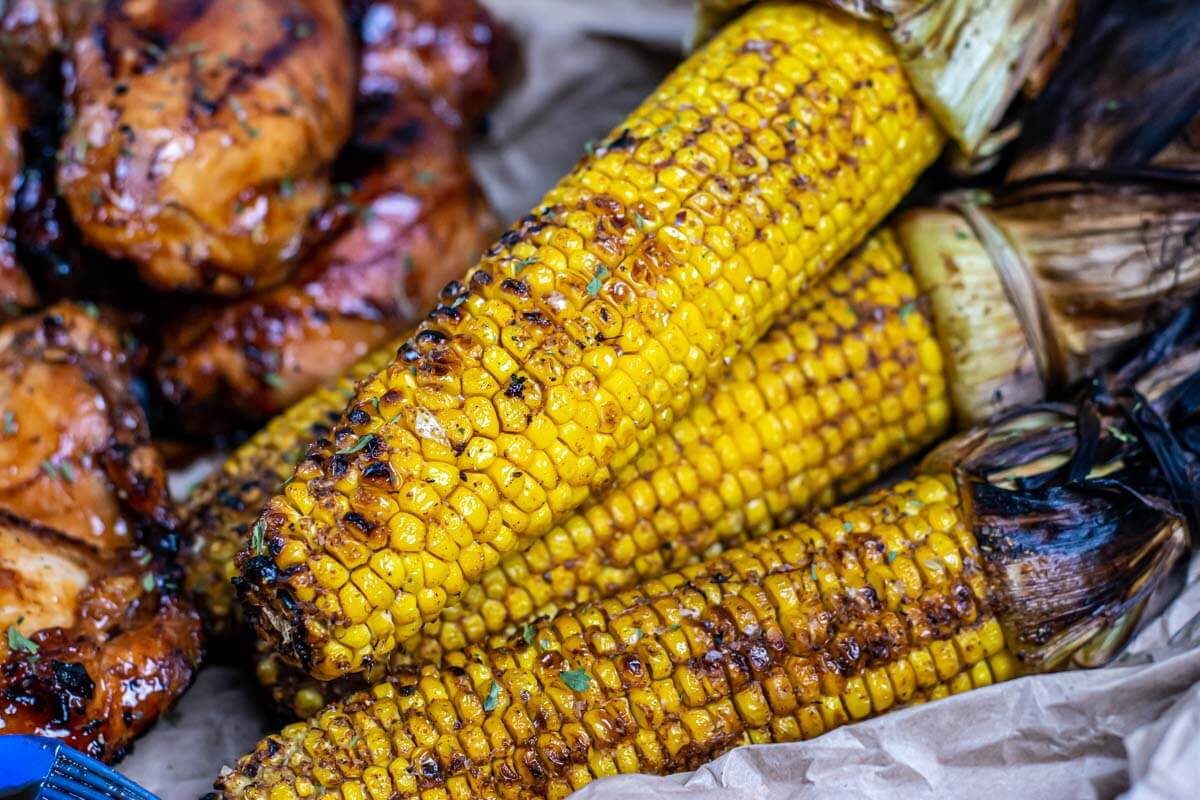
👉 Step 7: Continue grilling the corn and basting it for 5 more minutes. You’ll end up with moist and juicy corn with a little bit of char to get those sugars jumping. Serve hot!
If you don’t have access to corn still in the husk, try our tutorial for grilling corn on the cob in foil.
🍽️ How to Serve
Instead of asking what can you serve corn on the cob with – ask yourself what can’t you serve corn on the cob with.
⭐Steaks | Smoked flank steak, grilled ranch steak, grilled ribeye, and grilled Porterhouse steak.
⭐Grilled Chicken | Grilled chicken leg quarters, smoked chicken thighs, grilled beer can chicken, grilled garlic Parmesan chicken wings.
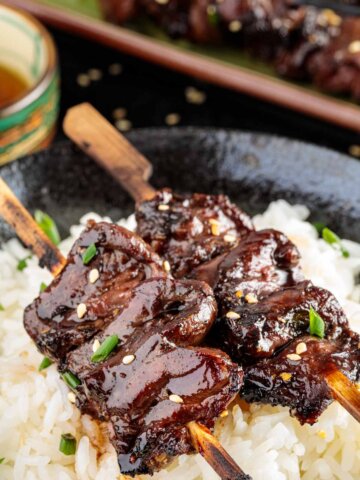
⭐BBQ Pork | Grilled pork shoulder, smoked sausage, grilled pork belly, smoked pork roast, grilled St. Louis ribs,
⭐Burgers | Grilled chicken burgers, grilled turkey burgers, copycat Travis Scott burgers.
⭐Other Grilled Veggies | Grilled baby potato kabobs, grilled broccolini, grilled sweet onions, grilled tomatoes with mozzarella, grilled patty pan squash.
🍲 More Smoked & Grilled Corn On The Cob Recipes
There’s a special appeal to grilled corn on the cob in husks. It has that wonderful smoky flavor while still juicy!
Grilled Corn | We also like to grill corn on the cob without the husks. It trades some of that moisture for more intense charring and taste. Try our grilled Mexican Street Corn Elote or Grilled Beer Corn and I guarantee there won’t be any leftovers!
Smoked Corn | If you have some time on your hands this smoked corn on the cob is a must-try! To smoke corn, we didn’t remove the husks, just like for the grilled variety.
Salsas & Salads | Grilled corn also adds a nice texture to salads and salsas. We enjoy it in grilled corn and black bean salsa which is super easy to customize! This avocado corn salsa also goes great with steak and other kinds of grilled protein.
Related Recipes


Tried this recipe? Please leave a star ⭐️⭐️⭐️⭐️⭐️ rating in the recipe card below and/or a review in the comments section further down the page. You can also stay in touch with me through social media by following me on Instagram, Pinterest, and Facebook!

Grilling Corn on the Cob in the Husk
Equipment
- Grill
- Bucket to soak the corn so the husks are fully saturated with water before grilling
- Kitchen Twine to tie the husks for the last minutes of grilling
- Food Safe Gloves to protect your hands when shucking the hot cobs
Ingredients
Corn on the Cob in the Husk
- 4 ears Corn on the Cob in the husk
Dressing
- ½ cup Olive Oil
- 2 cloves Garlic
- 2 tbsp BBQ Seasoning use your favorite
- ½ tsp Red Pepper Flakes
- 1 tsp Kosher Salt
- 1 tsp Coarse Black Pepper
Instructions
Dressing
- Measure 1/2 cup of olive oil and add the salt and seasonings to the cup. Mix well and set aside. Do this first so the flavors have time to meld.
Corn on the Cob in the Husk
- Cut off the ends of the corn to get flat, clean edges. Place the corn in a bucket of water and make sure it is fully submerged in water for 30 minutes up to 4 hours. This ensures the husks are fully soaked and won't catch fire during grilling.
- After at least 4 hours of soaking, preheat the grill to 375-400°F. Remove the corn from the water and let it drain.
- Place the corn straight on the grill grates and grill for 20 minutes, turning every 5 minutes so it doesn't burn.
- After 20 minutes, remove the corn from the grill, pull the husks back and tie them with kitchen twine. Baste the corn with the olive oil dressing and it back on the grill.
- Keep brushing the dressing on the corn on all sides for about 5 minutes. Serve hot!
Notes
Nutrition

Jason’s been firing up the grill for over 30 years after graduating from the US Coast Guard Academy. His love of finely-grilled steak and chicken led him to buy his first Weber grill to put on his apartment patio in 1992. Each military move led to a new grill (a mixture of gas and charcoal) until he fell in love with the Big Green Egg in 2008. Since then, he has added another 4 grills to the collection. Yes, he has a problem. Jason loves smoking in the ceramic BGE with exotic woods including olive wood from Egypt and hard to find varieties such as sassafras and orange wood. Jason takes the term “foodie” to a whole new level, jumping at the chance to take food tours and cooking classes during foreign travels. These have provided inspiration to incorporate new ideas into recipes when he gets back home. He has been featured in Fox News, Parade, Yahoo News, Kansas City Living and more. After retiring from the military and moving to southwest Florida, he has focused grilling and smoking locally sourced meats and fish (read: he likes to catch his own fish!)


Leave a Reply