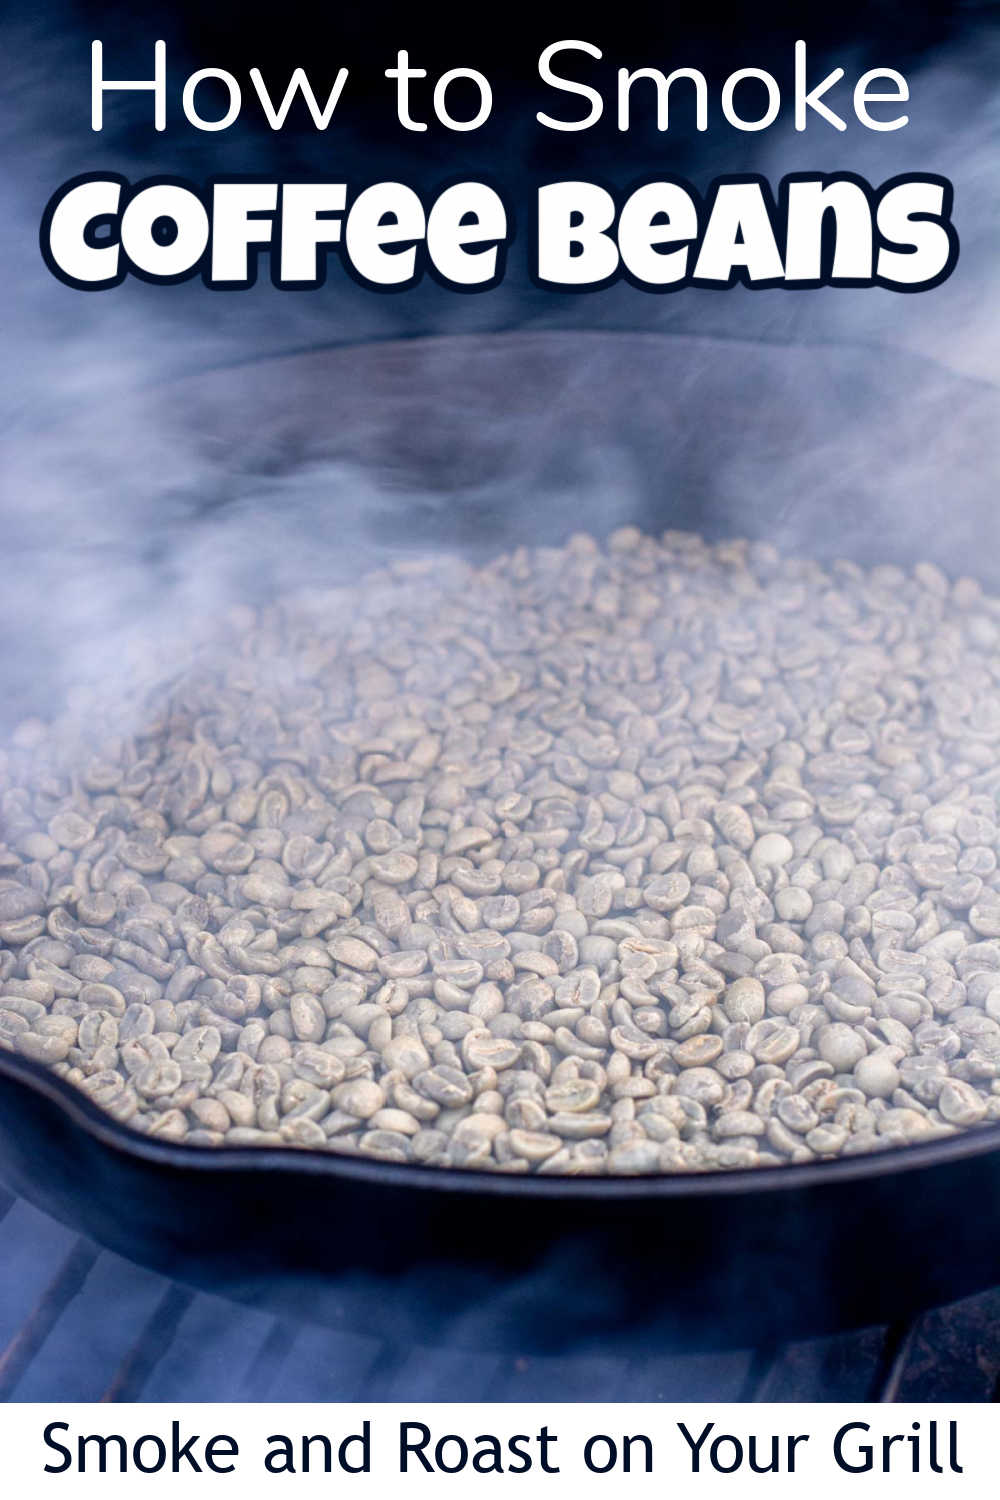
Roasting and Smoking Coffee Beans (and ground coffee is even quicker!) on the Grill couldn’t be easier! It takes just a few simple steps. The rich aromatic flavors infused from the smoking wood turns the traditional cup of Joe into something pretty remarkable.
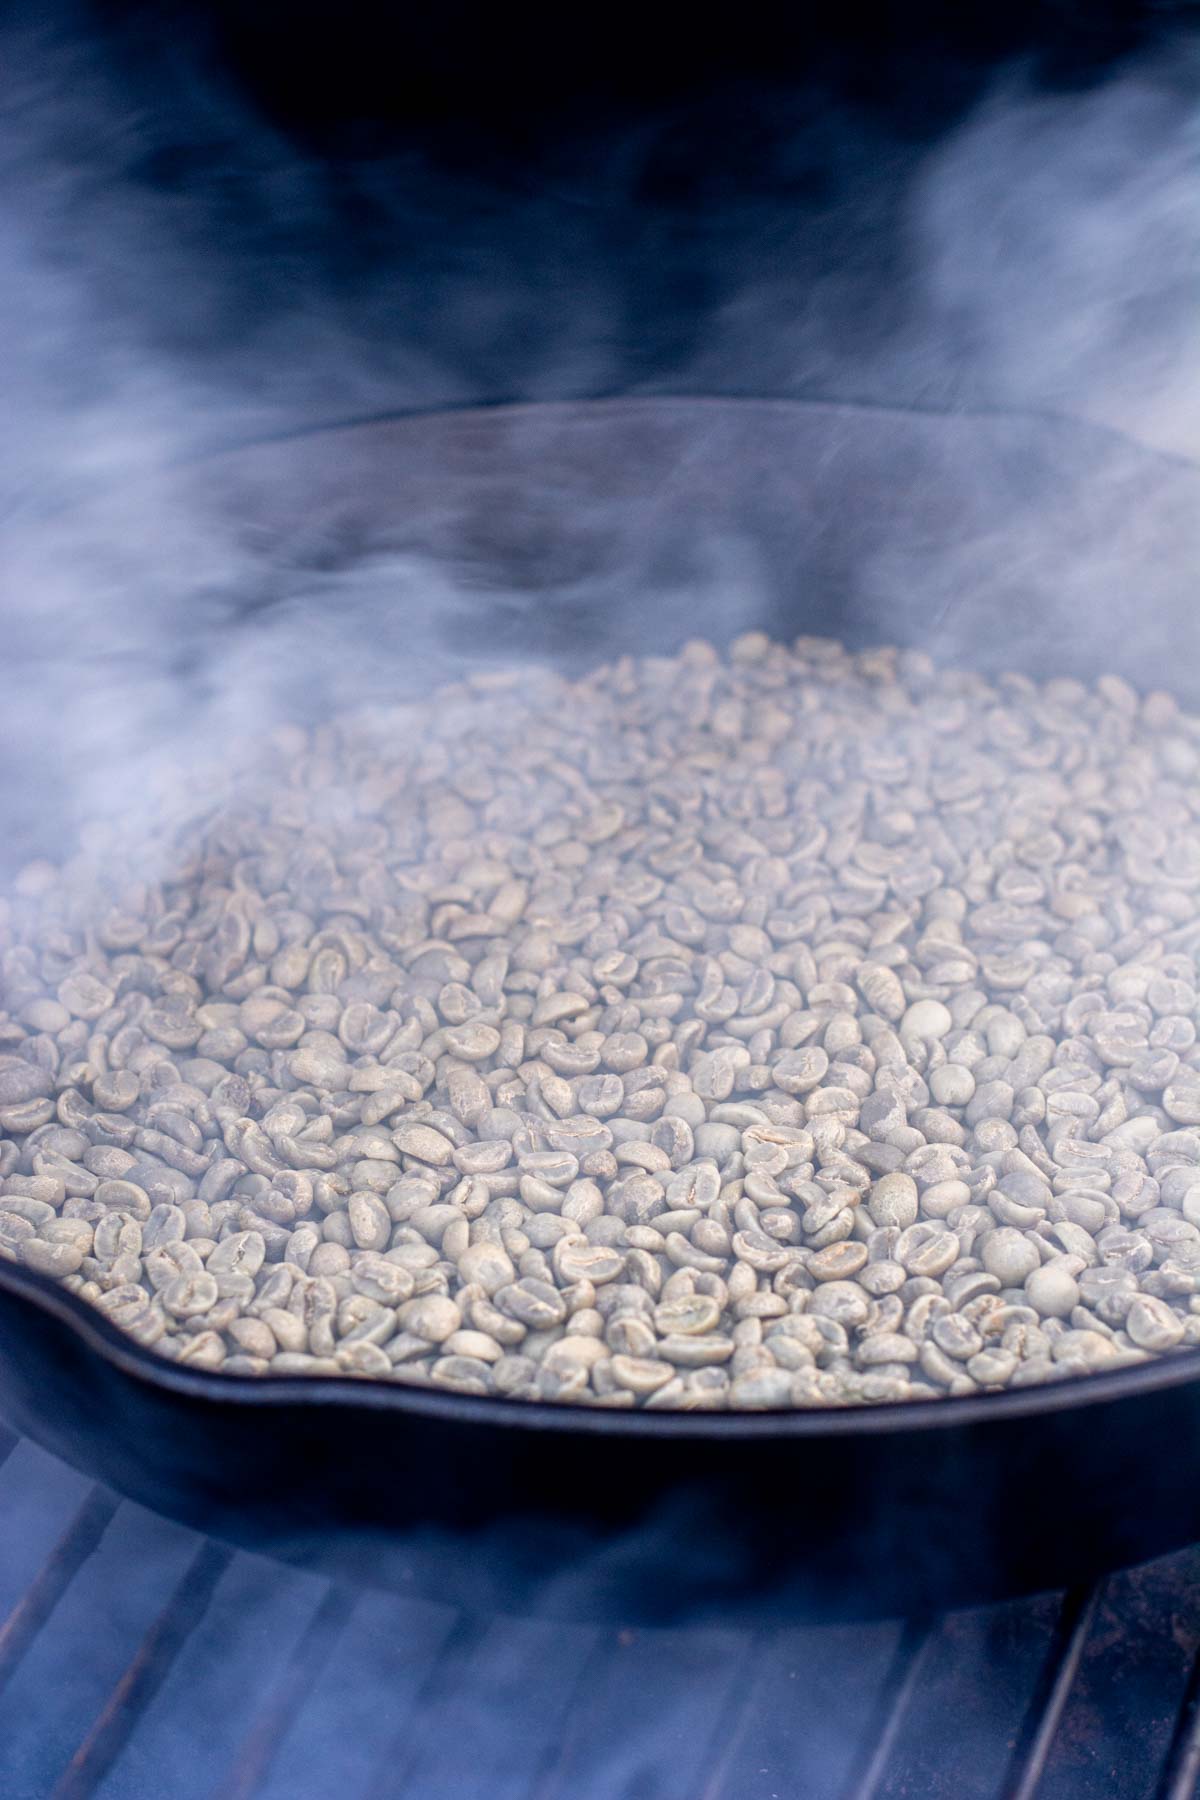
Roasting your own beans or smoking the grounds out on the grill is so easy and addicting. You’re in control of every step of the process and can develop your own unique flavor profile starting with the green coffee beans straight from the bag.
If you want to start out roasting your own coffee on the grill, try using the grounds as the ultimate beginner recipe and move up to the beans. The benefit is that you don’t have to go order whole green coffee beans yet. Simply use the grounds from your favorite brand.
Oh heck, just order the beans, already! You know you want to! LOL! You will love how this tastes and it gives you an excuse to spend a bit more time out at the grill.
🥄 Why This Recipe Works
Easy – This is a quick and simple recipe that works perfectly on your smoker. You only need some green coffee beans (or prepared grounds), a cast iron skillet, and a fun type of wood to smoke.
Fun – Aren’t we all looking for creative ways to use our grill? We love this one as it’s something you will use right away – and it’s fun. I love to smoke this and share with my buds at work. It makes a great conversation starter for anyone who loves coffee. I’m dorky like that. 😀
Customizable – Make this recipe unique by changing things up!
- Use hickory to intensify the smoky flavor vs a lighter wood like apple or cherry. Alder is considered a lighter wood as well and that is what we chose this time.
- Change the length of smoking time. A light smoke flavor will only take 15-30 minutes. A more intense flavor will require 40-45 minutes.
- Change the resting time. The longer you let this rest after it has been smoked and roasted, the more intense the flavor. Ideally, aging it for 5-7 days will create the maximum flavor.
☕ Ingredients Whole Beans
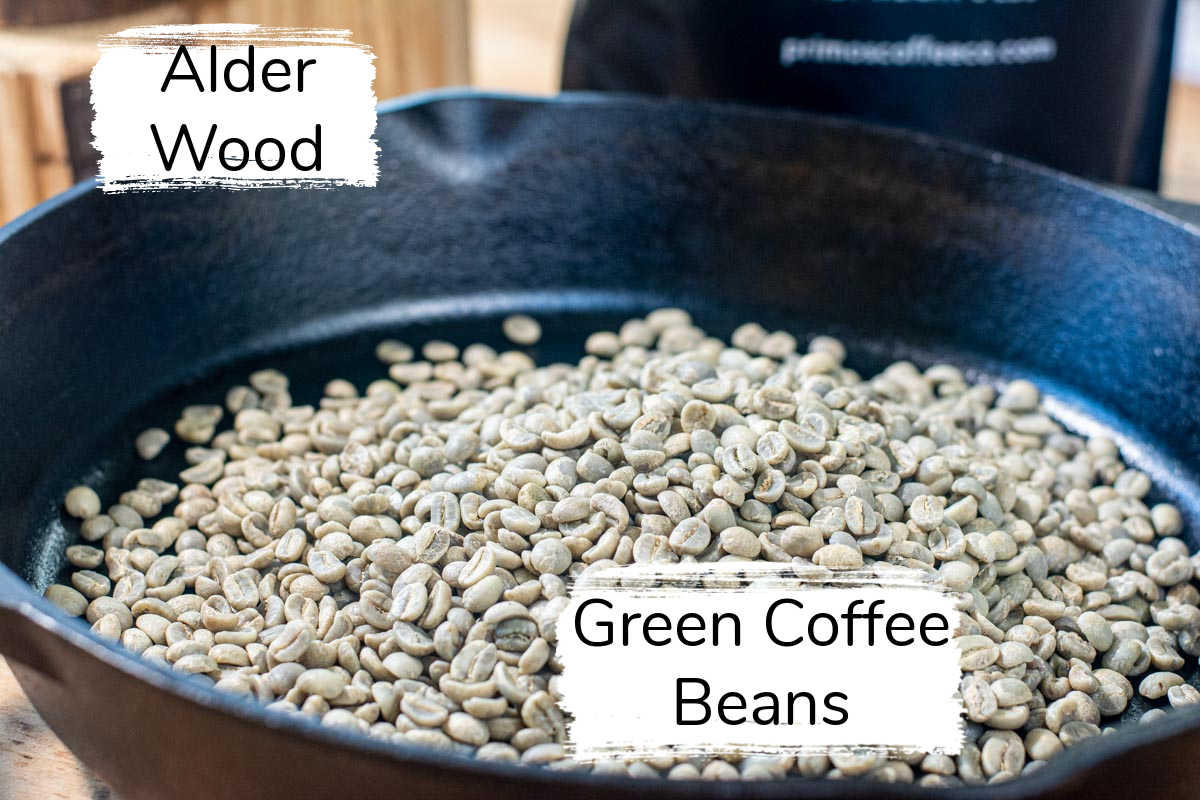
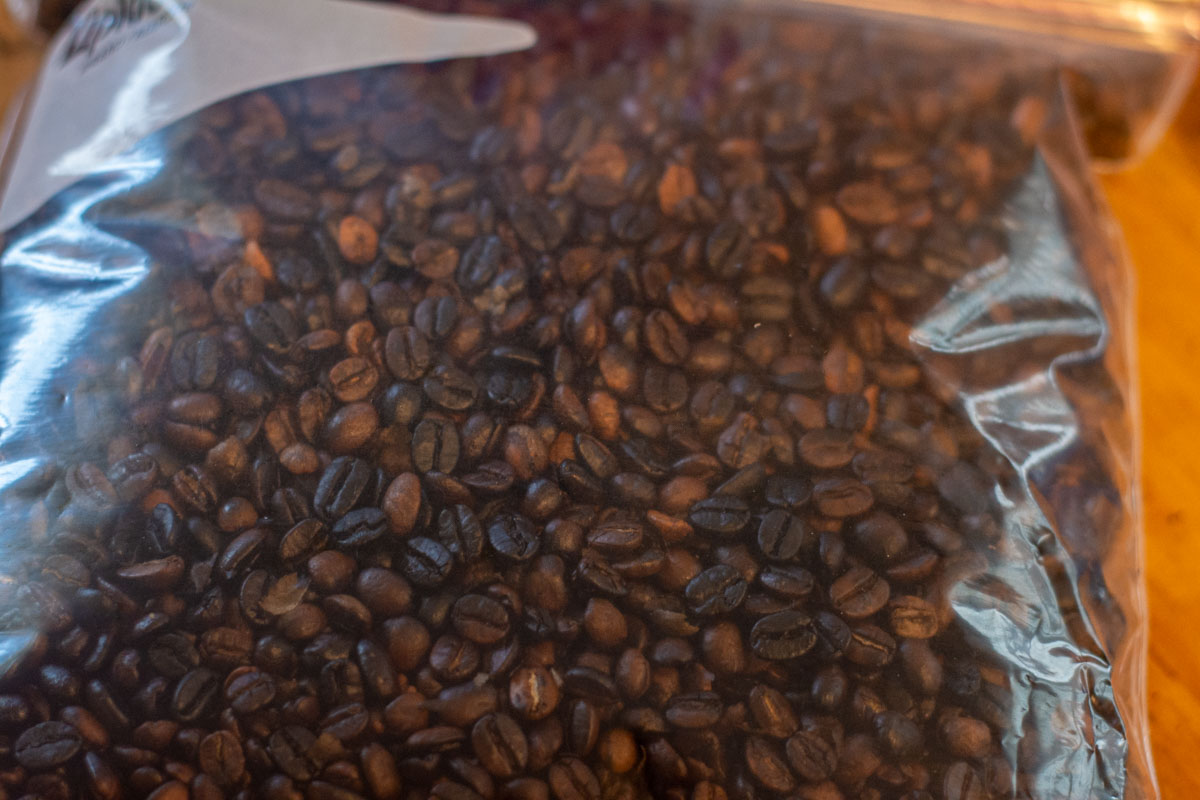
Green Coffee Beans – These are unroasted beans. You typically won’t find these at the grocery store. Your local specialty coffee shop in town *might* have it, but prepare yourself that you will most likely need to order them.
☕ Ingredients Ground Coffee
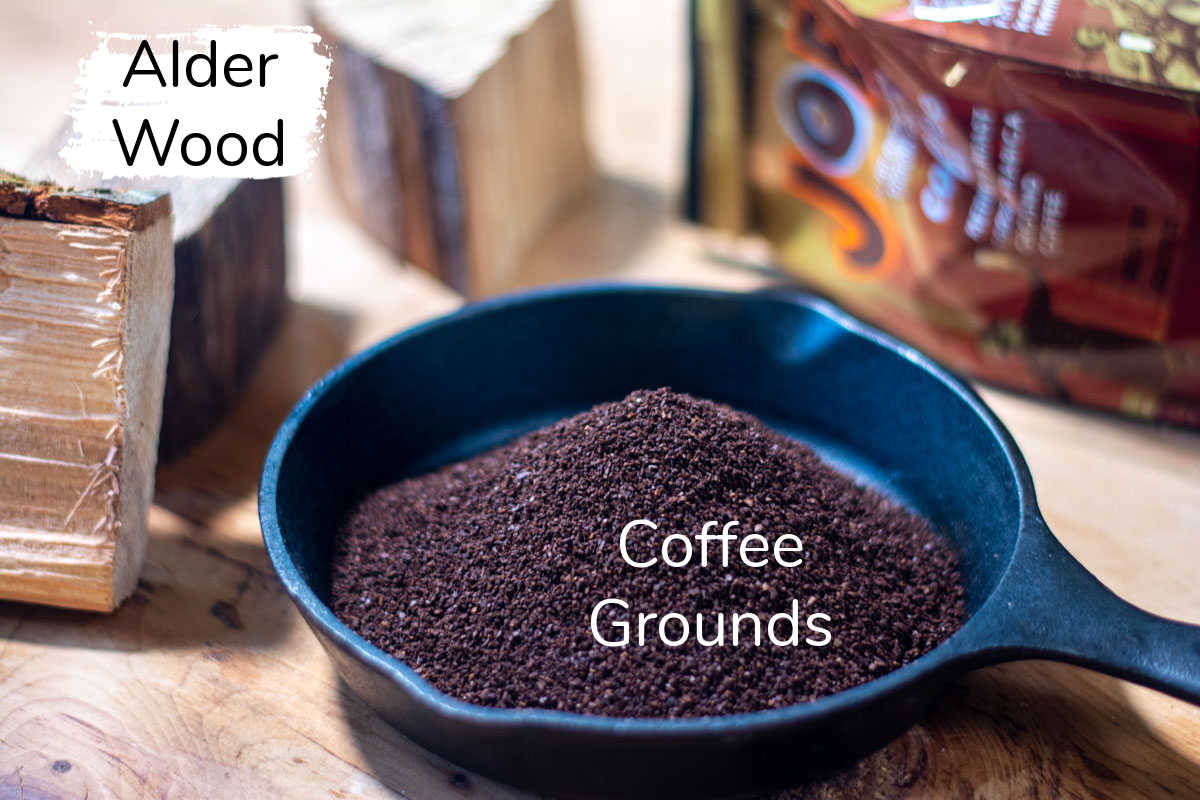
Ground Coffee – This is the pre-roasted ground coffee that you would buy from your grocery store. I got mine from Trader Joe’s. Because you only need about 1-2 cups of grounds at a time, try it out with a few different varieties. I recommend starting with a mild roast rather than one that is more robust. Look for a nice breakfast blend that you want to bump up a notch.
🔥 Instructions Whole Beans
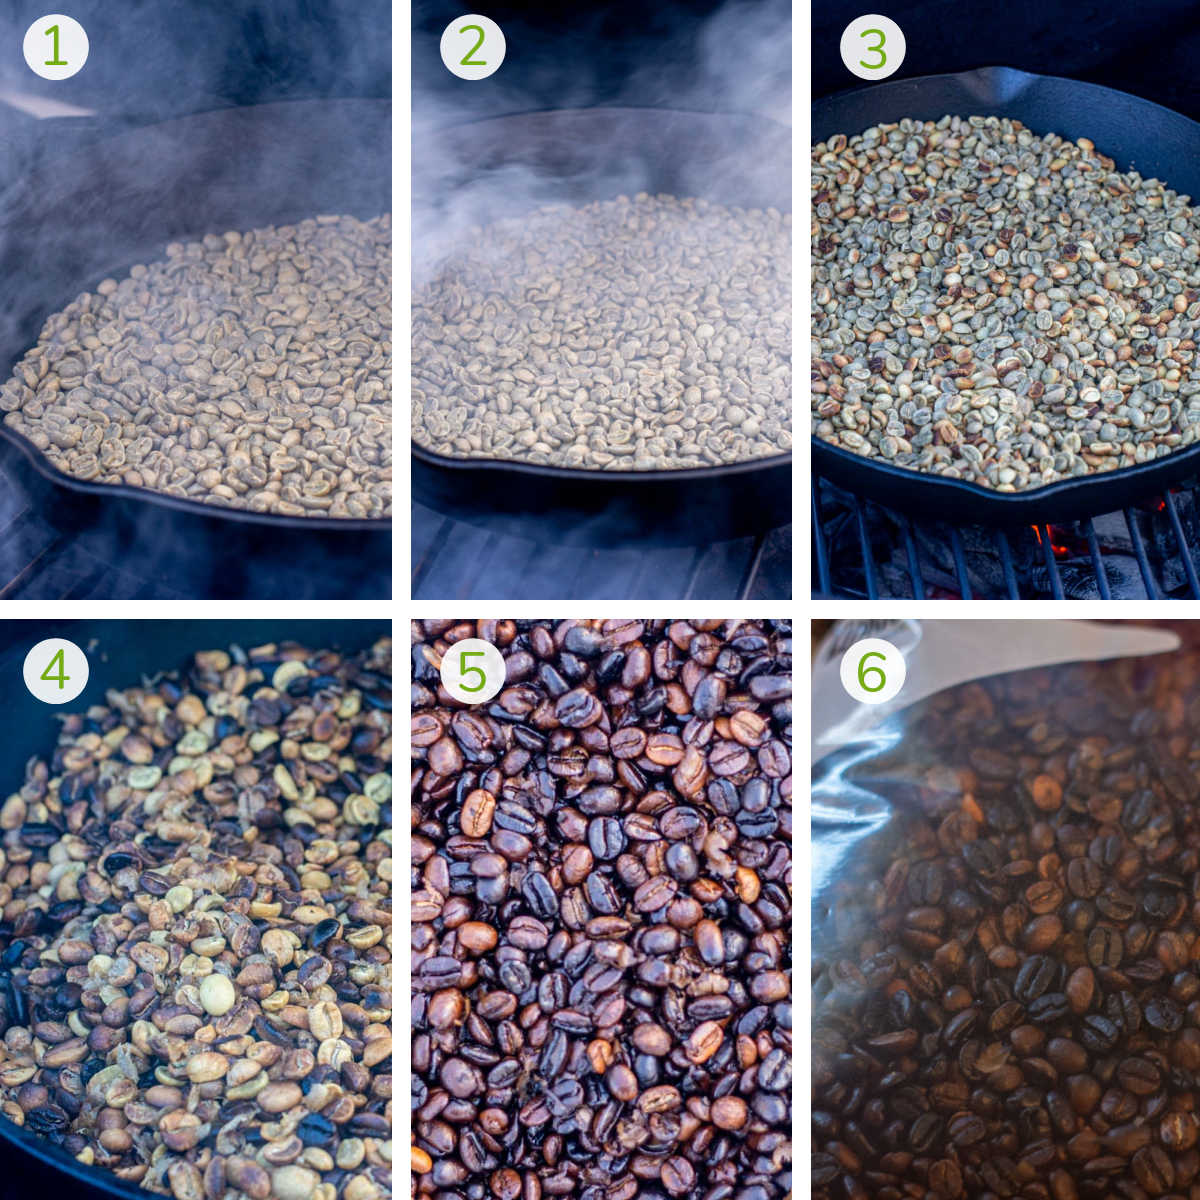
Step One: Pour a thin layer of coffee beans about ¼ – ½ inch thick in a cast iron skillet.
Step Two: Heat up the grill to 400 degrees setting it up for an indirect heat. Place chunks of alder (or a smoking wood of your choice) on the charcoal to create a nice billowing smoke.
Note: You can do this on a gas grill too! Fill a smoking box with your favorite wood and it will turn your gas grill into a smoker.
Step Three: Place the cast iron skillet on the grill and start the smoking process. Stir the beans every five minutes. You don’t want them to burn and you want them all exposed to the smoke.
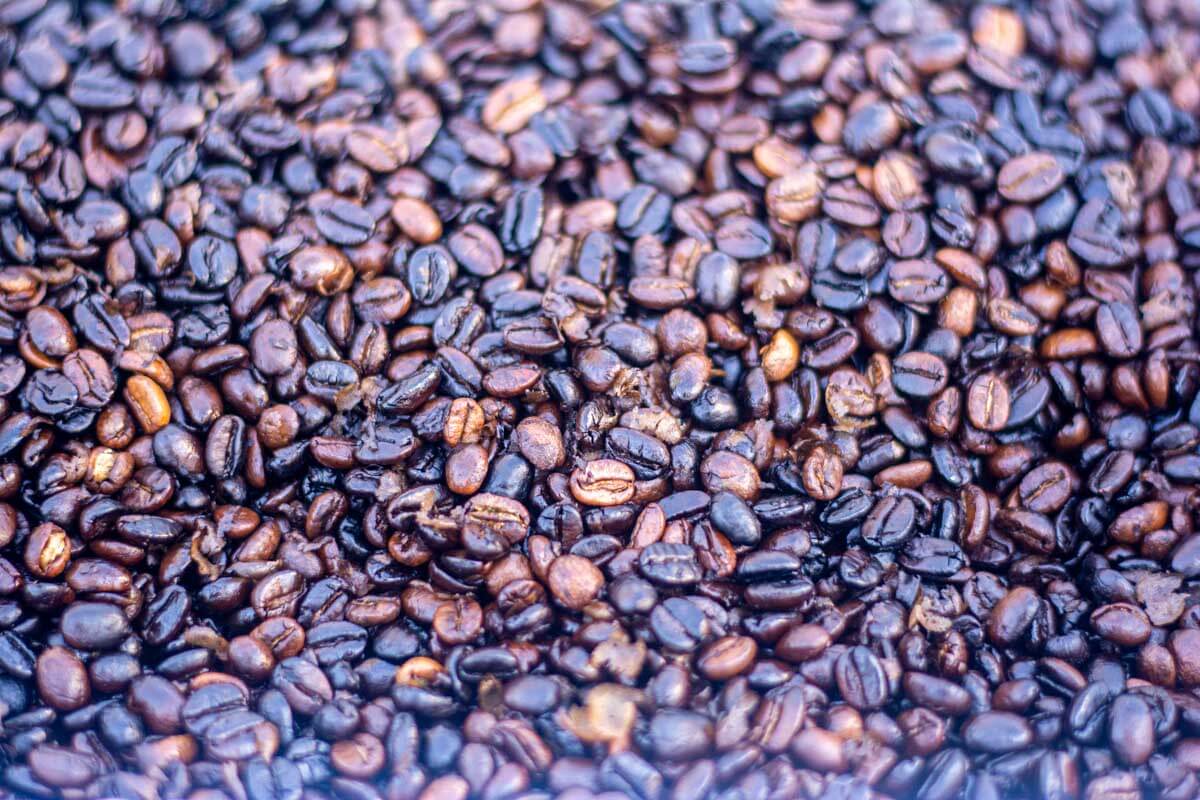
Step Four: After 30 minutes, remove the plate setter. It is time to roast the beans which requires a direct heat. Once you have the grill set up for direct heat, you will need to stir every three minutes so the beans don’t burn. The cast iron skillet is very hot and the coffee will go from toasty brown to pitch black within seconds if you are not paying attention.
Note: The oils in the coffee beans will heat up and expand quickly. You’ll hear them popping. Keep stirring until they reach the roasting color you are looking for.
Step Five: ⚠️ Remove the beans from the grill and pour them into a bowl or aluminum pan quickly or they will keep roasting and potentially burn. I stirred the beans when they were in the disposable pan to help them cool quickly.
Step Six: After they cool completely, place them in a sealed container for at least 24 hours to give the flavor time to intensify. Grind and make coffee as you normally would.
🔥 Instructions Ground Coffee
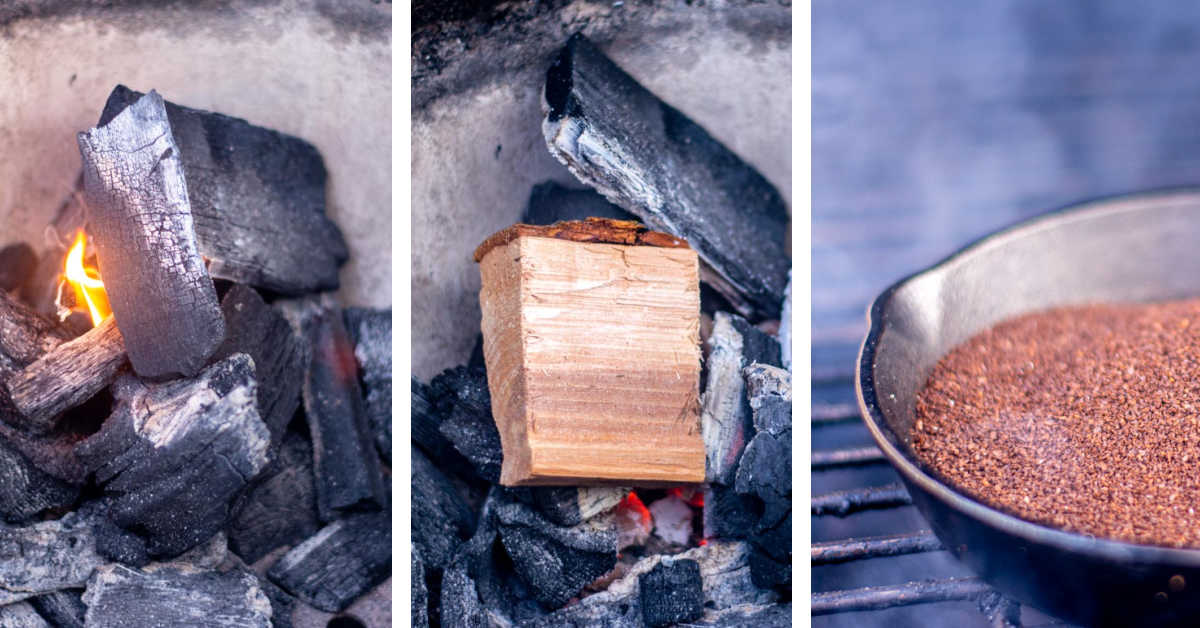
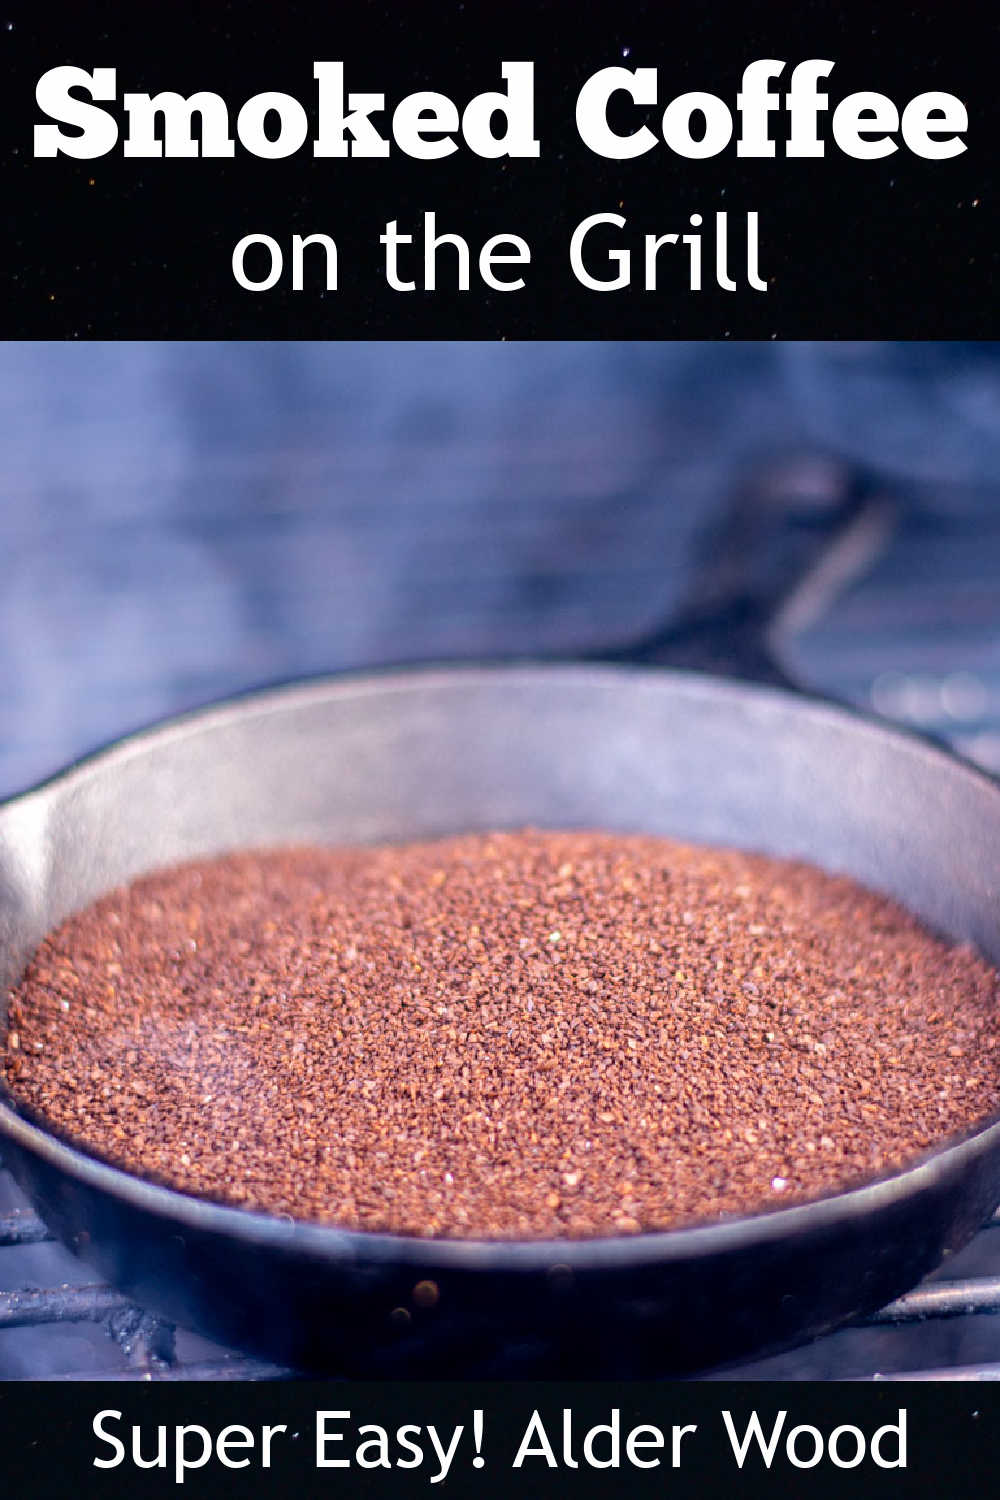
Step One: Place the one cup of the roasted ground coffee into a small cast iron skillet.
Step Two: Place a small pile of charcoal in the bottom of the grill. Light it and place one lump of Alder wood on it. You want to make smoke without heating up the grill.
Note: For a kamado style grill, add the plate setter. For a gas grill, only use the burners away from the skillet.
Step Three: Place the cast iron skillet of ground coffee ON THE OPPOSITE SIDE OF THE GRILL from the charcoal. The coffee is already roasted, so you want to keep the temperature cool. I kept the grill below 200 degrees.
Step Four: Stir every five minutes so that more surface area is exposed to the smoke. Remove after 30 minutes.
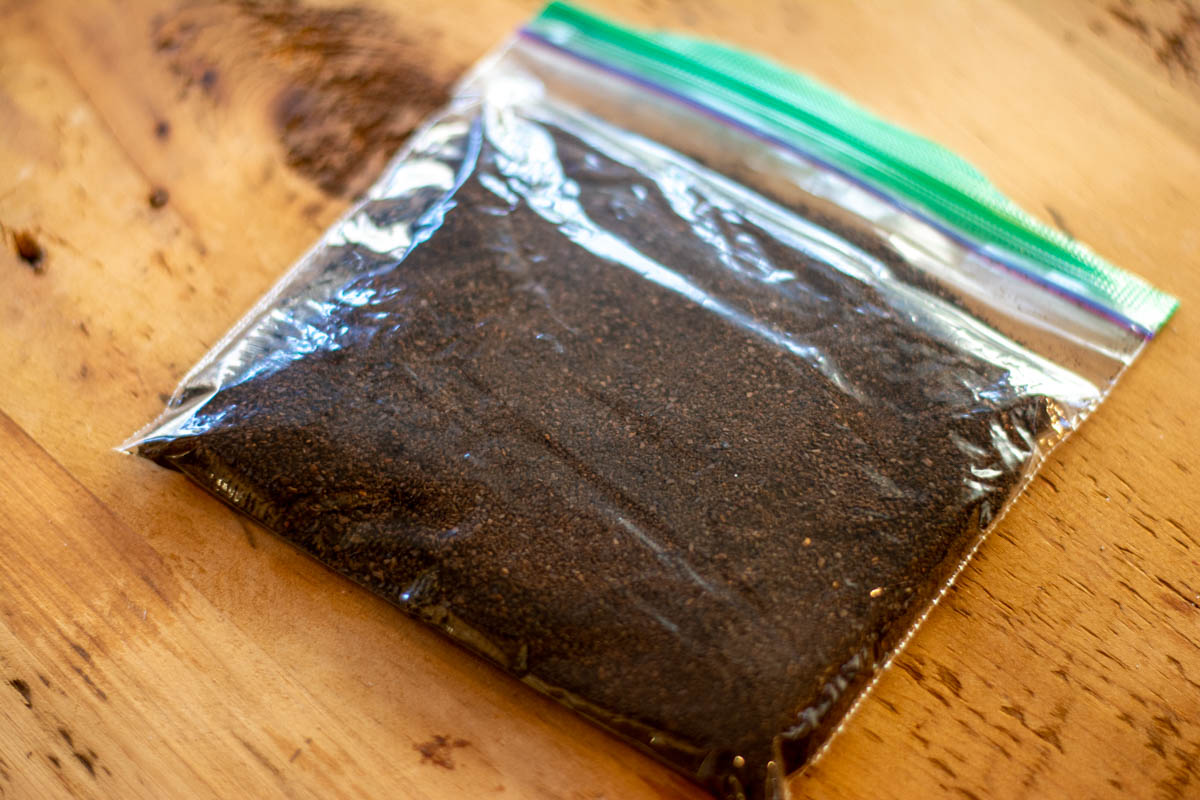
Step Five: Allow the grounds to cool completely and store them in an airtight container. The smoke flavor will intensify over time, so let them rest for at least 24 hours.
🍷 Expert Tips
There are just a couple of things to remember when roasting your own coffee beans.
Stay close. This is the time to pretty much stay outside and near the grill at all times. 3-5 minutes goes so fast and these turn from golden brown to black in seconds and it can become a hot mess. I used Siri on my iPhone to set a timer to warn me when it was time to stir.
Use Green Coffee Beans. If you use pre-roasted coffee beans from the store, you are just re-roasting them and it’s a complete waste. If you don’t want to invest in the green coffee, start with smoking the coffee grounds instead. That will give you the opportunity to try out the flavor without worrying about if you like it or not.
Remove the Roasted Beans Immediately. Make sure to get the beans out of the cast iron right away as the cast iron retains the heat and the beans will continue to roast and potentially burn quickly. Transfer the beans to a bowl or another pan and allow them to cool.
Resting: Leave the beans in an airtight container for at least 24 hours before use. I find it fascinating that the longer they rest, the more intense the smoke flavor will become. I think it hits its peak in about 3-4 days.
Recipe FAQs
Because the flavor is insane! The already delicious coffee beans take on a smoky flavor that is seriously irresistible. Once you try it the firs time you are going to be hooked and want it all the time.
Yes, it’s vital! The cast iron is thick and gives the proper barrier between the heat and the coffee beans (or grounds). Anything else is going to be too thin and cause them to potentially burn.
Related Recipes
Tried this recipe? Please leave a star ⭐️⭐️⭐️⭐️⭐️ rating in the recipe card below and/or a review in the comments section further down the page. You can also stay in touch with me through social media by following me on Instagram, Pinterest, and Facebook!

Smoked Coffee Beans and Ground Coffee
Equipment
- Cast Iron
Ingredients
- 1 lb Green Coffee Beans
Instructions
Smoke and Roast Green Coffee Beans
- Pour GREEN coffee beans in a 12" cast iron skillet until it is ¼-½ inch deep.
- Heat the grill to 400 degrees using indirect heat. For a Kamado style grill, add a plate setter. For a gas grill, turn off the center burners. Add smoking chips.
- Stir every five minutes for 30 minutes total. This will create a wonderful smoky flavor on the beans.
- After smoking, set up the grill for direct heat to begin roasting and bring the temperature up to 425 degrees. The coffee beans will darken quickly, so stir them every three minutes so they don't burn. You will hear them start to pop when the oils inside the beans heat up.
- When they are the desired deep, rich brown color, remove them from the grill and quickly pour them into a disposable aluminum pan. If you keep them in the cast iron, they will continue to keep roasting and potentially burn.
- After they have cooled completely, store them in air tight for at least 24 hours to maximize the smoke flavor. The flavor will intensify each day and will reach its peak in three or four days.
Smoking Coffee Grounds
- Set a small pile of charcoal on one side of the grill and light it. Add a piece of alder on top. The goal is to create a smoke without raising the temperature of the grill. I kept the grill well below 200 degrees. Add the plate setter.
- Pour one cup of roasted coffee grounds into a small cast iron dish and place it on the grill.
- Stir the grounds every five minutes for 30 minutes.
- Remove the grounds from the grill and allow them to fully cool. Place them in an airtight container to rest.
- Allow them to rest for at least 24 hours. The smoky flavor will intensify as it rests.
Notes

Jason’s been firing up the grill for over 30 years after graduating from the US Coast Guard Academy. His love of finely-grilled steak and chicken led him to buy his first Weber grill to put on his apartment patio in 1992. Each military move led to a new grill (a mixture of gas and charcoal) until he fell in love with the Big Green Egg in 2008. Since then, he has added another 4 grills to the collection. Yes, he has a problem. Jason loves smoking in the ceramic BGE with exotic woods including olive wood from Egypt and hard to find varieties such as sassafras and orange wood. Jason takes the term “foodie” to a whole new level, jumping at the chance to take food tours and cooking classes during foreign travels. These have provided inspiration to incorporate new ideas into recipes when he gets back home. He has been featured in Fox News, Parade, Yahoo News, Kansas City Living and more. After retiring from the military and moving to southwest Florida, he has focused grilling and smoking locally sourced meats and fish (read: he likes to catch his own fish!)


Leave a Reply