The Big Green Egg (BGE) is a popular kamado style ceramic grill, but it is much more than just a grill. Sure, it produces an outstanding barbecue, but it can also be used in numerous ways that a traditional briquette or gas grill can’t.
Most likely, you either:
- Recently bought a Big Green Egg
- Are seriously thinking about buying one, or
- Are looking to find some new ways to use yours
Listed below are the 13 different ways you can use the BGE and how to set it up.
These is broken down into two primary approaches:
Direct Heat Grilling
This technique is used quite often and closely follows what you would expect to do on a gas or charcoal briquette grill.
Man lights fire. Fire cooks meat. Man eats meat. Caveman simple!
Direct heat is used when you want a really good sear on your meat, or you want the directional heat when you keep the lid open (like cooking in a wok or paella dish).
The delicious caramelization and searing process is called the “Maillard Reaction.” If you are interested in a more detailed explanation of this, check out this article on the Maillard Reaction: https://www.sciencedirect.com/topics/agricultural-and-biological-sciences/maillard-reaction. If you are like me, you are much more interested in the tasty end results and should read on!
High Heat Searing
Have you ever been to Ruth’s Chris Steakhouse? Their steaks are seared using an infrared broiler set to 1,500 degrees. Yowza! It is important to note that the temperature at the cooking plane is closer to 750 degrees.
Will the big green egg get to 750 degrees?
You betcha! I have seen reports where folks got their egg up to 1,000 degrees. Unless you have extra space in your kitchen and lots of cash in your wallet, you won’t need to purchase a high end indoor broiler to achieve that high-end steakhouse sear. See, the BGE is saving you money!
The setup for a high heat sear is very simple.
There are a few steps that you should take before taking the egg to that temperature.
- Empty the egg of the old lump charcoal.
- Take out the fire ring and the fire box after emptying the charcoal and remove the ash. This will improve the air flow and will allow the grill to come up to a high temperature more easily.
- Once it is cleaned out, place the fire box and fire ring back in the egg.
- Add fresh charcoal.
- Light it, open both the top and bottom vent all the way, and wait a few minutes.
- Place the grate on top of the fire ring and stabilize the temperature at 750 degrees.
You are now ready for some high heat searing!
I can’t tell you how many times I forgot to burp it, lifted the lid all the way (too quickly) and let in a lot of fresh air. It created a surprisingly large and very hot flare-up. When you aren’t expecting it, that can be quite scary. So, do yourself a favor and burp it.
If you look at the fire box, there are only a few holes that allow air flow through. You can replace this with a Kick Ash Basket. This allows additional air flow which helps the egg get to temperature more quickly and makes cleaning a lot easier.
Reverse Searing
There is a growing trend in home cooking to use the sous vide method to achieve precise cooking results. If you aren’t familiar with it, a piece of meat is added to a plastic bag and cooked in water to a very precise desired temperature.
Unfortunately, it cannot replicate the delicious sear on the meat. So, after the meat is cooked using sous vide, it is placed on a broiler, grill, or cast iron skillet to add the sear. That turns sous vide into a two step process.
This is the same principle that the Reverse Sear on the Big Green Egg is based. The idea is that the meat is cooked through and through using an indirect grilling method by adding the plate setter. After the desired internal temperature is reached, the plate setter is removed and the temperature of the egg is cranked up to produce a nice sear. Hence, the term, Reverse Sear. Pretty nifty, right?
Stir Frying
This is a technique I do not use too often, but is fun. Add the grate and place a wok on top of that. You will keep the lid of the BGE open the entire time for this technique.
There is a debate on whether it is better to use the thin metal wok you typically see in restaurants, or the cast iron wok. The thin metal ones allow you to move food around to hot and cool spots much more easily.
The cast iron wok maintains a uniform temperature all around, which makes it more difficult to adjust the food that may be cooking faster or slower than desired.
Regardless, this is a very fun technique when you want to use your grill for something a little different.
Medium Heat Sear
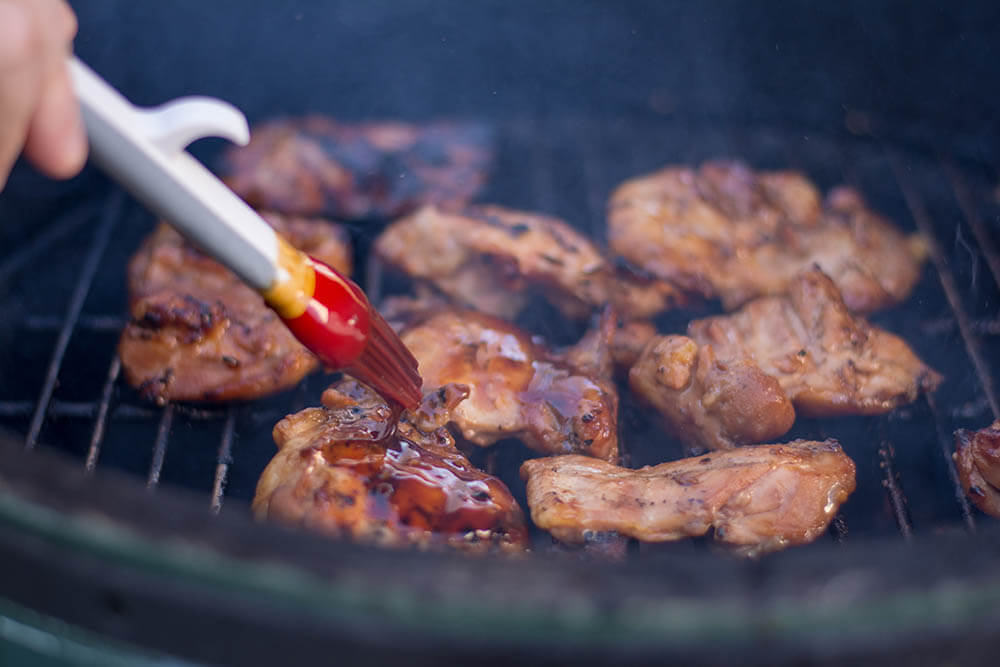
This technique is one you may use most often. I do. It is simply your food, the coals, and the grate. I use this for most of my steaks, chicken thighs or wings, and hot dogs. It is easy to dial the temperature between 275 and 450 using the top and bottom vents.
This technique is best used when you want a good sear on the food. It is especially good for marinated meats as it creates a fantastic caramelization. Oh man, does that taste good!
The drawback to this method is the requirement for active grill management. If you aren’t careful, the temperature can rise or fall if the egg temp hasn’t fully stabilized. If you are new to using your Big Green Egg, check back frequently to see how your grill is progressing. Yes, opening the lid causes some heat loss, but it is better to check the food too often than have it burn.
Sautéing
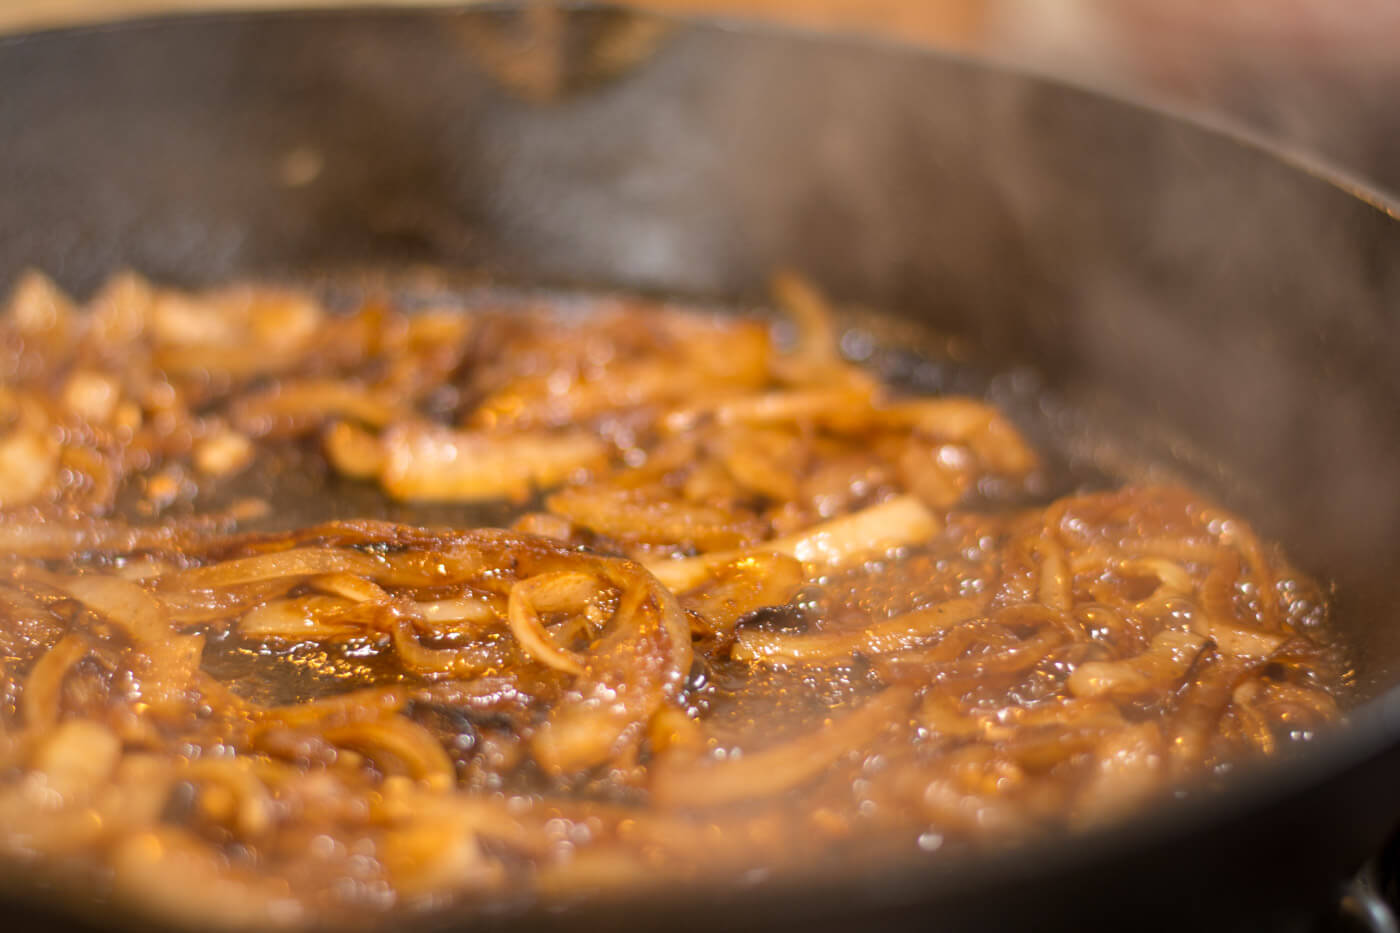
Many of the recipes I use call for sautéing onions, garlic, celery or peppers. This is easily accomplished on the egg using direct heat and a cast iron skillet. The skillets without the handles makes it easier to easily fit in the large sized egg.
On medium heat (300 – 350 degrees), add your olive oil or butter and the veggies requested. You can close the lid and check back periodically, but it is just as easy to keep the egg’s lid open to allow for frequent stirring to avoid anything burning.
Frying in a Cast Iron Pot
Some folks will deep fry food on the Big Green Egg, but that just seems too dangerous to me.
There are too many things that can go wrong and start a fire. Hot grease. Wood deck. Near a house. That is a recipe for trouble, if you ask me. But yes, it is possible.
And I am sure it can be done safely with the right protective gear, a good safety plan, and the right tools to smother it. It is too risky for me though.
Indirect Heat
Where the BGE really starts to show its versatility is in indirect heating. The plate setter diverts the direct heat of the charcoal. That allows the heat to be absorbed by the thick ceramic of the egg and radiate it towards the food much more uniformly.
The plate setter is a larger piece of ceramic or cast iron that rests on top of the fire ring. It can be installed with the legs pointing up or pointing down.
When the legs are pointing up, the grate will rest on top. This creates a 2” gap between the plate setter and the grate. It is a good place to add a disposable pan to catch drippings and minimize the chance of flare ups or unwanted smoke from the grease hitting the stone plate setter or the charcoal.
Alternatively, the legs can be pointed down. This allows the flat surface of the plate setter to be used for baking. I typically add the large pizza stone on top of the plate setter when the legs are pointing down. It is usually a lot cleaner!
Brick Oven
When someone says “brick oven,” I immediately think of pizza. Heck, there is even a restaurant chain that specializes in this style. The principle behind traditional brick ovens is to use the thick mass of masonry or stone to capture and release heat.
Historically, that heat is generated from a wood fire, but there are modifications make this possible with gas.
Fortunately for us, the big green egg is perfectly built to give the same results as a brick oven. The thick ceramic body and the pizza stone will collect the heat generated by the charcoal, and release it into the cooking surface, turning pizza dough into a well-browned crust!

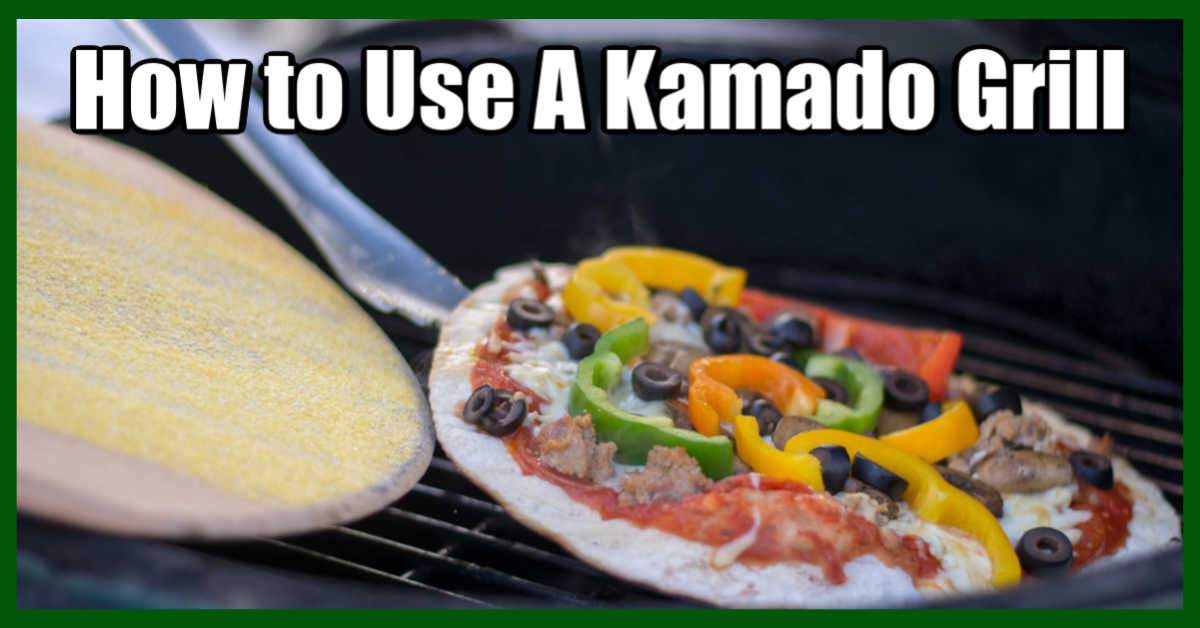
Note: once the pizza stone is well-used, you won’t need to worry about the dough sticking as much. As an added measure, sprinkle the dough with cornmeal. It adds a fun texture to the pizza, but also helps to reduce any sticky mess.
Roasting
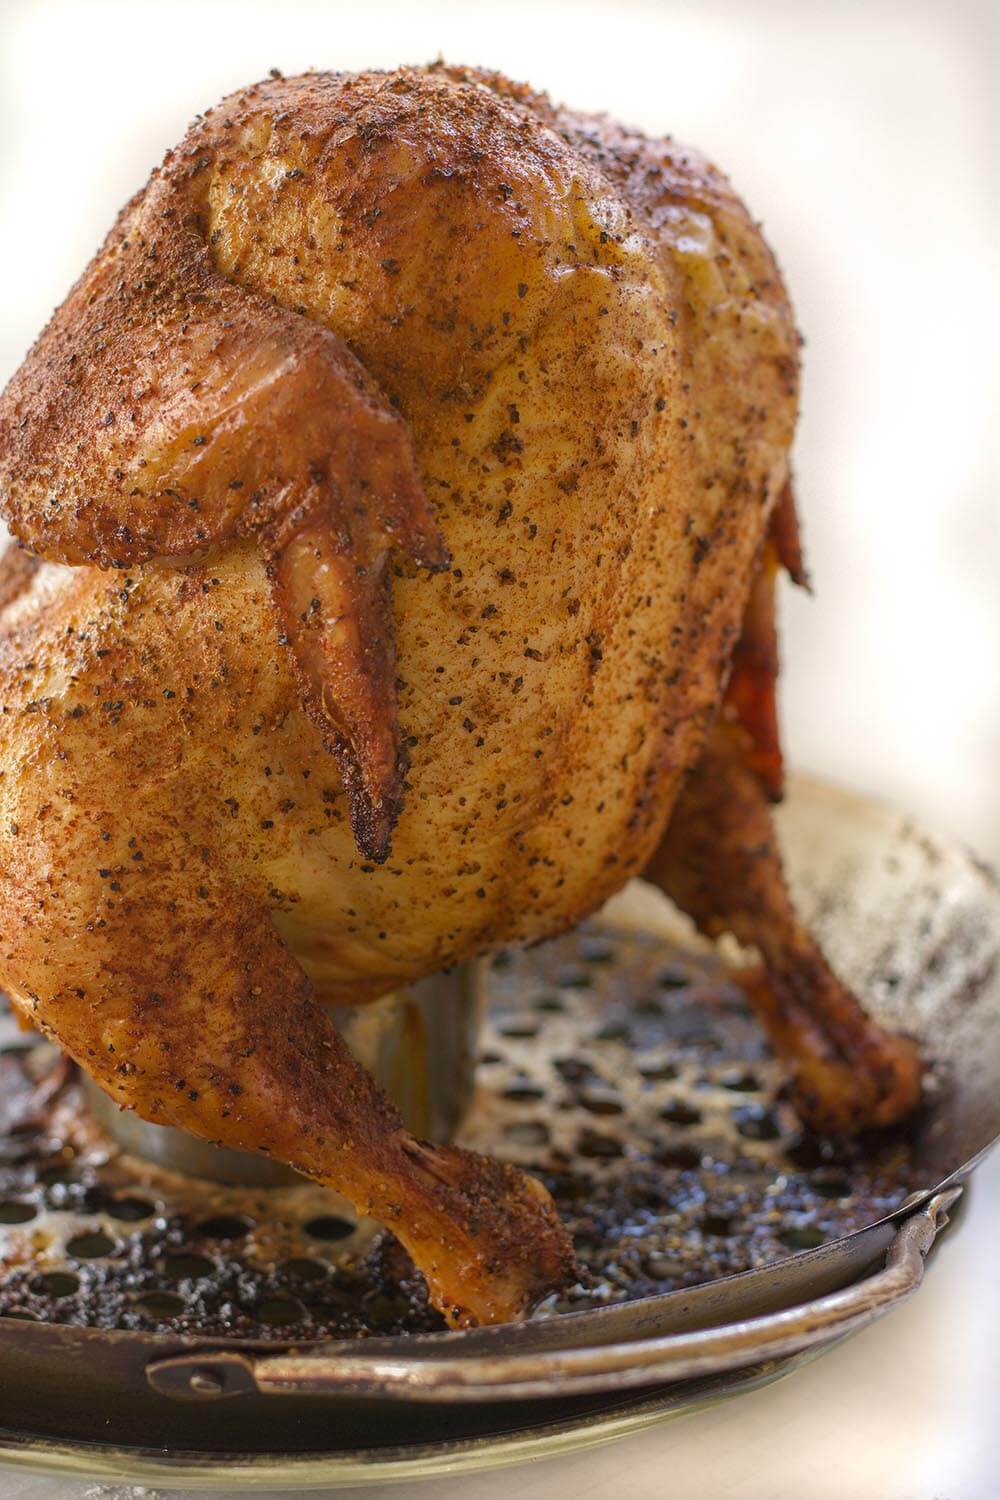
The technical definition of roasting is to cook using indirect heat, cooking evenly on all sides at a temperature of least 300 degrees. Now that sounds like a perfect use for the BGE – and it is!
The plate setter should be installed and the temperature should stabilize before adding your food.
It is helpful to bring the temp up before adding the plate setter, otherwise, it seems to take a lot longer to get to the desired heat.
Roasting is good for poultry, stuffed meat dishes, and root vegetables.
Rotisserie
You can buy an aftermarket rotisserie attachment for your Big Green Egg. This slides between your lid and the base and slowly rotates your meat until it is even cooked to perfection!
Usually, you’ll find these attachments are designed for gas grills where the source of heat is coming straight from the burners and the thin metal of the grill enclosure doesn’t retain and release much heat.
Having it for your kamado style grill is perfect!
Low and Slow
Have you ever heard the saying that the thicker the meat, the lower the temperature and the longer the cook? It is true. Small, thin pieces of meat, fish, or vegetables are usually best cooked at medium to high temperatures for a shorter amount of time.
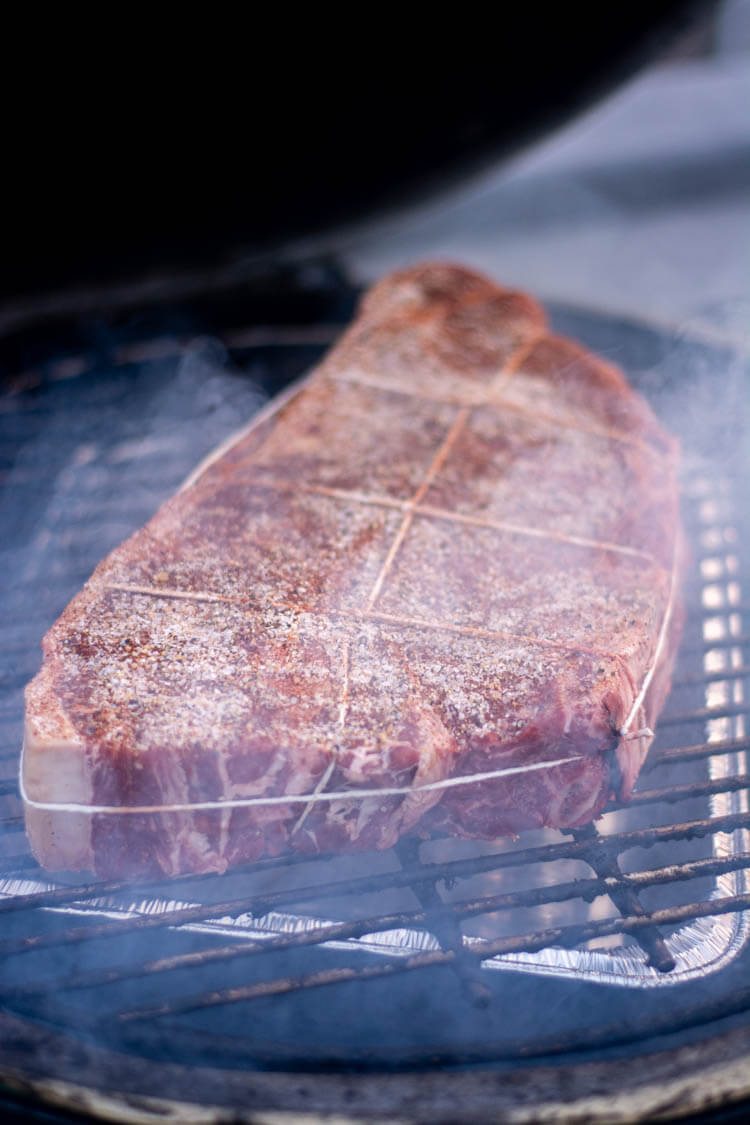
Larger, thicker pieces of meat do better with lower temperatures for longer periods of time. It is not uncommon for a thick brisket to be cooked for twelve hours.
This is usually best done using indirect heat by adding the plate setter. Add the grating on top of the plate setter and set the meat on the grating.
I have had great success with pork shoulders, brisket, rib roasts, and even a whole turkey using the low and slow approach. Unlike a gas grill, the meat will stay extremely tender and juicy.
Baking
Nothing beats using the egg as an oven. Seriously, it is so much fun! This is a type of indirect heating using the plate setter and adding a large pizza stone.
A fresh set of charcoal is probably a good idea, especially if you previously cooked something that dripped into the coals. You can just cook off those juices and oils, but I find it easier to just add a new batch of charcoal.
My top recommendation for this style of cooking on the BGE is to have patience and make sure the temperature of the egg stabilizes. I usually let it come up to 450 or so, and THEN adjusting the vents to take the temp down to the desired level.
Add the plate setter and the pizza stone. Let the temperature stabilize. I find this helps most of the charcoal catch and minimizes any undesired smoky flavor on your baked goods.
From there, you can bake as the directions require. For beer bread and banana bread, I use an old Pampered Chef stoneware loaf pan, and set it on top of the pizza stone. For dinner rolls, I have lightly greased the pizza stone and baked the dough straight on that. Heck, we even baked some out-of-this-world scones on the egg.
Hot Smoking
Ok. This is my kryptonite. I can’t tell you how much I enjoy a good, old fashioned smoked treat. Smoked salmon is my favorite. Oh my!
The setup for smoking is straightforward. Add the plate setter for indirect heat, and bring the grill up in temperature. Once the temperature is around 400 – 425, reduce the opening of the top and bottom vents to reduce the temperature of the egg. I do this to get most of the coals lit and it helps me avoid having the temperature creep up later when more of the coals are lit.
The temp will vary based on what you will be smoking, but 250 – 275 is a good target range.
To get the smoke, choose lump wood or wood chips. Lump usually lasts longer, but can be harder to find in the species you want. Smoking wood chips are readily available at big box lumber stores like Home Depot or Lowe’s.
To reduce the chance of the wood from catching fire and burning out quickly, soak them in water for a few hours. If time allows, let them sit overnight in water.
When the grill is at the desired temperature, grab a handful of smoking chips and add them to the fire box. This might be a little challenging, as your late setter will be in place. I use the ash tool to help scrape all the chips into place.
Note: A little goes a long way. Seriously, you won’t need a ton of smoking wood to imbue a flavor on your dish. Expect to resupply the wood, especially during a long smoke.
Deciding which species to use is beyond the scope of this article, but I wanted to include a list of the most common types of wood used for smoking.
- Apple
- Cherry
- Mesquite
- Alder
- Hickory
Cold Smoking
I find this to be the most difficult technique to replicate consistently. But good things come to those who practice, right? It involves smoking the food at temperatures less than 100 degrees. Important: bacteria will not be killed until temperatures reach much higher levels, so be very cautious when cold smoking. I would hate for someone to get sick if the meat wasn’t properly cured before the cold smoke.
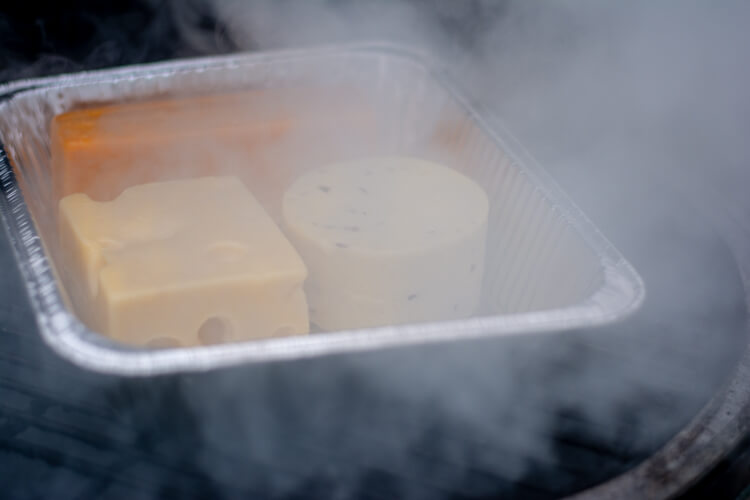
Cold smoking is used for several different dishes. The most popular include cheese, sausage and salmon (lox). Cold smoking cheese is the most forgiving. Salmon and sausage definitely require much more attention.
Here are four common techniques used for cold smoking:
- Limiting the amount of charcoal in the egg – this technique is the easiest and least expensive, but also requires close supervision. To set this up, clean the egg of all charcoal and ash. Then, add 2 – 3 large handfuls of fresh charcoal to the fire box. After lighting, add soaked wood chips. Too much charcoal will produce too much heat. Too little will run the risk of the fire going out before the smoke is completed. Using this will require constant adjustment.
- Using a second Big Green Egg – for this technique, a good, hot smoke is generated in one big green egg. When the nice, billowy smoke is being produced, route a flexible laundry dryer hose from the top of the BGE producing the smoke to the bottom vent of the second bge where the cold smoking will actually take place. This allows the smoke to flavor the food without adding the heat.
- Pellets – for this technique, the egg must be emptied of charcoal and cleaned of all ash. Instead, a small metal box is placed in the empty fire box and filled with smoking pellets. Z-smoker is one popular brand. Fill the container with smoking pellets and light it. The container’s small holes will limit the airflow, which will keep the temperature down and prolong the smoke.
- Adding a cold smoke generator – there are third party cold smoke generators available for this purpose. Smokedaddyinc.com sells them, with adapters for the Big Green Egg. Additionally, spiral generators are found on Amazon.
Conclusion – Hopefully, these 13 ways to use your Big Green Egg will help you head outside and grill your way to some family fun and delicious meals! This kamado style grill is so versatile and I hope you have fun expanding your skills and experimenting with some of these different techniques!
Please post a comment below on how you are planning to use your Egg next!

Jason’s been firing up the grill for over 30 years after graduating from the US Coast Guard Academy. His love of finely-grilled steak and chicken led him to buy his first Weber grill to put on his apartment patio in 1992. Each military move led to a new grill (a mixture of gas and charcoal) until he fell in love with the Big Green Egg in 2008. Since then, he has added another 4 grills to the collection. Yes, he has a problem. Jason loves smoking in the ceramic BGE with exotic woods including olive wood from Egypt and hard to find varieties such as sassafras and orange wood. Jason takes the term “foodie” to a whole new level, jumping at the chance to take food tours and cooking classes during foreign travels. These have provided inspiration to incorporate new ideas into recipes when he gets back home. He has been featured in Fox News, Parade, Yahoo News, Kansas City Living and more. After retiring from the military and moving to southwest Florida, he has focused grilling and smoking locally sourced meats and fish (read: he likes to catch his own fish!)


Leave a Reply